Fresh, running water is one of the perks of traveling in an RV, but you may not realize that your fresh water system needs regular cleaning to rid your water of unwanted odors (and taste) for good.
From sediments and grime to contaminated water, the water put into fresh water tanks can leave behind buildup that can grow bacteria and mold.
If you notice that the freshwater in your RV has a foul odor or unwanted particles in it, then you have a contaminated fresh water tank.
Cleaning and sanitizing your RV water storage tank is important for your health, as well as the health of your RV. It will prevent and remove the build-up of solids like sediment, algae and microbial growth and make your RV’s potable water safe to drink.
Fortunately, sanitizing camper water system is actually quite simple to do, So, Before you risk your health, take a look at this guide that explains exactly how to get your fresh water tank cleaned and disinfected correctly, and how to keep it that way.
Why You Should Sanitize Your RV Fresh Water Tank?
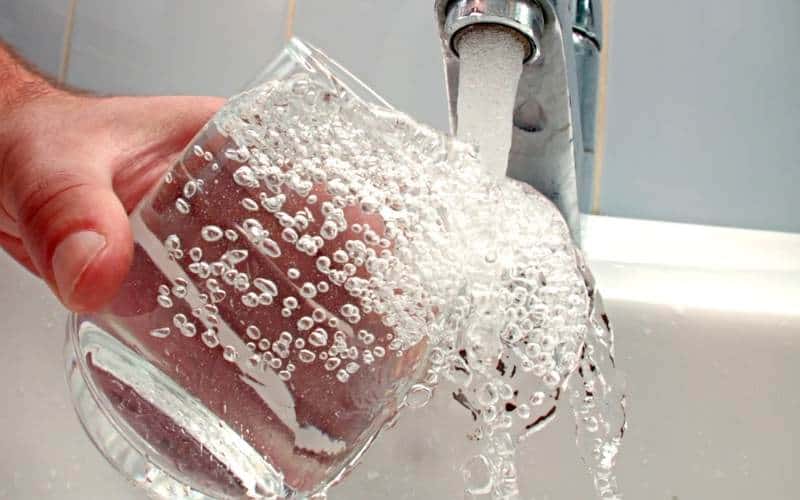
Even though your RV fresh water tank only holds fresh water, the quality of this water can vary greatly from place to place.
Any foreign substances in the water can breed bacteria and mold, especially if it’s left sitting in hot or damp climates.
Some water also contains a greater amount of heavy minerals that can leave mineral deposits on the insides of your portable water tank.
A dirty tank can lead to much bigger issues. Bacteria and other growths in the RV water tank will contaminate any fresh water put into it, which could lead to a variety of health problems when used.
Mold and bacteria can also have an unpleasant odor, while buildup and grime can lead to tank sensors malfunctioning.
How Often Should You Sanitize Your RV Fresh Water Tank?
Your RV fresh water tank should be sanitized at least once to twice a year, but it really depends on how you frequently it’s used.
You should always sanitize your RV fresh water tank if:
- Your RV sits for over a month without the fresh water system being used
- You travel extensively
- You suspect that your fresh water tank is contaminated
If your RV sits in storage through the winter months, be sure to sanitize your RV fresh water system when you first pull the RV back out in the spring.
If you use your RV throughout the year, or even if you travel extensively for a few months and fill your tank with many different water sources, you should sanitize your fresh water tank more frequently.
Bacteria can form between 12 and 24 hours of a tank sitting unused, so it’s recommended for frequent travelers to sanitize their RV fresh water tank every few months, or before each new trip.
If you suspect that your RV fresh water tank is contaminated, you should also sanitize it as soon as possible.
One instance in which this may happen is if you camp somewhere with a boil water advisory. This means that the water is suitable for bathing, but not for drinking unless it is first boiled or purified in some other way.
An RV fresh water tank that is filled with water under a boil water advisory should always be sanitized before refilling it with a new source or drinkable water.
Relate: How Long To Keep Fresh Water In An RV Tank?
How Much Time Does It Take to Sanitize your RV Fresh Water Tank?
It is suggested to let your RV fresh water tanks sit for 10 to 12 hours while sanitizing.
However, this can be done overnight and doesn’t require any monitoring on your part. When done this way, preparations the night before and the final rinse the morning after really only take a few minutes each.
Supplies Needed To Sanitize Your RV Water Tank
Here is the cleaning supply checklist to make sure you’ve got everything you need.
Steps to Sanitize Your RV Fresh Water Tank Properly
Sanitizing your RV fresh water tank may sound like a hassle, but it’s really a simple process. All you have to do is follow the steps outlined below.
Read on for a step-by-step guide to sanitizing your RV fresh water tank.
Step 1: Turn Off Your Hot Water Heater
Before preparing to sanitize your RV fresh water rank, remember to turn off your hot water heater.
Overlooking this step can damage your water heater, so always turn it off first and give the water a bit of time to cool down before continuing the process.
Step 2: Empty Your Fresh Water Tank
To clean your RV fresh water system correctly, you need to clear it of all water previously stored in it.
Be sure to turn off your fresh water connection. Open the valve on the outside of the RV to empty the fresh water tank.
Turn on all faucets to clear any water sitting in pipes and use the water pump to make sure everything is cleared from the tank.
Step 3: Prepare Your Bleach Water Solution
It is important to calculate the correct amount of bleach needed to clean your RV water tank. Too little bleach may not sanitize it fully, while too much bleach can damage the tank and seals.
To sanitize your RV fresh water tank, use 1 ounce of bleach per 8 gallons of fresh water. If, for example, you have a 60-gallon fresh water tank, you’ll need 7.5 ounces to sanitize it.
It is best not to pour bleach straight into your fresh water tank. Instead, measure out the calculated amount of bleach and dilute it in at least a gallon of water before adding it to the tank.
Step 4: Fill Your Fresh Water Tank
After adding the bleach water to your tank, fill the fresh water tank completely with potable fresh water.
To make sure that the bleach reaches every part of the system, run all of the taps until you smell chlorine, then turn them back off to let the bleach water sanitize.
Step 5: Let the Bleach Water Sit
The bleach water will take some time to fully sanitize your entire fresh water system.
Let the water sit for at least four to five hours, longer if you are concerned about any contamination or buildup.
If you need to sanitize your fresh water tank while you’re living in your RV, this process can be done overnight to be usable again the next day.
Step 6: Empty and Flush Your Fresh RV Water System
After letting the bleach water sit, it’s time to empty the water and flush the system. Open all faucets to empty the water and refill the tank with potable fresh water.
Use the water pump to make sure all of the water circulates through the fresh water tank.
Continue to do this until you no longer smell chlorine, which may take several rounds of filling and emptying the tank.
A freshly sanitized system is also a good time to change out any water filters. Turn the water heater back on, and your fresh water system is ready for your next trip.
Tips for Keeping Your Fresh Water Tank Clean
The best way to keep your fresh water tank clean is through regular maintenance.
Sanitize your fresh water system regularly, particularly when you first pull it out of storage and before it goes back in.
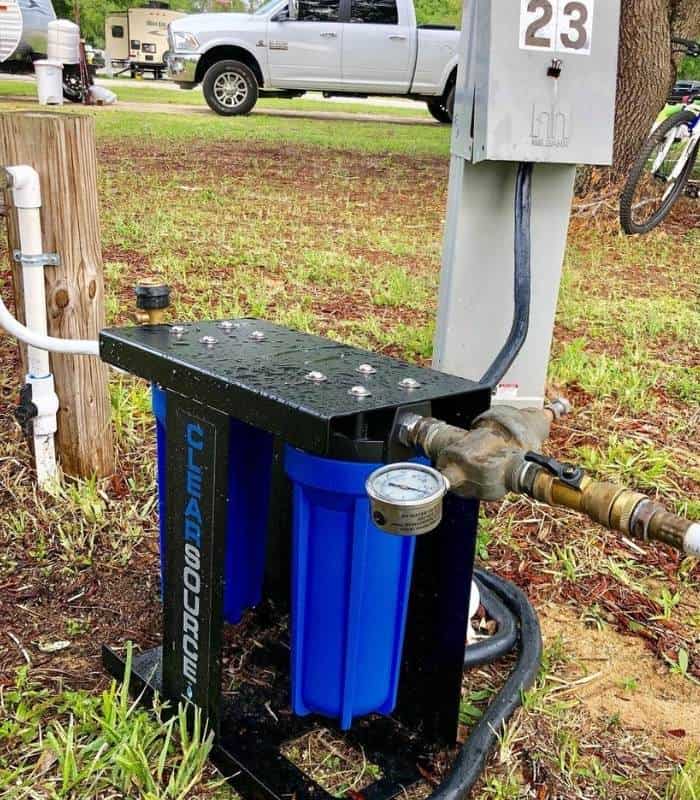
Unless absolutely necessary, you should also never fill your fresh water tank with anything other than potable water.
This will keep other contaminants out, and will decrease bacteria and buildup. Because the quality of even potable water will vary, water filters are a great way to keep your water healthy and your RV fresh water system clean.
They will not only purify your water, but will help keep sediments and debris from getting into water tank.




1 Comment
kerwin denise Oldham
2 years agohi there. can you tell me how to prevent smells from the spectic tank coming in thru toliet. we are new at this and live in are rv and can’t seem to get it under controll. any suggustions would be appreciated. email
denise.oldham67@gmail.com thank you!!!