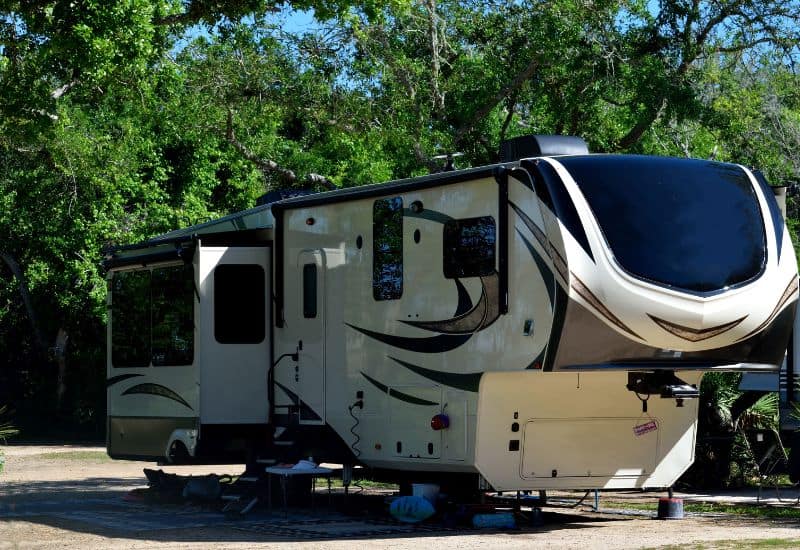
An RV slide-out gives you the floor space and elbow room you need to make the most out of your camping trip.
Yet it can be heartbreaking to press the button to extend it; listening to the proud robust groan of the mechanical components, and seeing it sag into place, can be more than just a little worrisome.
Not only can it frustrate the rest of your trip, but it can leave you worrying about possibly damaging your slide-out.
In a time like this, there are a few ways to fix your RV’s sagging slide-out section. Though it requires a little extra technical understanding to get it right.
Is A Sagging RV Slide-Out Section Bad?
A sagging slide-out section in an RV can lead to a variety of problems that go beyond it simply being an eyesore.
It can throw off the level of the RV, or the level of the flooring in the slide-out area. This can be a big deal for a larger slide-out that expands your RV’s main living area.
At the same time, the misalignment in the gaskets and other mechanical components caused by a sagging slide-out can lead to roof leaks.
Not only can this cause water problems in the slide-out section, but wind-driven rain might be able to infiltrate the subceiling of your RV to cause more significant ceiling damage in other areas.
Determining What’s Causing An RV’s Sagging Slide-Out
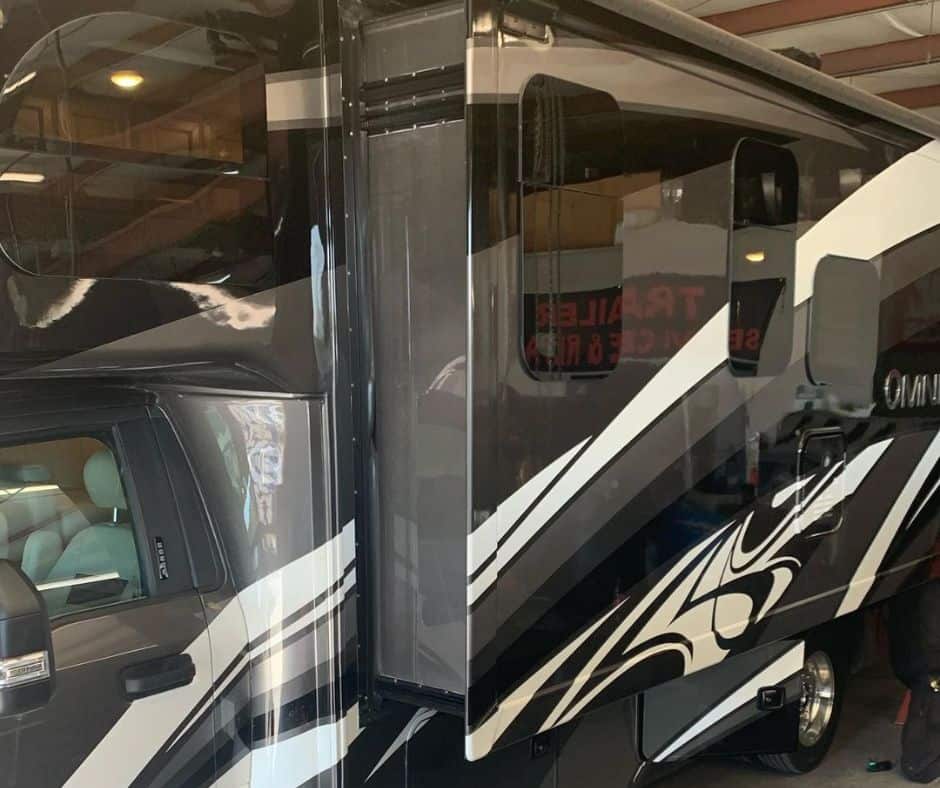
There are different ways that an RV slide-out can sag, which will influence what you need to do to fix them.
Affecting a short-term or permanent repair starts with identifying the cause, all the areas where the sag is occurring, and the severity of the misalignment.
Measure The Severity Of Sag On Your RV’s Slide-Out
Measuring the severity of the sagging in your RV’s slide-out starts with measuring the distance from the sidewall of the RV’s body to the outermost edge of the slide-outs wall.
This includes taking multiple measurements in at least three places at the top and three places at the bottom to understand how the severity of the sag changes.
It might help to go the extra mile and use a long carpenter’s level at all three measurements.
Note the bubble at all three measurements by taking a picture with your phone. Then you can swipe through each image afterward.
This will give you a visual representation of how the sag is changing at each location. You can compare this visual information with the physical measurements to confirm.
Try To Reset The Slide-Out Section
Sometimes a minor sag in an RV’s slide-out section is simply a mechanical slipup.
Something didn’t go perfectly into place, and it’s causing the slide-out to be slightly misaligned with the RV’s frame.
Minor mechanical issues can also cause the slide-out to not fully seat the lip along the header beam of the RV’s frame.
The mechanisms inside the compartment are designed to push out at the bottom of the slide-out, until the tip hits the header, tilting the outer edge of the slide-out upwards, which removes the weight of the slide-out mechanism, so it strictly pushes outward without carrying the weight of the slide-out.
Just like turning your computer off and turning it back on again when there is a problem, you can try to reset your RV’s sagging slide-out section by retracting it and extending it again.
Just do so carefully, listening for any abnormal sounds like grinding, clunking, or clanking.
Things To Look For When Retracting Or Extending The Slide-Out Section
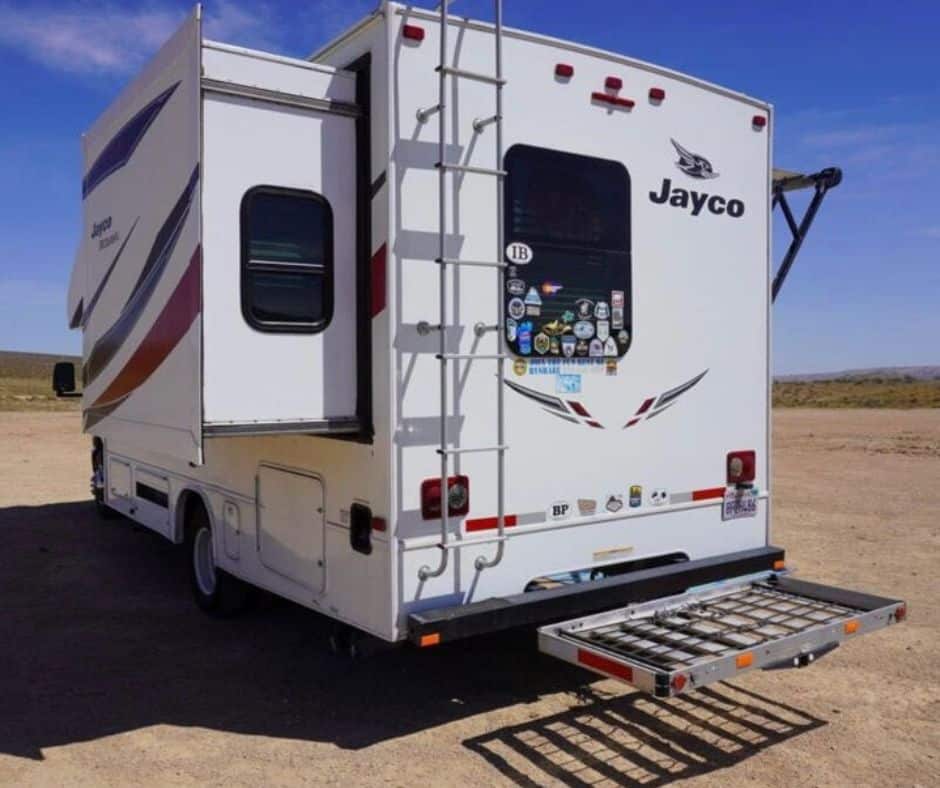
If you hear a discouraging noise, immediately stop the retraction or extension process, and perform a visual inspection.
Look for things like a cable coming out of a pulley, a loose fastener getting in the way, or perhaps a stray stick that managed to sneak into the mechanical compartment.
Make sure to check the brake that holds the arms extended out to make sure it hasn’t slipped.
If it has it could cause the arms to retract slightly and be the cause of your sagging slideout.
Sometimes the outside edge of the interior floor itself can sag under the weight of supporting the slide-outs weight. This can cause the inside edge of the slide-out to drop.
Carefully Inspect Your Adjustment Hardware
There are a fair number of fasteners helping to hold an RV slide-out section together, as well as connecting it to the RV’s frame.
Considering the forces involved, it’s possible for one of the bolts responsible for adjusting a slide-out to snap off.
If your visual inspection turns up any missing, bent, or snapped hardware, you will likely need to have it professionally repaired to correct the sag in your RV’s slide-out.
Tips For Fixing A Horizontally Sagging RV Slide Out
You might be able to fix or temporarily compensate for a horizontally sagging RV slide-out section using the following steps.
Tips For Fixing A Vertically Sagging RV Slide Out
If your RV slide-out section has developed a vertical you might be able to correct it using the following steps
Go very slowly when retracting your slide-out section at the end of your trip.
Sometimes your manual adjustments when it was extended won’t jive with how it is meant to fit back into the frame when retracted.
If you see a problem developing when you retract the power-slide-out mechanisms, stop, and readjust to make sure the sagging slide-out once again seats perfectly in the frame.
Try Using Portable Slide-Out Supports
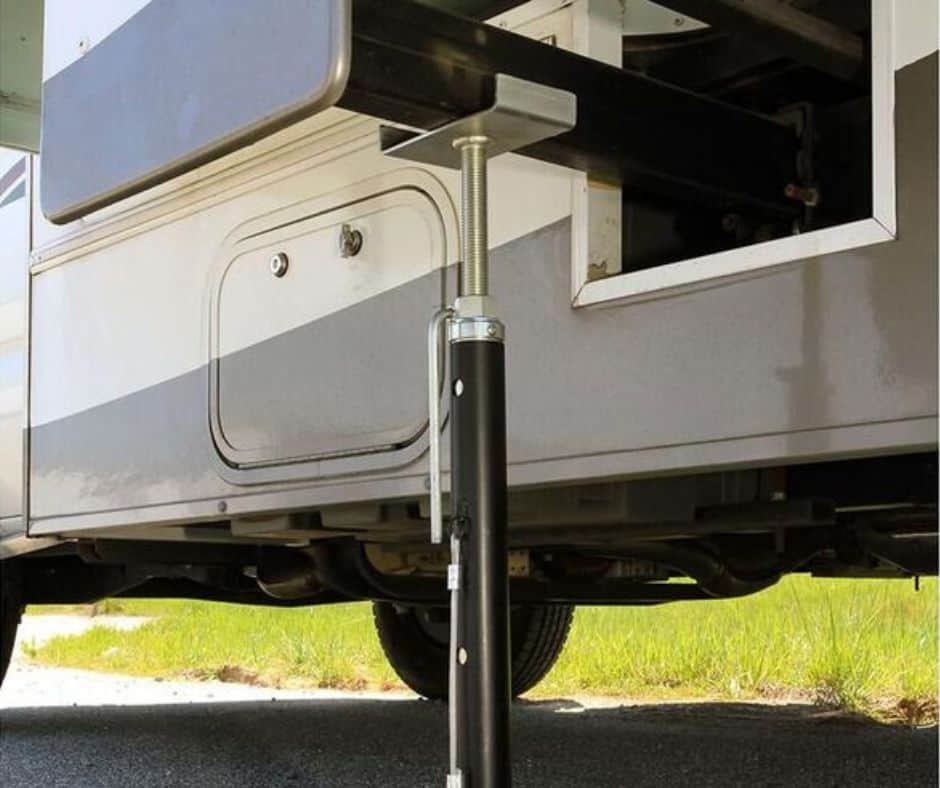
The slide-out sections on most new RVs are engineered to be self-supporting. Though some older RV slide-outs can benefit from slide-out supports or slide-out stabilizers.
If you find yourself in the middle of a trip and your RV slide-out is starting to sag, but you don’t feel comfortable trying to correct it yourself, or you have warranty concerns about manual adjustments, you might be able to get by temporarily using RV slide-out supports.
This isn’t a permanent solution, but slide-out stabilizers can at least keep the sag from getting worse.
They should be able to get you through the remainder of your vacation until you can get the sagging RV slide-out professionally repaired.
Are RV Slide-Outs Engineered To Sag Naturally?
If you just bought your RV and you notice a slight sag or droop in the roof of the slide-out section, it likely isn’t a cause for concern.
A lot of RV manufacturers engineer slide-out roofs to have a slight pitch in them.
This helps drain off rainwater before it can pool and try to infiltrate the ceiling gasket.
This might be a pitch of up to 12 degrees or less. If you are still concerned, the best way to assess if there is a minor misalignment issue is to check the level and measurements of the slide-out section’s floor when it’s extended.
Can I Manually Correct My RV’s Adjustment Hardware?
Be mindful that RV manufacturers, dealerships, and warranty claims departments don’t take kindly to you manually adjusting your RV’s slide-out section.
If you do manually adjust your slide-out and you later retract, any damage caused by your adjustment might not be covered by your RV’s existing warranty.
Conclusion
A significant amount of sagging in your RV’s slide-out section certainly isn’t the sort of thing you can casually ignore.
If the sag is more than just the original engineering for the slide-outs roof to divert rainwater, then you need to wrap your head around the potential cause.
If the sagging RV slide-out is caused by an accidental mechanical misalignment issue, you might be able to retract it and extend it out again.
If the problem persists, you should perform a visual inspection, complete with measurement.
Look for brake arms that are out of place or debris that is keeping the lip of the slide-out from properly seating into the RV’s frame.
Broken bolts in the adjustment hardware are also a sign of something that requires professional attention.
You might be able to manually adjust your RV’s misaligned slide-out section by manually loosening carriage bolts or the jam nut.
Just bear in mind that if your RV is damaged by doing this, or damaged when you retract it, the manufacturer or the RV dealership you bought it from might not honor the repair under the warranty coverage.
If you want to play it safe, to get through the rest of your camping trip, some simple RV supports can go a long way toward preventing further damage without voiding your RV’s warranty protection.
Then when you get back home, you can take your time finding the right professional repairs to correct your sagging RV slide-out section.

