Summer is an excellent season for camping, since the weather is warmer, rainy days are fewer, and there are more recreational activities to enjoy in the great outdoors.
Not surprisingly, most people go camping in the summertime, but this can lead to campgrounds being busier and more booked, and you need to plan ahead in order to have a relaxing, stress-free camping trip.
When you’re camping in an RV or trailer, your home away from home also has more conveniences and comforts to make camping even more enjoyable during the warm season.
Chief among these is probably your air conditioner—what better way to relax after a long, hot day in the sun than to step inside your camper and crank up the A/C?
But what happens when your RV air conditioner stops working? Can you recharge an RV air conditioner?
In order to operate effectively your camper air conditioner must be recharged with Freon when necessary. Luckily, you can recharge your RV air conditioner! However, it may be easier or more difficult depending on the type of A/C unit you have in your RV and where it is located.
In this article, I’ll cover how to recharge your air conditioning unit, the other different types of issues that you may encounter with your RV air conditioning system, and RV A/C maintenance tips.
How To Recharge Your RV’s Air Conditioner
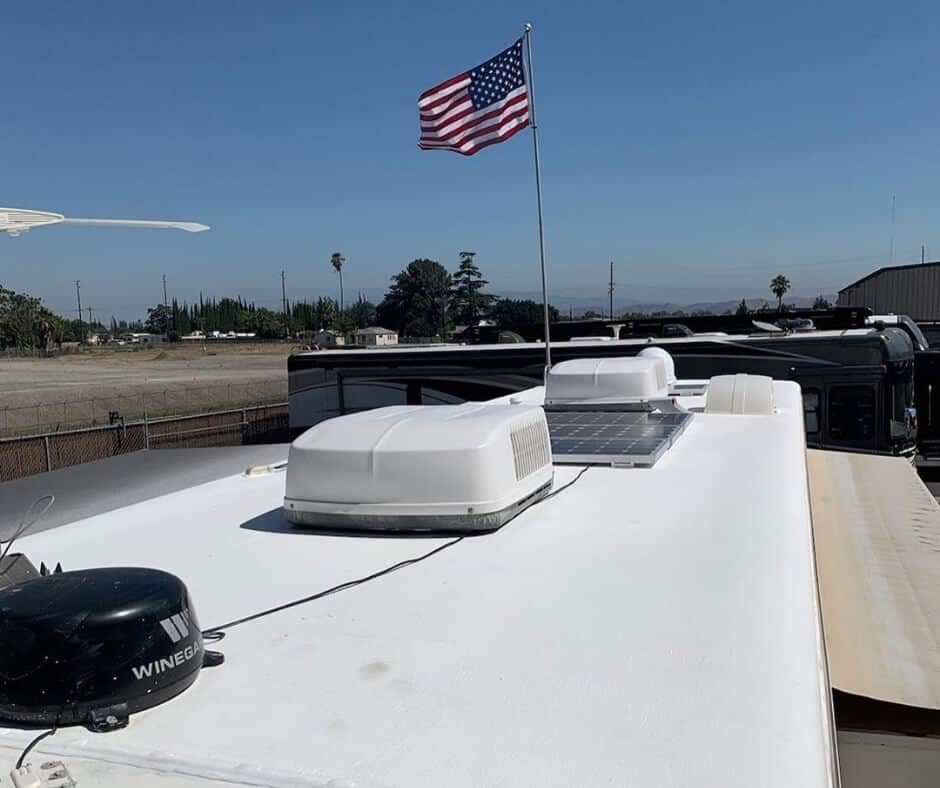
If you have an air conditioning unit at home, recharging the one in your RV may be a bit more difficult and complicated because RV A/C units are not usually designed to be opened and fiddled with.
In fact, you may cause damage to the A/C mechanisms or unit casing if you open it, depending on the model and its location in your camper.
If you’re simply adding more refrigerant to your A/C unit, it’s considered a top-off, whereas replacing and or filling up an empty coolant tank is considered a full recharge of your RV air conditioning system.
The level of the coolant or refrigerant liquid can affect the A/C unit’s operating efficiency, so a top-off may solve any problems.
To refill the refrigerant and recharge your RV’s air conditioner, follow these steps:
-
Shut off the power to your RV A/C unit. You should always turn off the electrical power to the air conditioner before working on it. Find your camper’s breaker panel, and shut off any breaker that supplies power (or might supply power) to your RV A/C.
-
Check the owner manual for your RV to find the right brand of refrigerant or coolant to use. A popular type is A/C Pro ACP-100, but your RV may require a different brand or type. (Note: Do NOT mix and match brands, since doing so could cause irreparable damage to your unit).
-
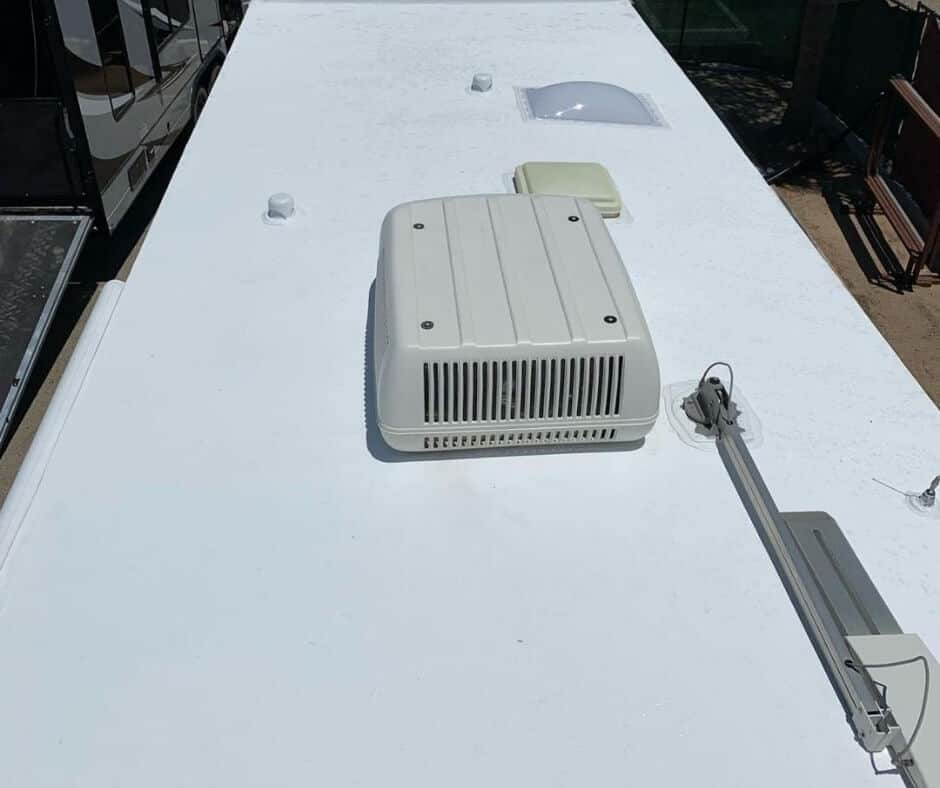
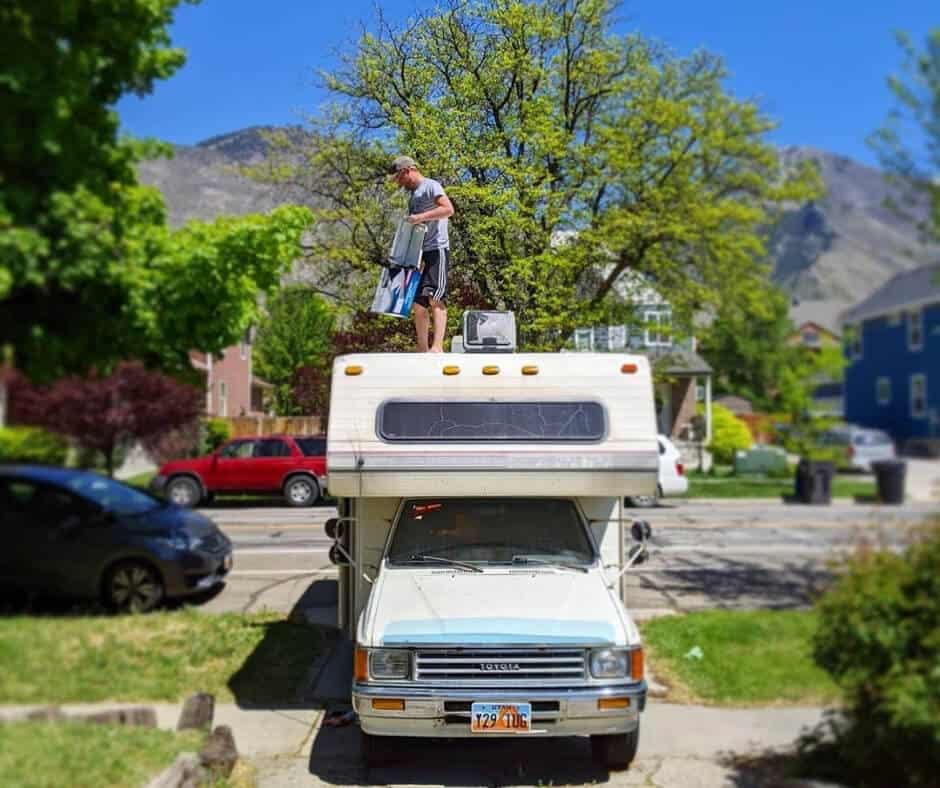
Get on top of your RV to remove the plastic lid or cover for your air conditioner, and lift straight up so that you don’t bump or damage the system coils. Be careful to watch for any bees or wasps exiting the unit, since these insects commonly like to make nests inside. If you find a nest, you’ll need to remove it as soon as possible.
-
Using a coolant gauge, find out what level the existing refrigerant is at. This may be easier said than done with some A/C models. If there’s no easy way to check the refrigerant levels, you may need to install a line tap, which is a mechanism that allows you to open the coolant line and attach a gauge. Once you’re able to check your refrigerant levels, you can find out if it is low or empty. If your gauge registers below 30 or 40 degrees for the refrigerant evaporation temperature, it’s probably low and needs a top-off or recharge. If the levels are not below normal, there may be another issue with the RV air conditioner.
-
Add the coolant. Turn your air conditioner on, and have a friend stand inside the RV to monitor the air temperature levels while you add the coolant. Use a wrench to unscrew the coolant port, and add the refrigerant slowly until it is full. Before you add the refrigerant, check to find out how much coolant your A/C unit should hold, and be sure to check refrigerant levels as you add the fluid. When you’re done, your friend should notice cooler air inside the RV. There should be a difference of about 20 degrees between the air in your RV and the air in the A/C unit.
-
Reassemble the unit. Use a wrench to screw the coolant port cap tightly, and put the plastic cover back onto the RV air conditioning unit.
-
Power on and test. Restore power to your A/C unit, turn it on, and monitor temperatures over several hours to make sure it’s now working properly.
If recharging the unit did not fix the issue, you may need to have a mechanic or RV technician take a look.
However, there may be another common issue affecting the air conditioner’s ability to work properly.
Other Common Issues with RV Air Conditioners & How to Fix Them
Before you take your RV air conditioner apart to recharge it, you may find that your air conditioner is experiencing one of these common issues that affect the unit’s efficiency.
A Dirty Air Conditioner Filter
Luckily, one of the most common issues that causes an RV air conditioner to have problems is a dirty filter, which can often be cleaned or is inexpensive and easy to replace if you need to.
You might have a dirty filter if there’s lack of airflow inside your RV, the A/C unit is freezing up (I’ll discuss this next), or the A/C isn’t putting out enough cold air, even when you have the power cranked up.
It’s important to clean or replace a dirty filter when you notice a problem, since it can cause electrical problems that may damage your RV air conditioner or spread allergens or germs throughout your RV.
Whether you’re cleaning or replacing your RV’s air conditioning filter, you’ll need to first turn off the electrical power to the unit and remove the plastic cover on top.
Check the user manual for your RV’s A/C unit before you remove the filter to avoid damaging it or the A/C system, and never turn on the air conditioner without a filter.
If your filter is reusable, you can try the following methods to clean it:
Once you’re done cleaning your filter, be sure to let it air dry for several hours before you put it back in your RV air conditioning unit.
6 Reasons Your RV Air Conditioner Freezes Up
Some air conditioner issues can cause the unit to “freeze up” or develop frozen chunks of ice around the vents or inside the unit (you may notice water or condensation forming and dripping).
RV A/C freezing is a problem that you need to address when you notice it, and can be caused by a few different things:
- Low or empty refrigerant or coolant levels
- Dirty air filters
- High humidity in your environment
- Bad flow dividers
- Dirty condenser or evaporator coils
- Broken thermostat
1. Too Much Humidity May Cause Ice to Develop
If there is too much humidity in your environment, your air conditioner may freeze up.
This is because the A/C unit cannot keep up with the amount of moisture in the air, and the condensation created can start to freeze.
However, there are some things you can do to prevent this or address it if the unit does freeze up:
-
Run your fan on high when you’re in high humidity climates, or place additional fans throughout the RV to keep the airflow going.
-
Clean your air conditioner if you haven’t done so recently.
-
If you camp in humid locations often, invest in a dehumidifier to take the moisture out of the air inside your RV.
2. Bad Flow Dividers May Cause the A/C Unit to Freeze Up
Another cause of freezing up is bad flow dividers. Flow dividers are also called baffles, and keep the hot air separate from the cold.
When the flow divider is poorly sealed or positioned improperly, cold air can leak into the hot air inlet and cause ice to form on your A/C unit.
The best way to fix it is to reposition the flow divider and reseal it with HVAC foil tape.
3. Dirty Evaporator or Condenser Coils May Cause Freezing
Most causes of freezing up with RV air conditioners has to do with airflow, and most airflow problems are caused by dirty condenser or evaporator coils.
You need to clean these coils regularly to prevent issues. Dirty coils will require your A/C unit to work harder to transfer heat out of your RV (condenser coils) and cool the air inside (evaporator coils).
To clean your condenser and evaporator coils, follow these steps:
-
Shut off the power. Unplug your RV from your campsite’s electrical hookup, turn off your generator and disconnect your batteries, or simply turn off the breaker for your air conditioner. The key is to make sure there’s no power going to the A/C unit.
-
Remove the covers. Get on top of your RV and remove the plastic cover for the air conditioner – be careful, since wasps and bees like to build nests in these units. Once the main cover is removed, you will find the condenser coils at the back of the unit and the evaporator coils at the front (covered with a sheet metal housing). Use a screwdriver to remove the housing, and be careful not to damage the gasket, which keeps water from getting into your RV.
-
Vacuum the coils. Be sure to block any air openings going into your RV to stop any debris from getting inside, then gently vacuum both sets of coils with a soft brush attachment.
-
Clean the coils. Mix dish soap and water in a spray bottle and spray down both coils until they are wet. Let them sit for several minutes, then wipe them down with a cloth or a soft brush. Finally, give them a final once-over with the vacuum cleaner to remove any remaining debris. You may need to repeat steps three and four if the coils were especially dirty.
-
Inspect, dry and reassemble. After your evaporator and condenser coils are good and clean, inspect the fins for any bent or damaged areas. You can straighten them with a screwdriver or knife, or use a fin comb. After the coils are dry, you can scrub down the inside of the plastic cover for the A/C unit to make sure it’s nice and clean as well. Then, replace the sheet metal casing for the evaporator coils and restore the (now) clean plastic cover.
4. A Broken Thermostat May Be the Cause of Your A/C Freezing Up
Your RV air conditioner may freeze up if you have a broken thermostat, which you can usually identify as the problem if your A/C only works when you continue to turn down the thermostat.
You may need to replace your thermostat if it’s broken or old. To check your thermostat reading to learn if it’s accurate, check it with the reading from a thermometer, then compare the two readings.
If they are the same or very similar, your A/C issue isn’t a problem with the thermostat, but if they are different, you may need to replace your thermostat.
5. Air Leaks Can Cause Air Conditioner Issues
Again, since airflow issues are the most common causes of problems with an RV’s air conditioner, air leaks can be one of the issues you’ll find as the cause when your A/C isn’t working properly.
If the A/C unit doesn’t put out a strong airflow, there may be a leak in the air duct system.
You can usually find the leak if you remove the cover and inspect the air ducts for any holes or cracks. By covering them with HVAC tape, you can quickly and easily solve the problem.
6. Damage to Wiring May Reduce A/C Unit Efficiency or Operability
If you have checked all of the other common issues I’ve listed, you may have an electrical issue and the air conditioner’s wiring may need attention.
Things that can cause wiring problems include water damage, overheating, animals chewing on the wires, or normal wear-and-tear.
If some of the plugs stop working, you can remove the plastic cover on top of your RV to see if any of the wires are damaged.
You can replace them yourself, but it may be better to call an RV technician or electrician if you’re not sure.
If all of the do-it-yourself options here have failed to fix the air conditioner, you may need to call a service technician to find and address the problem with your RV’s air conditioner.
Defrosting Your RV Air Conditioner
I already went over what to do if your refrigerant is low and how to replace a dirty air filter. Before you can fix most of these other problems, you’ll need to defrost your RV air conditioner:
- Step One: Remove the cover of the A/C inside your RV and turn on the fan (not the cooling feature).
- Step Two: Let the fan run on high to melt the ice build up (may take a few hours), and place a bucket and towels below to catch any dripping water.
- Step Three: Once the ice is gone and the A/C is defrosted, let it dry overnight (leave the towels and bucket to catch any remaining drips).
Maintenance Tips for Your RV Air Conditioner
As you read through the different problems that could cause your air conditioner to stop working or function inefficiently, you probably noticed some things that seem like maintenance.
If you plan regular maintenance for your RV’s air conditioner, you can actually avoid these problems from happening.
It’s a good idea to do maintenance before or after each trip, especially if you’re only using your RV for a trip or two each summer.
Regardless, as long as you check the air conditioner and other key systems before and after your camping trip, you can find lots of common issues before they happen or at least before they become more serious problems.
1. Clean the A/C Filters
As I discussed earlier, a dirty air filter in your A/C unit can be the cause of lots of problems, including freezing up, poor air quality, and a dysfunctional air conditioner, itself.
It’s also one of the easiest and most inexpensive fixes you can make to keep your air conditioner running at peak efficiency.
When checking the filter for your A/C, be sure to check the one inside your RV as well as the filter that’s beneath the plastic cover on your camper’s roof.
Follow the steps we listed above to vacuum, clean and disinfect the filter on a semi regular basis (at least once per camping season).
When it starts to break down or it gets damaged, replace it as soon as you can.
2. Clean the A/C Unit
Earlier in this article, I went over how to clean your air conditioner’s evaporator and condenser coils.
It’s a good idea to regularly clean these and other parts of the upper rooftop compartment of your air conditioning unit, since water, grime, insects, and other little critters can get inside and may affect the unit’s functionality or efficiency.
It is important to keep the condenser and evaporator coils clean, since clean aluminum fins within the coils will allow air to pass through more easily.
After you’ve cleaned your evaporator and condenser coils, you should also check and clean other parts of your rooftop air conditioning unit such as the motor, fan and fluid lines.
These parts collect rust, moisture, dirt and other debris as you travel.
First, clean any dirt or grime from the unit, and apply some lubricant to your A/C unit’s motor bearing (but never spin it yourself, since you could cause damage).
Next, remove any debris or grime from the fan and fluid lines, and treat any rusted areas. When you’re done, reseal the air conditioning unit and you’re ready to hit the road.

![9 Best Fuel-Efficient RVs for Maximum Gas Mileage in [currentyear] (Class A to Class C RVs) 2 9 Most Fuel Efficient RVs That Offer You The Best Gas Mileage](https://www.rvingknowhow.com/wp-content/uploads/2022/03/9-Most-Fuel-Efficient-RVs-That-Offer-You-The-Best-Gas-Mileage-150x150.jpg)
![The 5 Best 12-Volt TVs for RV use In [currentyear] 3 Best RV TV](https://www.rvingknowhow.com/wp-content/uploads/2020/08/Best-RV-TV-150x150.jpg)
