One of the worst feelings for anyone that has recently purchased a new or used RV is the thought that your roof could be leaking.
Roof damage is one of the worst things that can happen to your RV because it requires a lot of work and it’s very expensive to fix.
But it can be easy to mistake a leaky RV air conditioner for a leaky roof if you’ve never encountered either of these issues.
The former is much less problematic, but it’s still important to recognize and address the issue if your RV air conditioner leaks when it rains.
Here are some of the most common reasons why RV air conditioners leak when it rains:
-
Broken or missing shroud
-
Loose or missing mounting bolts
-
Broken or faulty rubber gasket
-
Deteriorated or damaged roofing or caulking
Now that you know some of the reasons why your air conditioner could be leaking, it’s time to learn how to identify which of these issues you’re specifically dealing with in your RV.
And then, we’ll have to address the easiest solution to each issue so that you have a path forward to an AC unit that doesn’t leak anymore.
So let’s dive in!
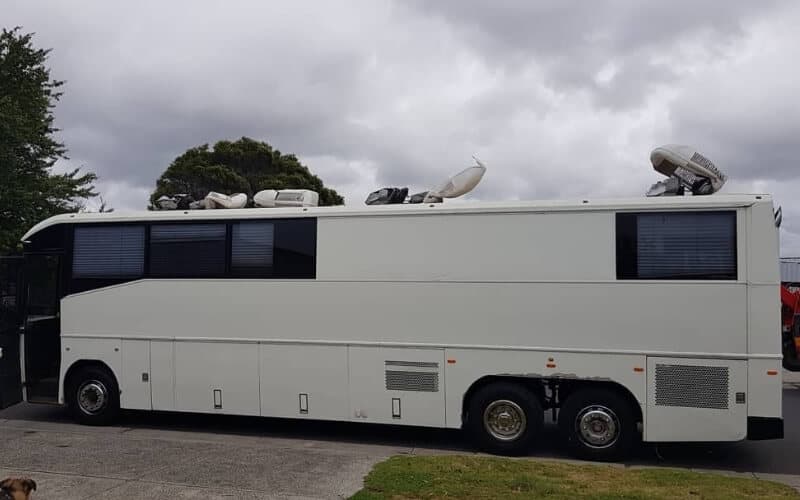
Why Does My RV Air Conditioner Leak When It Rains and How Do I Fix It?
Whenever you encounter anything that seems out of the ordinary with your RV AC unit, your first question should be, “why?” Identifying the cause of the issue is essential to finding the right solution and it will save you time and money because you won’t be trying inappropriate solutions that don’t address the real issue.
So here are all the reasons why your AC might be leaking and some tips for what to do about them:
Broken or Missing Shroud
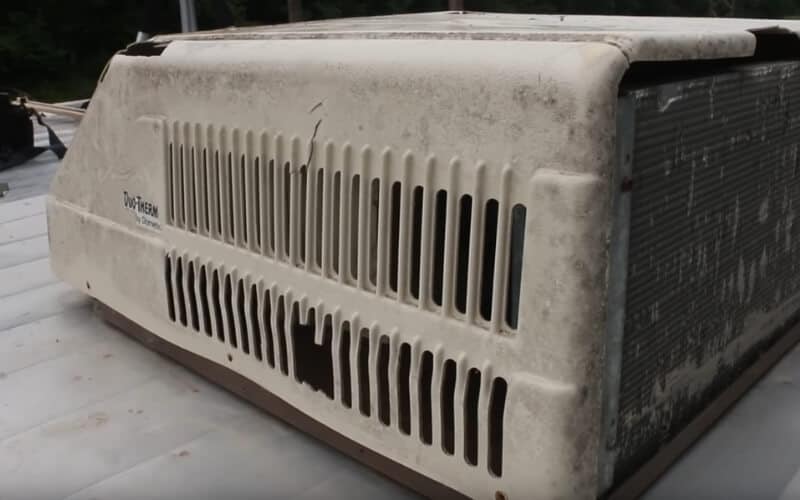
One of the easiest issues to fix is a broken or missing shroud. The shroud is the cover that goes around your AC unit to keep leaves, dirt, debris, and, of course, water, from getting inside the unit.
If it’s cracked, has pieces broken off of it, or it’s missing altogether, this will allow water into parts of your AC unit that it shouldn’t be in.
Identifying this issue is simple, but it does require that you climb up onto your RV’s roof.
If you don’t have a ladder-mounted to the back of your RV, you’ll want to invest in one of the best RV ladders to help you climb up and down safely.
But, once you’re up there, simply looking around the entirety of the AC unit to see if it’s cracked or chipped anywhere.
And, of course, if you don’t find a shroud at all, then you know this issue needs to be addressed.
How To Fix It
This is a simple fix. You’ll just need to consult your RV owner’s manual to make sure you buy the right shroud that’s compatible with your specific RV air conditioner.
And if you’ve misplaced your manual, just Google your RV make and model or give the manufacturer a call directly.
Loose or Missing Mounting Bolts
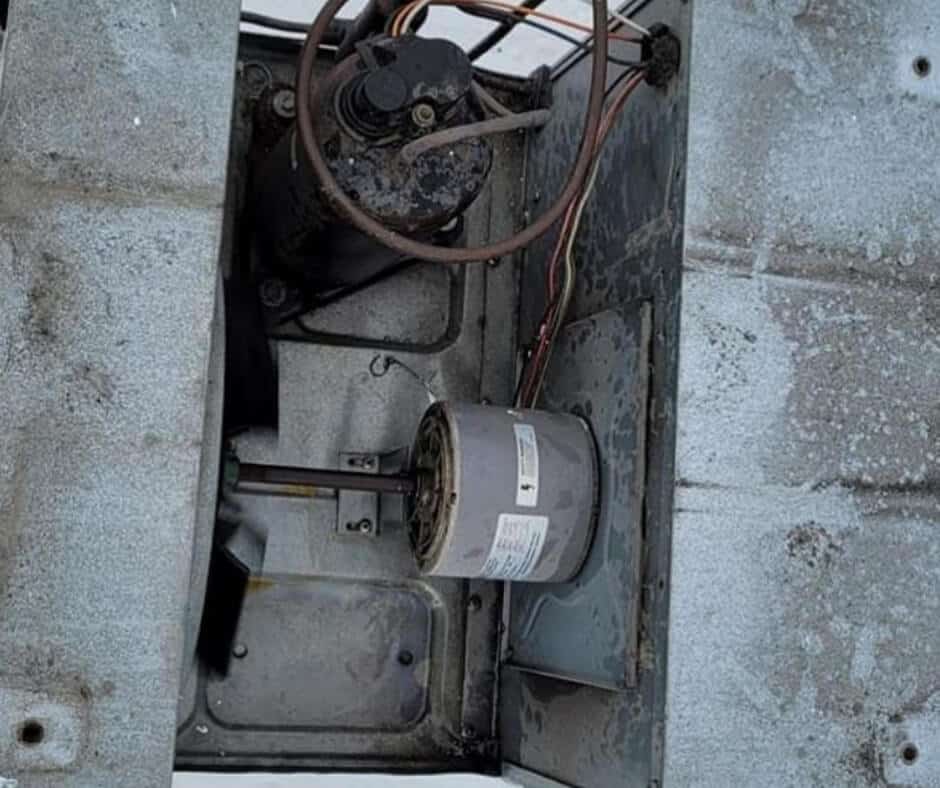
If the bolts that are holding your air conditioner in place are loose or missing, water can leak into the areas around them.
As it then runs into the interior part of your AC unit, it’s going to find the most convenient hole to drip out and onto your RV floor.
So the next issue to identify is whether the bolts holding your AC down are in place and tightened down fully.
To check your bolts, hop up onto the roof and look under your AC unit. The bolts that tighten down your AC should compress the rubber gasket that seals around the edges of the unit.
You should be able to see about a half-inch of gasket around the sides of your AC unit if the bolts are tightened down properly.
How To Fix It
If you think your bolts aren’t tight enough, the easiest way to access them is actually from the inside of your RV.
Remove the interior AC panel to gain access to the bolts and then check each of them for snugness. Most RV ACs use three or four bolts to remain in place.
If you do think they need to be tightened, turn each bolt once and do so slowly so that you can check for tightness.
You don’t want to overtighten these bolts because that will compress the gasket too much, which can lead to the next issue on our list.
Broken or Faulty Rubber Gasket
The gasket around your AC unit seals it to prevent leaks. But if it’s compressed too much, the condensation that’s created when your AC runs will have nowhere to go.
So that’s why the gasket should be compressed to about half of its normal size when you’re installing an AC unit.
While you were up on the roof checking the shroud and how much the gasket is compressed, you should also look at the condition of the gasket itself.
Over time, these gaskets can become dried out and brittle which, as you might expect, makes them more susceptible to cracking.
And a cracked gasket will almost always be a culprit for your AC unit leaking when it rains.
How To Fix It
If you suspect that the rubber gasket sealing around the edges of your air conditioner is broken or faulty, you’ll need to remove the entire AC unit to install a new one.
So, if you’ve addressed the other issues and you’re set on checking the condition of the gasket, you might as well purchase a new gasket one way or the other.
Because you’ll need to do the work to take off your air conditioner if you truly want to check the condition of the rubber gasket, it makes sense to simply replace it once you’ve gone through all that work.
Luckily, this is a relatively simple plug-and-play type of fix, but if you’ve never removed an RV air conditioner before, don’t hesitate to hire a professional to help you.
Deteriorated or Damaged Roofing

In the worst-case scenario, damaged or deteriorated roofing could be leading to water entering your RV when it rains.
Even if it looks like that water is coming through your AC unit, it could be due to roof damage.
And that’s especially true if you’ve already tested to see if any of the above issues are causing your AC unit to leak when it rains.
While roof damage is the absolute last thing that could cause this issue, it might not necessitate a full roof replacement.
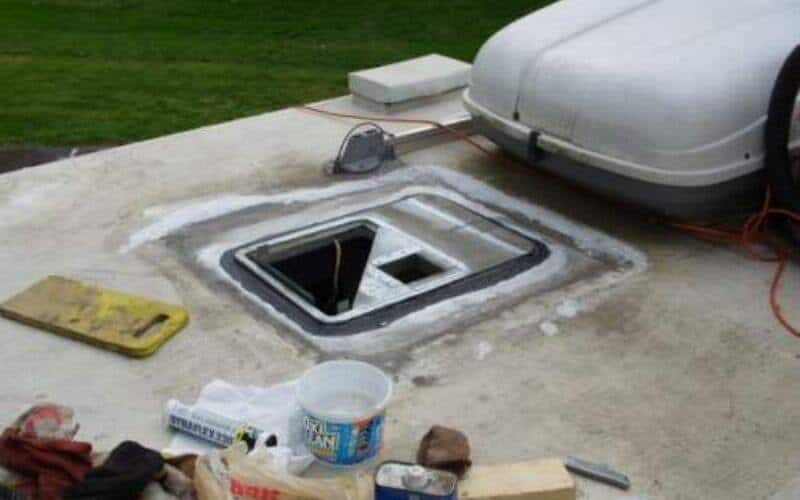
In some cases, your roof sealant or the caulking around the edges of your roof could simply be worn out or cracked.
So, if you think this might be the cause of your AC leaking when it rains, you’ll need to conduct a thorough roof inspection.
When you’re on your roof, look closely at the edges where the roof meets the walls of your RV.
If there are noticeable cracks where it looks like water could get in, then you’ll need to use a roof sealant or liquid spray to seal those cracks.
If you notice any significant sagging of your roof, that’s a tell-tale sign that water has entered and compromised the integrity of your RV’s roofing material.
Short of a full roof replacement, there is, thankfully, a short-term fix to keep your RV from leaking as much.
How To Fix It
If you suspect the sealant or caulking on your roof to be the culprit, then you’ll simply need to purchase one of the best RV roof sealants and coatings.
Then, you’ll need to apply it correctly according to the manufacturer’s recommendations.
If, however, you notice your RV roof sagging, we really recommend seeking professional assistance with a roof renovation or replacement.
But if you’re not ready to go that route, you can also raise the height of your AC unit to minimize leaks in the short-term.
To do this, you’ll need to remove the entire AC unit. Once you have it removed, there are two possible short-term solutions.
One simply involves installing a second gasket to raise the height of the unit.
Otherwise, you’ll need to place shims between the roof frame and the roof itself to give your AC unit extra height and minimize the amount of water that can leak inside through it.
General RV Air Conditioner Maintenance Tips
In addition to identifying and addressing why your RV air conditioner leaks when it rains, it’s also important to have a solid general maintenance routine for your AC unit.
So here are a few tips to help you keep your RV AC unit running in tip-top shape.
Inspect It Regularly
We recommend setting a quarterly schedule to climb up on your roof and inspect the condition of your RV AC unit.
Look at the condition of the shroud and the gasket around the bottom of the unit.
At this time, it’s also smart to look over your entire roof quickly to see if you notice any glaring sealant or caulking issues.
Cover It When Storing Your RV
If you store your RV for any length of time, it’s essential that you purchase an RV AC cover.
This is the best way to protect your AC unit from damage and also keep unwanted water out of your RV when you aren’t there every day to watch it.
Perform ‘Test Runs’
Even if you don’t use your air conditioner on a daily basis, it’s important to turn it on and let it run for an hour or so on a regular basis.
Even if you don’t need it, we recommend trying to turn on your air conditioner at least once every 30 days.
Doing so will help you make sure that it’s functioning properly and can also alert you to any repairs needed before they become larger issues.
Conclusion
Depending on where you live in your RV or the locations you frequently travel, you may or may not use your RV air conditioner a lot.
But whether you’re in a hot climate and you’re running your AC every day or you live in a cooler place where you rarely turn yours on, it’s still important to maintain your air conditioner so that it works when you need it.
We hope that by addressing what to do if your RV air conditioner leaks when it rains, we’ve been able to remove some anxiety from your RV lifestyle.
If you know that the water is dripping from your AC unit (and not through a leaky section of your RV roof) it’ll be much easier, and more affordable, to remedy the situation!


![9 Lightweight aluminum-framed Travel Trailers of [currentyear] 3 Best Aluminum Travel Trailers of 2020 and 2021](https://www.rvingknowhow.com/wp-content/uploads/2020/10/Best-Aluminum-Travel-Trailers-of-2020-and-2021-150x150.jpg)
![The 6 Best Portable Air Conditioners For RVs In [currentyear] 6 Best Portable Air Conditioners For RV](https://www.rvingknowhow.com/wp-content/uploads/2020/06/Best-Portable-Air-Conditioners-For-RV.jpg)