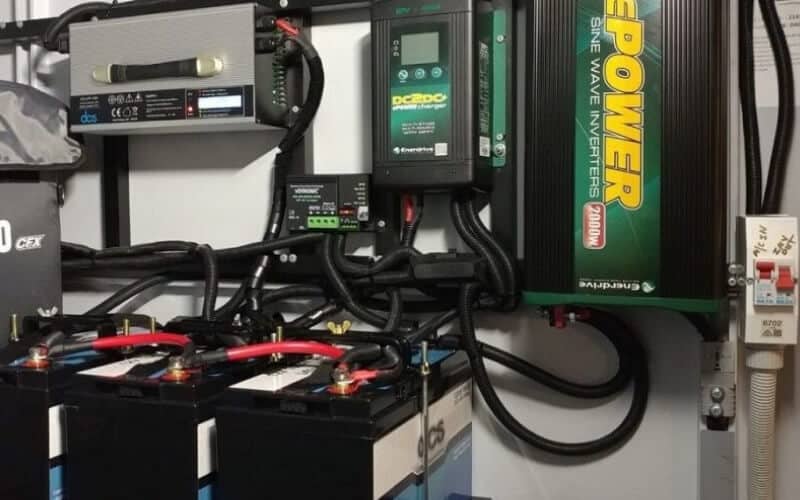
Your RVs converter plays a key role in the onboard electrical system. Unfortunately, this sophisticated device can be prone to problems over time.
One of the first signs of a problem comes when the RV converter isn’t charging the onboard batteries.
If you are having problems with your RV’s converter, a quick check of key systems might help you troubleshoot the problem to find the right fix.
Here are some of the most common reasons why your RV converter is not charging the batteries from shore power:
To accurately troubleshoot the problem with your RV converter to find out why it’s not charging the batteries, starts with a closer look at what a converter does to help determine the underlying problem.
What Does An RV Converter Do?
An RV converter essentially alters 110 volt AC from a source like an RV park’s shore power to The 12-volt onboard RV batteries.
This means changing the current from AC to DC. This is the opposite of the RV’s inverter which changes DC power from the batteries into AC power used by a lot of common appliances like your RV’s microwave.
When your RV’s converter is working properly, it should have a voltage reading between 110 to as much as 130 volts. This will translate into a reading at the onboard batteries of 11 to 13 volts.
If you are seeing numbers that are less than this, or inexplicably higher, on a multi-meter, then chances are there is a serious problem with your converter.
You can take the time to troubleshoot it and fix it yourself, or if you have the extra budget, you could simply choose to completely replace it.
How Much Does A New RV Converter Cost?
When you have a problem with your RV converter, you might be tempted to simply purchase and install a new converter.
Unfortunately, the cost to completely replace an RV converter can vary a lot. A smaller converter in a lightweight travel trailer might only cost between $125 to $150.
However, a converter for a much larger Class A motorhome, with its complex electrical system could run you as much as $1,500 and certainly requires professional installation.
If you attempt to install it yourself and there is an electrical fault, later on, your RV insurance provider might not cover the claim.
It could also void that portion of your warranty coverage. So, even after you have purchased the part, you truly should seek out a licensed, and certified installer.
8 Reasons Why Your RV’s Power Converter Is Not Charging The Batteries And How To Fix?
If you are a little bit handy, and you happen to have an electrical multimeter or voltage meter you might be able to troubleshoot why your RV converter isn’t charging the batteries.
In some cases, you might even be able to complete the repair yourself.
The following troubleshooting steps will help you narrow down what the problem or problems might be with your RV’s converter or batteries.
1: Corroded Battery Connections
If your RV converter not charging batteries when plugged into shore power you need to take a close look at the contact posts of your RV batteries. Sometimes a buildup of greenish or white corrosion can get to a point where the batteries can’t receive a charge or receive a minimal charge.
It might not even be a true technical fault. The corrosion could simply be preventing a proper connection to the rest of the RV’s electrical system.
To Fix This Problem Check And Clean The Batteries
The battery posts and connection hardware will need a good cleaning. This calls for:
-
Mix two tablespoons of baking soda with 2 tablespoons of water
-
Stir into a thick paste
-
Carefully disconnect the power lead and ground from the RV batteries
-
Rub some of the paste on an old toothbrush or a small wire brush
-
Gently scrub the battery terminals and the attachment components
-
Let the paste sit for 5 to 10 minutes
-
Carefully wipe the terminals and components with a clean paper towel
-
Reconnect the components
Once the battery terminal and components are clean you will need to check if the batteries are indeed capable of holding a charge.
2: The Batteries Losing The Ability To Hold A Charge
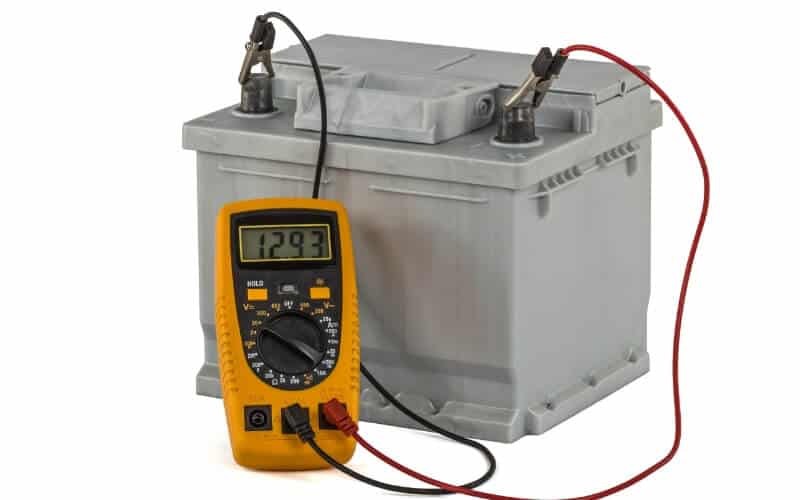
If your batteries are clean and pristine, the next thing you want to do is check their ability to hold a charge.
To do this you’ll want to hook them up to a battery charger for several hours to get each battery to the maximum. Then disconnect them from the RV. This essentially isolates your electrical system.
If you check the batteries with a multimeter or voltage meter an hour later, they should still give you the same fully charged reading.
If the voltage numbers are going down, then it’s likely a battery problem. Most of the time you will need to replace the problematic battery.
To fix This Test The Batteries With A Voltage Or Multimeter To Make Sure They Are Holding A Charge
You will need to replace the batteries with a new one or reconditioned 12-Volt RV batteries.
Though if you have the time on your hands, you might be able to find a battery technician who can recondition your batteries for a minimal charge.
This requires opening the sealed battery and working with the kind of components that aren’t safe for the average person.
If the voltage of the batteries holds steady at the maximum charge, then it’s like a converter issue. Further troubleshooting will be needed.
3: A Failure In The Converters Cooling Fan
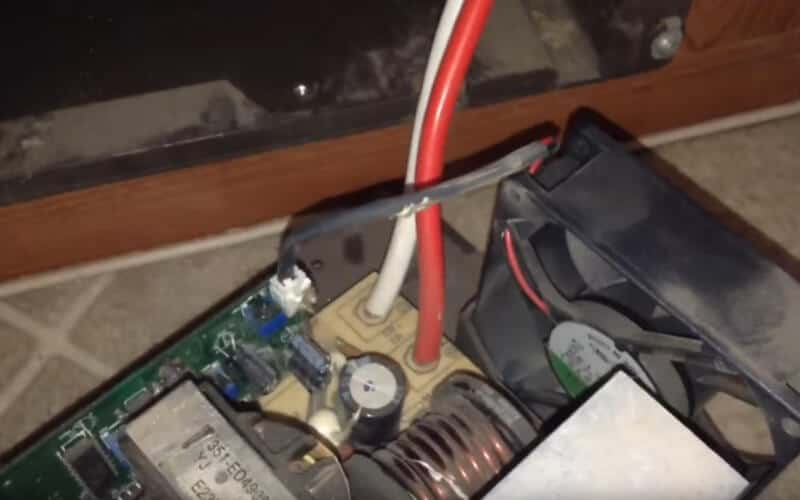
Give the converter a good look for any signs or smells of burned out wires or other internal faults.
The Converter fan is often a common culprit for converter problems. Ideally, the fan should be turning on periodically to help cool the internal components.
If the fan itself has failed, the converter can overheat and potentially damage components or lead to shorts in the system.
Connect the multimeter to the power fan’s power source. If it’s not getting sufficient current, you will need to find what’s causing the problem.
To fix a problem like this Inspect The Converter Fan
You will need to replace the converter fan. This calls for sourcing the exact replacement part. Then you will need to open the housing to physically replace the converter fan.
4: A Failure In The Converter’s Thermal Sensor
If the converter fan is receiving power but it still feels or smells hot, you should check the temperature sensor with the multimeter.
A defective temperature sensor could fail to start the fan, which in itself could damage the internal components.
To fix this problem Test The RV Converters Thermal Sensor
The thermal sensor will need to be replaced with the exact replacement part from the manufacturer.
It might be possible for you to replace a defective converter fan or a problematic temperature sensor.
Though it is a little bit trickier than replacing a converter fan.Here again, you may want to consider seeking a professional installer to both sources the correct part and install it according to the manufacturer’s specifications.
5: Failure Of A Diode Or Other Circuit Board Component
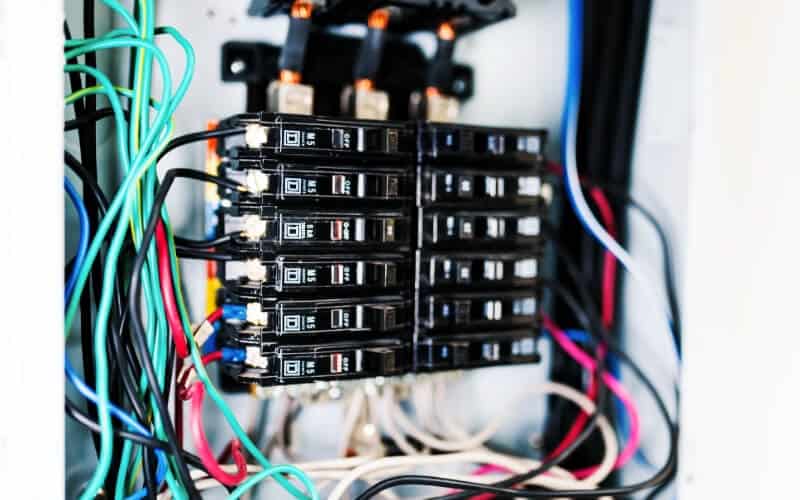
Sometimes a surge in power from the RV park’s shore power can trip a breaker or a fuse.
Double-check each one to make sure it’s in good working order. Sometimes the breaker or fuse itself can be bad and needs to be replaced.
If there isn’t an obvious fault in the circuits, you might want to test each one individually. Simply remove each fuse or turn each circuit breaker to the off position.
Then turn on light switches or appliances for each circuit as its listed. If they come on when you turn the breaker to the “On” position or install the fuse, then you can rule out a circuit breaker problem.
If the correct circuits in the RV aren’t turning on as intended, it might be a bad fuse or burned out circuit breaker.
To fix this problem Check The Circuit Breaker Or Fuse Box
You can easily replace a burned out fuse yourself. Though a burned-out circuit breaker will require a complete replacement and rewiring.
The panel box might also need to be upgraded. Here again, you’re right on the boundary of what the average do-it-yourselfer can handle.
So, if you do need to replace a circuit breaker, you should consider hiring a licensed and insured electrical contractor.
6: Corrosion On The Circuit Board Itself
This is a little bit more technical, and might not be in something you want to try on your own if you aren’t handy with small hand tools.
To do this you will need to remove the external housing. This usually requires backing out some small screws or releasing tiny metal clips.
If you find a flaky white substance on the circuit board, you are likely looking at a corrosion issue.
To fix this problem Check The RV Converter’s Circuit Board
You will need to carefully clean the corroded circuit breaker. The steps to do this involve:
- Disconnect all power sources to your RV converter
- Thoroughly mix 12 ounces of water with 1-teaspoon of pure baking soda
- Use a cotton swab or a clean paper towel to gently wipe the corroded material away
- Carefully dry the circuit board with another clean paper towel and allow it to air dry thoroughly
- Reconnect the power
7: Resistor And Diode Problems
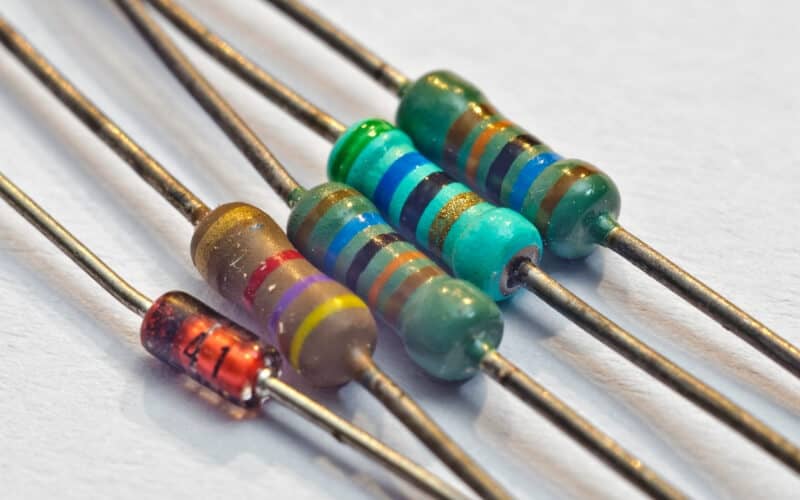
Resistors and diodes do a lot of the work of turning AC power into DC voltage.
If there’s been a problem with the converters fan or thermal sensor, it’s entirely possible that a resistor or diode burned out or was damaged by excess heat.
When this happens you will often notice the burned-out component looking different from others on the circuit board.
To fix this problem:
You will need a soldering iron and a fair amount of experience performing electrical repairs.
You can then soften the solder holding the burned-out resistor or diode in the circuit board.
Then you can install an exact replacement. Still, this is probably something you want to seek out a professional electrician.
8: A Shore Power Problem
Sometimes the shore power source from the RV pack can be the problem. Check the power post to make sure there aren’t signs of a burned-out outlet or some other fault.
Sometimes something as simple as a bent prong or damaged outlet can prevent delivery of the AC electricity to the converter itself.
To fix this problem:
You will need to take the issue up with the RV park’s management staff. Most have an on-site handyman who can fix a problem on their end.
Though they might also offer to give you a different campsite rather than spend a lot of time replacing a problem with the shore power outlet.
Conclusion
When your RV’s converter isn’t charging the batteries it can be a major headache.
If you’re at an RV park you might be able to get alternative AC power, or you might want to try a little troubleshooting on your own.
Testing the battery’s ability to take and hold a full charge is certainly an important first step. It’s also a little bit time-consuming.
So, while you’re charging the batteries, you can take the time to give the RV converter itself a thorough once over.
If the cooling fan or the thermal sensor has failed, you might be able to replace them with the exact replacement part.
Though even if you replace it, the excess heat that likely built up inside the RV converter could have damaged diodes, resistors, and other components.
By the time you’ve completed these steps, and checked the breaker box, the 12-volt RV batteries might be fully charged. This allows you to test the system with your best practices.
If one or more of your RV batteries is incapable of holding a charge, you might need to buy a replacement. Most modern RV batteries are sealed and can’t be repaired by laymen.
If you do find that your converter is damaged beyond what you can reasonably repair yourself, you will need to seek professional repair services.
A certified professional can determine the exact nature of the problem, source the correct replacement parts, and complete the repair right the first time.

