Camping in an RV, camper, or motorhome is a very fun thing to do.
There is one part of RVing, however, that is not so fun…
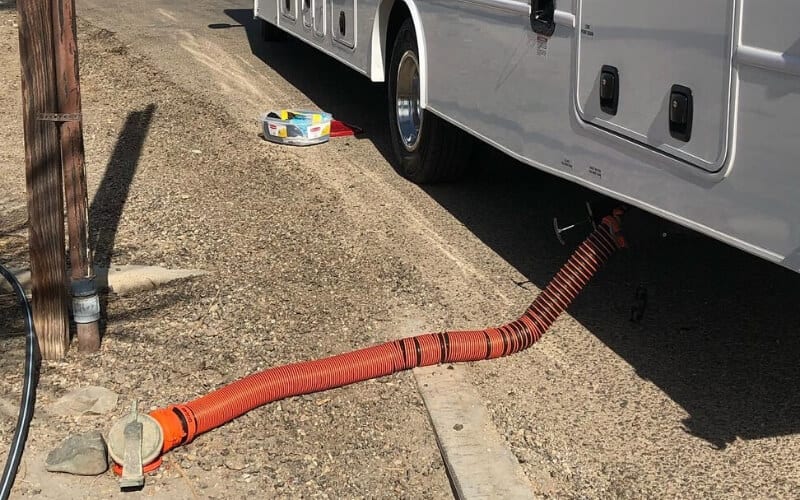
The RV sewer hose (aka “Stinky Slinky”) is everyone’s least favorite part about camping in an RV.
To top it off, many RV parks and campgrounds have their dumps set up so that you actually need an extension RV sewer hose (who wants another Stinky Slinky?!) to reach the septic dump.
Because you might need an extra RV sewer hose, this begs the question: Where can I store my RV sewer hose?
Nearly all RVs and campers have a storage space in the bumper or underside of the camper to store your main sewer hose.
But to store the extra extension RV sewer hose, you will have a few options: you can buy a storage container, make one yourself, or you can DIY a system on your RV to provide extra storage space for your RV sewer hose.
So if you’re looking for a way to remedy kinks and knots in your garden hose? Below, we’ll explain all of these garden hose storage ideas to keep one of your most important camper accessories put away! .
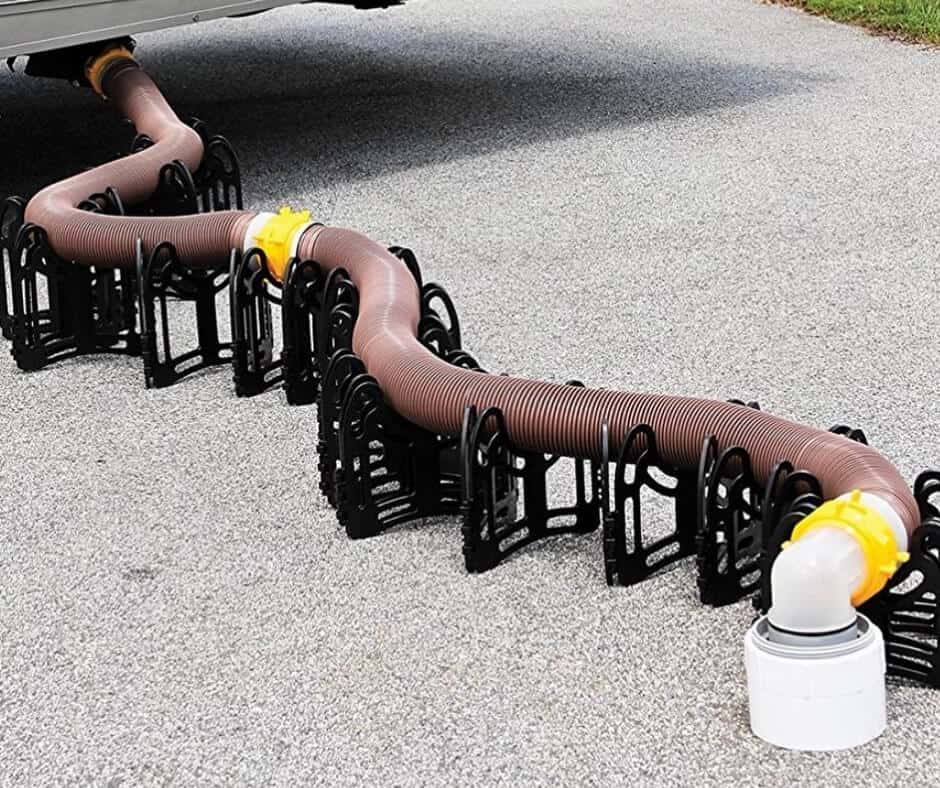
What is The Best RV Sewer Hose for Storage?
Before we talk about ways to store your RV sewer hose, you should know that not all stinky slinkys are created equal.
For example, some RV sewer hoses don’t compact well. They simply curl around and take up loads of space wherever you put them.
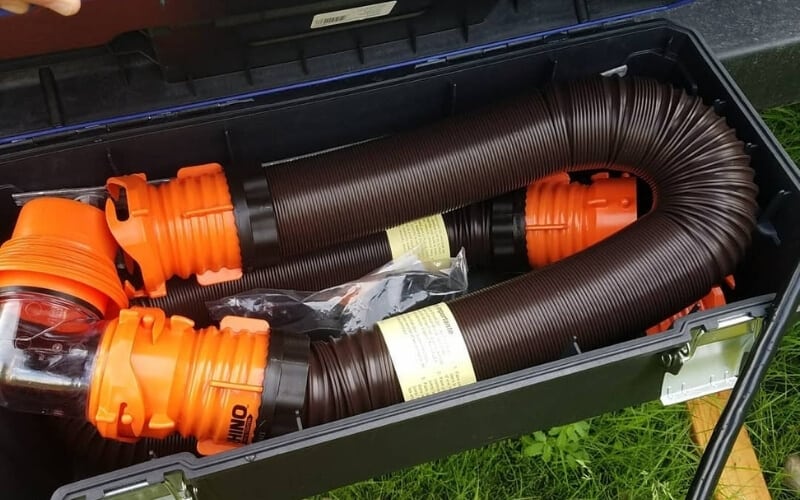
But some RV part makers have recently wisened up and realized that they needed to invent an RV sewer hose that would compact for easier storage.
Camco’s RHINOFlex products are a great example of this. If you want to choose other sewer hoses that suit your needs perfectly, please read our article about best RV sewer hose.
These hoses compact much like a slinky so that a 15ft RV sewer hose can shrink to just 4.5 ft in size!
So, by first purchasing a more easily storable hose, you can make RV sewer hose storage a simpler process.
Things To Do Before Storing Your RV Sewer Hose
When it comes to storing your RV sewer hose, there are a few things you want to have in mind before you think about storing your hose:
Cleanliness
RV sewer hoses transport our unspeakable down a tube and into a sewer dump.
Because of this, all connection points, the hose itself, and the areas surrounding your RV sewer hose will all be contaminated.
That’s why you want to clean your RV sewer hose before you store it.
First, make sure that your sewer dump valve (the lever you pull to open your black tank) is closed because you don’t want any waste flying out when you disconnect your RV sewer hose.
Then, you should prepare a water hose that is separate from your drinking water hose. Use this hose to wash the outside of your sewer hose and all connections.
Once the outside of your sewer hose is clean, you can then disconnect the end that is attached to your RV.
Use the water hose you’re using for cleaning and run a bunch of freshwater down your RV sewer hose so it flows into the dump.
Once you’ve run enough clean water through the hose, disconnect the end that is attached to the dump in the ground.
Lastly, you should spray both ends of your RV sewer hose with disinfectant to kill any germs that might be there.
Excess water
Your RV sewer hose will often have extra water left in it. Try to get as much of this drained out as possible before storing your RV sewer hose.
Any leftover water in your RV sewer hose will start to stink when you store it away, so the less water you have remaining in your hose, the better.
Coverings
Lots of folks cover the ends of their RV sewer hose before storing it. You can do this with plastic bags or you can purchase caps to cover each end of the hose before storing it.
4 RV Sewer Hose Storage Solutions
Speaking of storing your RV sewer hose, check out these DIY RV hose storage ideas & projects to keep your hose neat and tidy.
1: Store Your RV Sewer Hose in a Bucket
It sounds simple, but a 5-gallon bucket is a very affordable and easy option for RV sewer hose storage.
Here are the steps for storing your sewer hose in a bucket:
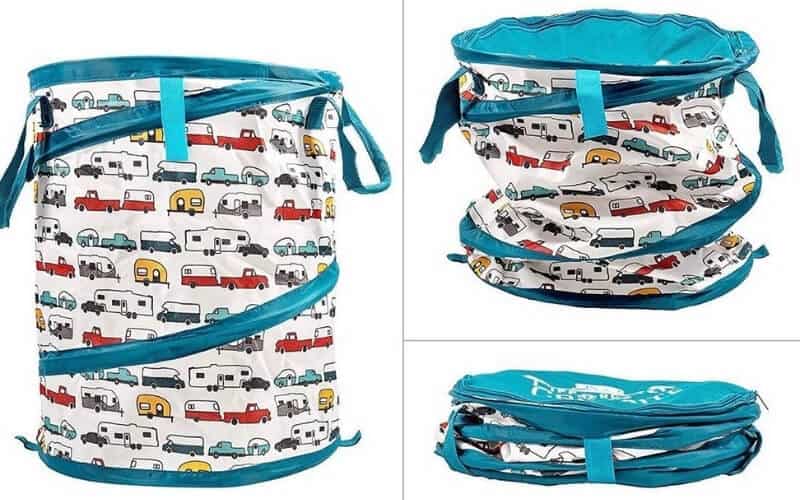
2: Store Your RV Sewer Hose in a Garbage Bag
While not a long-term plan, a heavy duty garbage bag can be great RV sewer hose storage if you don’t have another option.
Sometimes, when out on the road, you might not have time to figure out a bucket or get a special container to store your RV sewer hose.
But garbage bags are readily available and will help you store your hose.To store your RV sewer hose in a garbage bag, you’ll follow the same steps as if you were storing it in a bucket:
- Clean the hose.
- Dry it.
- Cover the hose ends.
- Curl it into the bag.
Caution: If you store your RV sewer hose in a garbage bag, be sure you don’t one day mistake it for garbage and throw it away!
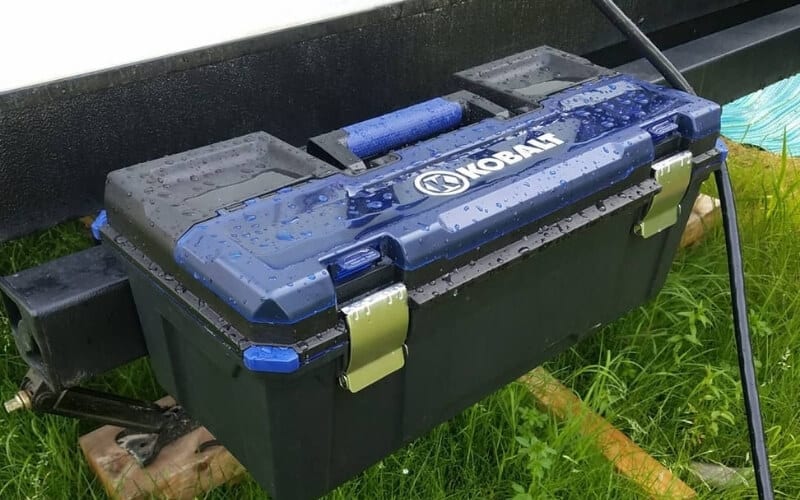
3: Buy a Container to Store Your RV Sewer Hose
Because many RVers need to store the stinky slinky, several companies have created custom containers that are designed to store your RV sewer hose.
Apart from buckets, RV parts companies make long tubes for hose storage, boxes designed to let your hose out a bit at a time, and even circular containers specifically for RV sewer hose storage.
By doing an online search for RV sewer hose containers, you can find a variety of turnkey options.
4: DIY Your Own RV Sewer Hose Storage Tube
Making your own RV sewer hose storage is a relatively simple process that is becoming common for many RVers.
The best way to do this is by using a hollow plastic fence post or a long piece of pipe to create a tube that is long enough to hold your RV sewer hose.
Once you have that, you can mount the tube underneath your RV to make the perfect storage spot that won’t get in your way.
Here is one of the best ways to DIY your own RV sewer hose storage:
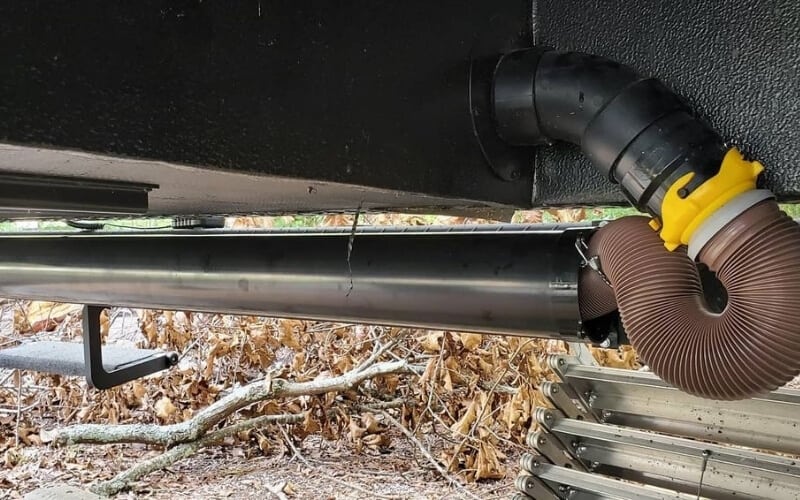
5: Mounting Your DIY RV Sewer Hose Storage Tube to Your Camper
Now that you have a long tube with end caps for storing your stinky slinky, you can attach this tube to your camper.
The idea here is the tube will run the length of your RV and you’ll have the end that you can open in a location where it’ll be convenient for you (most folks put the opening of the tube on the underside of their camper near the hitch).
You also want to attach the tube to your RV in a place where you can get access to the frame – the long metal “I-Beams” that run the length of your RV.
From there, snag some L-brackets from your local hardware store and use them to attach the tube along the frame of your camper.
Now, you’ve got a long tube that will effectively store your RV sewer hose without getting in the way.
What Is The Ideal RV Sewer Hose Storage Setup?
While all the above options are nice ways to create additional storage for an extra RV sewer hose, we still think the best plan is to buy the types of RV sewer hoses that shrink enough so you can store them in your RVs existing storage.
Almost all RVs will have built in sewer hose storage near the rear bumper.
And even though you might need a sewer hose extension for the dumps at many campgrounds, you won’t need so much extra length that you’ll overfill the sewer hose storage you already have.
For example, Camco RHINOFlex makes a 20 ft RV sewer hose with a 15ft extension hose you can buy.
You should never need more than 35ft of RV sewer hose (and besides, any longer and you’ll have trouble getting things to drain right!).
The beauty of hoses like RHINOFlex is that they shrink down like a real slinky to take up far less space than a regular RV sewer hose.
By purchasing a combo like the RHINOFlex by Camco, the chances are very good that you’ll be able to get both hoses into your RVs built in hose storage without creating or buying anything extra.
RV sewer hose storage is a necessity for all RVers. The steps and tips above are what you need to be sure you keep your stinky slinky out of sight, out of mind, and in good working order.


1 Comment
Ronald Dinkel
2 years agoHave you ever put a sewer hose and fittings into a 4 by 4 rear bumper. Fittings do not fit because they the wings on the lug and bayonet exceed 4 inches. All fittings are the same. Watch Camco videos and they stop short of inserting a hose into the rear bumper.