With so much time on the road, all aspects of your RV experience wear-and-tear over time.
Road grit, debris, and environmental damage can all impact your RV windows, causing scratches, cracks, or leaks. When you want to replace a window in your camper, cost will be a significant factor.
How much will it cost to replace my RV window?
The cost of an RV window replacement will vary, depending on certain factors about the window, and whether you choose to replace it yourself instead of hiring a professional. A DIY RV window replacement job could cost as little as $100, while hiring a professional to replace a custom window in your RV could cost a few thousand dollars.
In this article, I’ve done the research to identify the different factors that affect the cost of an RV window replacement so that you can know what to expect.
I will also get into the pros and cons of hiring a professional for the job, and provide the steps for how to replace your RV window yourself.
Factors That Impact the Cost of an RV Window Replacement
It’s a bit complicated to ball-park the cost of an RV window replacement, since there are so many different factors that will affect the cost of the job.
The cost will be higher if you’re replacing larger windows or working on more complicated projects.
In general, these primary factors will impact the cost of the RV window replacement project:
- Window size, shape and type
- Number of panes, insulation and tinting
- Whether the windows are custom or standard, and used or new
The Size, Shape and Type of Window
First and foremost, the thing that affects the cost of a window replacement is the window itself.
If your RV is a common model and has standard-sized windows, the cost for a replacement window will be much lower than the price to replace a window on a rare, vintage or specialty camper.
Larger camper windows are understandably more costly to replace than small RV windows, and a five-foot long window could cost as much as $750 for the window, alone.
Comparatively, you could hire a professional to replace a small side window for as little as $200.
If the window you’re replacing is an unusual shape, like a circle, it could be double the cost to replace than a standard square or rectangle.
You should also know that a frameless window will have a different cost than an RV window with a frame.
Finally, a window with a sliding pane is more expensive to replace than a fixed pane window, so the functional type also impacts the cost to replace it.
Panes, Insulation and Tinting on the Window
If you’re replacing a dual-paned window, the cost to replace it will be higher than a single-pane window.
Dual-pane windows are used to increase insulation and have two layers of glass with a gap between them that contains transparent gas and keeps heat or cold from escaping or penetrating the RV through the windows.
Additionally, you may have to pay more if you want your replacement window to be tinted, whether to match the other windows on your RV or to add more privacy and reduce glare.
Tinting is more expensive, but not by a lot and some RV owners may find it worth the extra cost.
Windows with additional insulation values will also be more expensive up front, but may reduce the ongoing cost to heat your RV.
The cost for a high-quality RV window with tinting, dual panes, or additional insulation can cost between $250 and $600 per window, with something in the $300 per window range being the most reasonable.
Therefore, extra window features like the additional insulation and privacy offered by dual-pane and tinted windows will make your RV window replacement job more expensive.
Standardization and Condition of the Window
An RV window replacement job will be a lot cheaper if you have a more common RV with standard windows.
Whenever customization or age comes in, you’re likely to have to pay more to find replacement parts that will fit or are compatible with your camper, and the cost may very well be double that of the cost to replace standard windows.
You may be able to cut costs a little bit if you source your replacement window from a place for used items, like eBay.
Brand new RV windows will be a lot more expensive, and you really won’t be compromising on quality with a used window, as long as it’s still in good shape.
Should I Hire a Professional or Do a DIY Replacement?
It’s certainly possible for you to replace your RV windows yourself, and therefore complete the job for a lot less (just the cost of materials).
However, you should weigh your skills and the complexity of the job before you decide to DIY.
A simple job could cost as little as $80, but it still requires a lot of time, elbow grease, patience and an extra set of hands.
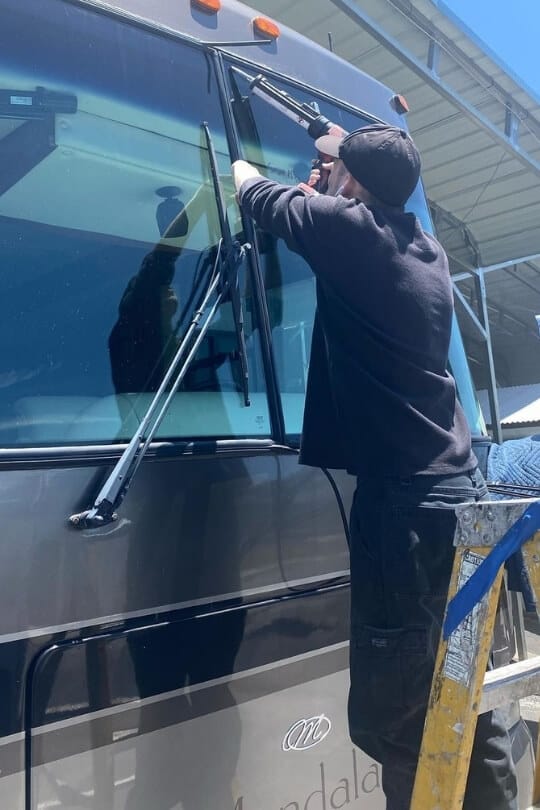
For more complicated jobs and when replacing larger, more valuable windows, you might want to hire a professional.
By choosing a pro for the replacement job, you can breathe a little more easier because they’ll have the right tools, workspace, and experience to get the job done right.
Additionally, a professional window installer’s skills can ensure correct installation and avoid any consequences of a poor or unskilled job.
For example, a pro will make sure the window doesn’t rattle or make noise as you drive, and they will be able to test the gas in dual-pane windows to make sure the levels are correct.
How to Replace RV Windows
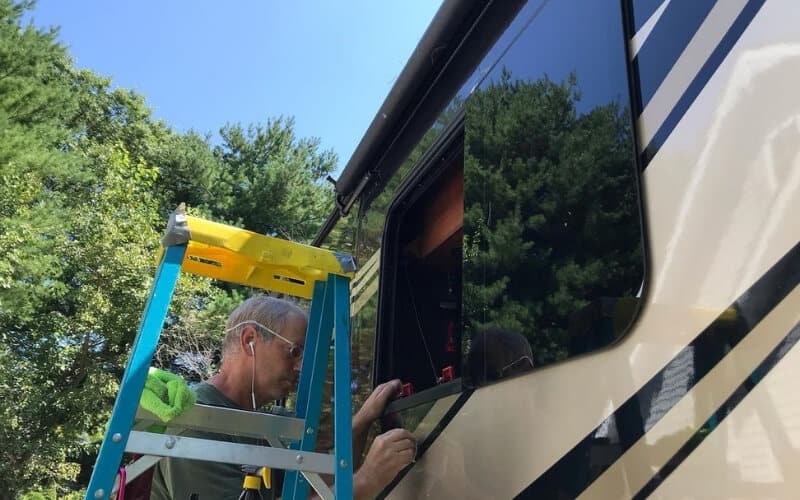
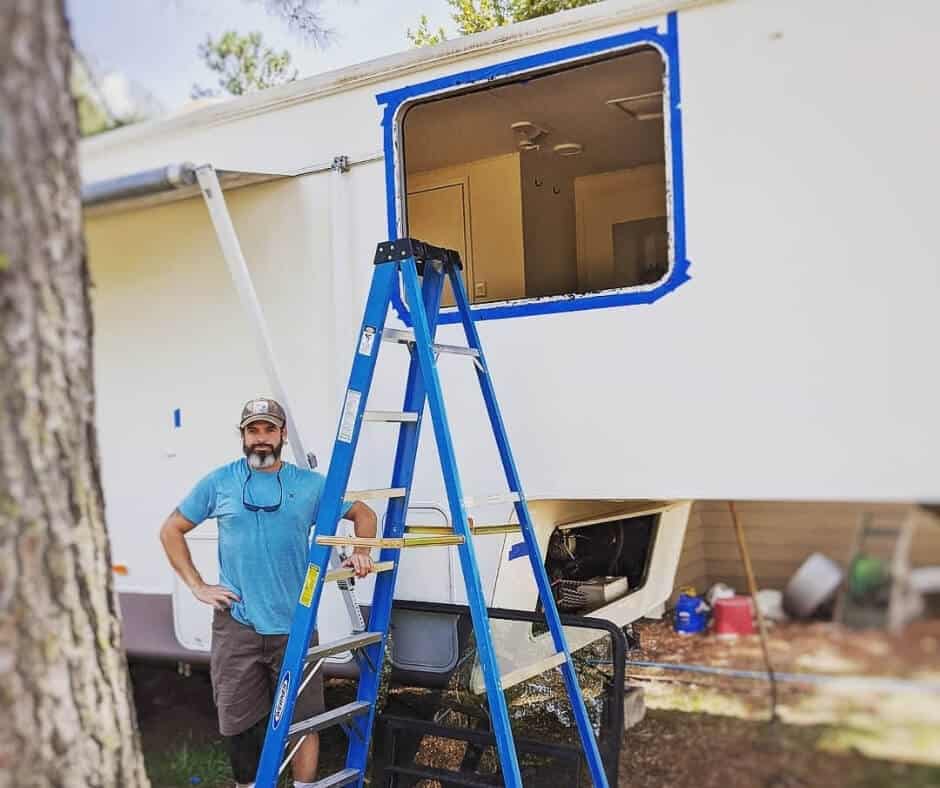
You may want to leave more complicated RV window replacement jobs for the professionals, but it’s certainly possible for you to replace your RV’s windows yourself.
You may want to DIY if it’s a simple job or you’re on a budget, and I’ve outlined all of the steps below.
Before you get started, you’ll need to gather a few necessary tools (in addition to the replacement window(s), of course:
Here’s How To Replace RV Windows Yourself:
Step One: Uninstall Any Window Treatments
If you have curtains or blinds or other window treatments, it’s a good idea to remove them before attempting to replace your RV windows.
This is because they can get in the way and make it hard to reach some screws in the window frame, and the treatments could get dirty or damaged in the process of replacing the window.
Step Two: Remove The Old Window
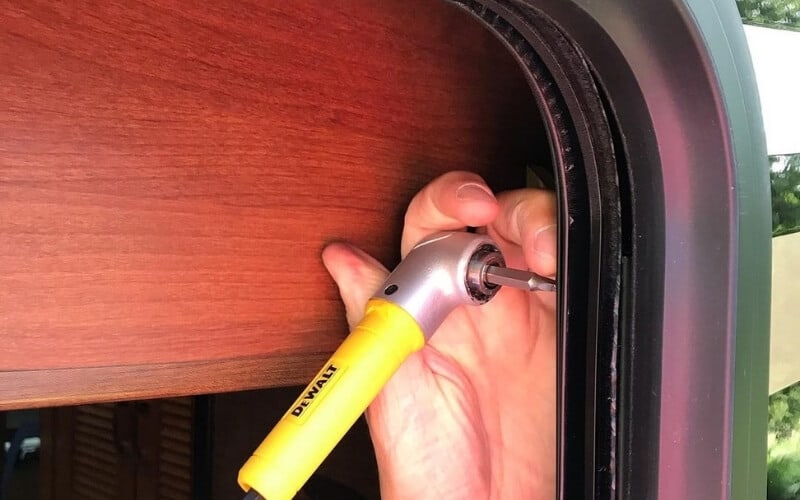
While you’re still inside the RV, locate the screws that secure the clamp ring and hold the window frame to the walls of your RV.
Unscrew the screws in the frame of the old window to remove it, being sure to use the correct screwdriver tip and size for the screws (you don’t want to strip them).
If you are working alone, remove them so that there’s at least a screw on the top and bottom until you’re able to get a friend to stand outside and “spot” the window in case it falls as you remove the last screws. Remove the clamp ring from the window.
Step Three: Free The Window From Its Seal
RV windows have a seal around the edge of the window or its frame. This helps to keep the window weatherproof and airtight, and therefore, it can be a challenge to remove the window from the seal when it’s too tight.
Be careful, though, because you don’t want to break the window as you attempt to remove it, and in some cases, the window will immediately separate from the seal once the screws are removed.
To remove the window, use two people, with one person on the inside of the RV, pushing the window outward and another person on the outside, guiding the window out safely.
Step Four: Clean The Area Around The Hole
Once you have removed the window from the camper wall, you should clean down the edges of the cavity.
This is because dirt and grime may have built up in the tiny gaps and spaces. You will likely also need to clean and scrape old sealant from around the window on the exterior of your camper.
Use a putty knife or a plastic scraping tool, so as not to damage the exterior of your RV.
Once the sealant residue is removed, clean the area with a clean cloth damp with denatured alcohol or some other gentle detergent.
Some campers also have staples securing the metal around the window opening, and this is a great time to check them for any that have rusted. If so, remove them and re-staple the metal to the frame.
Step Five: Seal and Install The New Window
After the area is clean, you’re ready to install the new window. It’s a good idea to first apply rubber sealant to the lip of the replacement window using a caulking gun.
This is an optional step in the process, but it doesn’t take much effort and helps ensure the quality of the seal around the new window.
Be sure to leave no gaps; if you’re using a tight foam core tape sealant, position the roll about ⅛ inch from the window edge, overlapping ⅜ of an inch from where the tape meets at the bottom seal.
Tight foam core tape sealant is great for this purpose since it’s coated elastomer material does not sag and retains shape extremely well.
Once the sealant has cured, you can install the window. First, make sure that the window is right-side up, with the weep holes at the bottom.
Working carefully, lift the window into the hole left by the old window. It’s a good idea to work with a friend to avoid damaging the window; with one person inside the camper guiding the window into place, and a second person outside, slide the window into the opening.
Then, the person outside can hold the window in place while the person inside the RV screws the window tightly into the wall.
Starting with the upper-left screw, install the interior clamp ring onto the window frame, and work in an opposite pattern (i.e. upper-left then lower right, lower left then upper-right, left middle then right middle) until you have securely fastened all screws. Be sure not to over-tighten the screws.
Step Six: Seal, Then Test The Window’s Function
Finalize the installation by applying sealant to the edges around the window frame.
Dynaflex 230 clear finishing sealant is recommended – it is 100% waterproof, does not contain any solvents, and cleans up easily with water if you make a mess during application.
Dynaflex 230 is less than $5 for a 10.1 ounce tube. Apply the sealant to the exterior window frame, starting at the top and working around the radiuses.
To finish, use a spray bottle with water to allow you to soften the sealant and smooth it out before it dries.
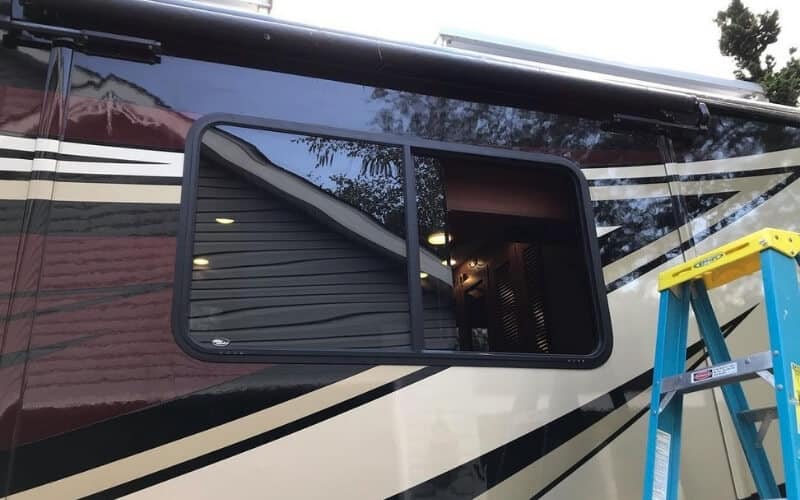
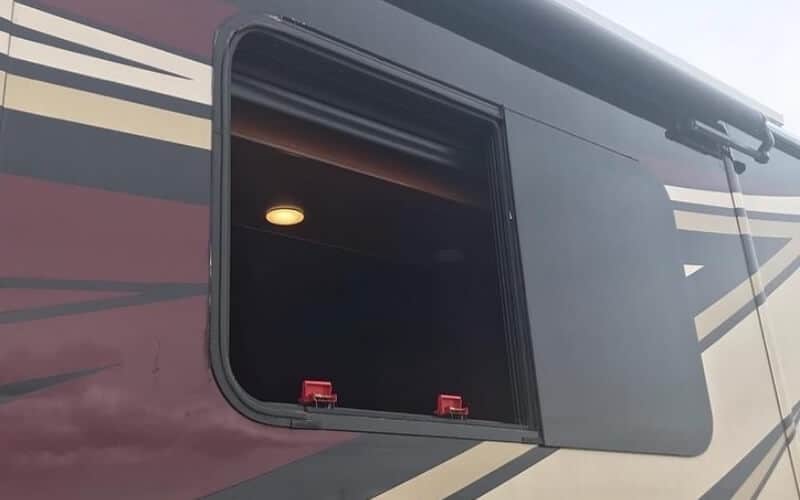
Before you pack up your tools, it’s a good idea to test it by opening and closing the panels to their full capacity.
You can also check to make sure the corners are sealed by splashing the closed window with water. If you notice a leak, you can fix it immediately with additional sealant.
Step Eight: Reinstall Window Treatments
When the replacement window is securely in place and all screws are tightly fastened, and once you’ve checked to make sure the window functions properly, you can reinstall the window treatments.
Conclusions About RV Window Replacement
While a standard RV window may cost less than $100 to replace on your own, you could spend as much as $5,000 on a custom RV window replacement.
A professional window repair done by a reputable RV repair facility could be worth it, especially if you need to replace a particularly expensive or tricky window in your camper.
These facilities have the equipment and skilled workforce to handle the job without breaking the new window or damaging your RV, so that you can rest easy and repair the window worry-free.
However, DIY RV window replacement is possible and could save your budget.
The steps are not very complicated, and as long as you work slow and work smart, you can replace a broken or damaged window for only the cost of the new window and sealant.



![10 Best RV Sofa Sleepers with Storage Options in [currentyear]: Top Rated RV Sofa Beds in the Market 9 RV Sofa Bed](https://www.rvingknowhow.com/wp-content/uploads/2020/08/RV-Sofa-Bed-150x150.jpg)
