As a dry camper, water is your most precious commodity. Sure, food is healthy and electricity is nice to keep your iPhones and tablets charged, but you aren’t staying out for very long once you run out of water.
So to extend your stay you’ll need to be aware of how to reduce potable water consumption and waste during your off-grid camping adventure.
You can’t just go about using water as if it grows on trees (or falls out of the sky on command) when you are boondocking.
Experienced dry campers know this, but the way you use water when camping off-grid must be vastly different from the way most of us use water in our homes.
13 Water Saving Tips For RV Dry Camping
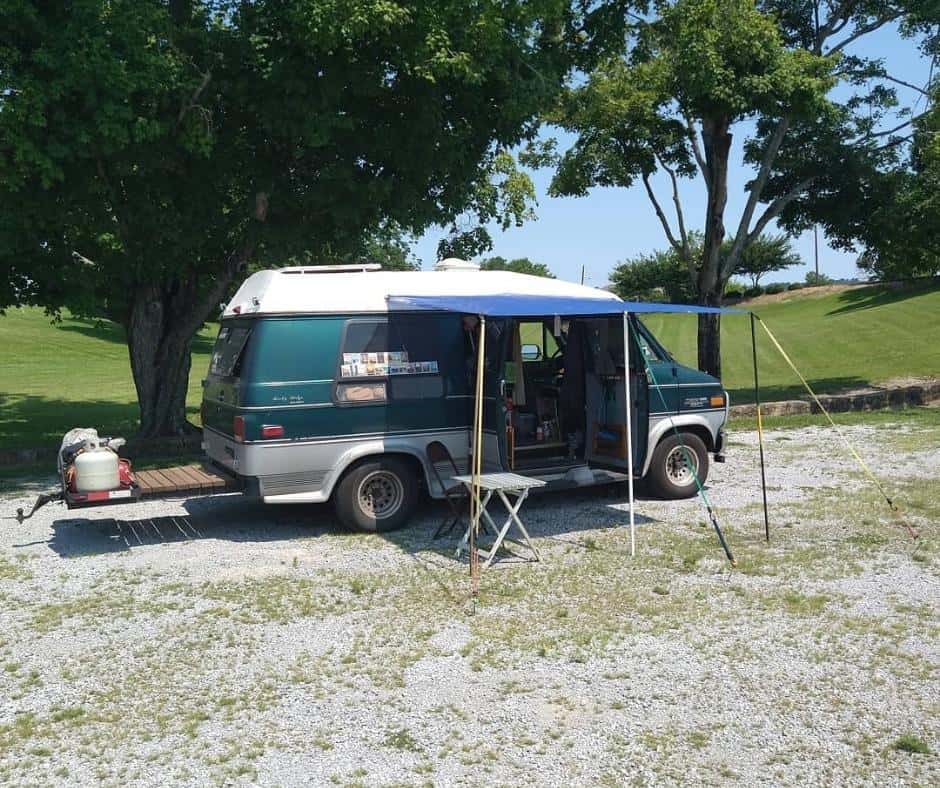
Today, we are going to help you learn about the easiest ways you can converse water in the backcountry. will keep your fresh water tank full longer
These water conservation tips will help you stay hydrated, keep your dishes clean, and, ultimately, enjoy longer dry camping trips!
Here are 13 things you can do to minimize fresh water waste while camping.
Tip #1: Plan One-Pot Meals!

Washing dishes is one of the most water-intensive parts of camping. So the more you can minimize the number of dishes you use while cooking, the less water you will need in order to clean those dishes.
If you don’t already have one, I highly recommend investing in a cast-iron skillet.
As a solo truck camper, I actually make and eat most of my meals in one of these skillets. And you will learn another reason why in my next water-saving tip!
But if you are traveling with multiple people, you can still cook your meals in a single dish and then distribute from there.
If a thinner skillet doesn’t give you enough space to cook a sufficient amount of food for everyone you are traveling with, consider a deeper option or even going with a dutch oven!
Tip #2: Scrape Your Dishes Before Rinsing
As an RVer, you will probably have more ability to collect and store leftovers than truck campers or tent campers.
Still, food scraps leftover on plates or cooking utensils can require a lot of water to sufficiently remove.
That’s why I snagged myself one of these GSI Outdoors Dish Scrapers.
This will help you avoid using unnecessary amounts of water to remove food scraps and other debris from your plates, bowls, and silverware.
From there, you can more easily wet a sponge, clean everything with soap, and give it a brief rinse.
Also, if you are using the one-pot skillet method, you will be able to avoid using soap too because you can more easily scrape debris out, wipe the skillet dry, and then re-season it for future use.
Tip #3: Use Micellar Water For Face Washing
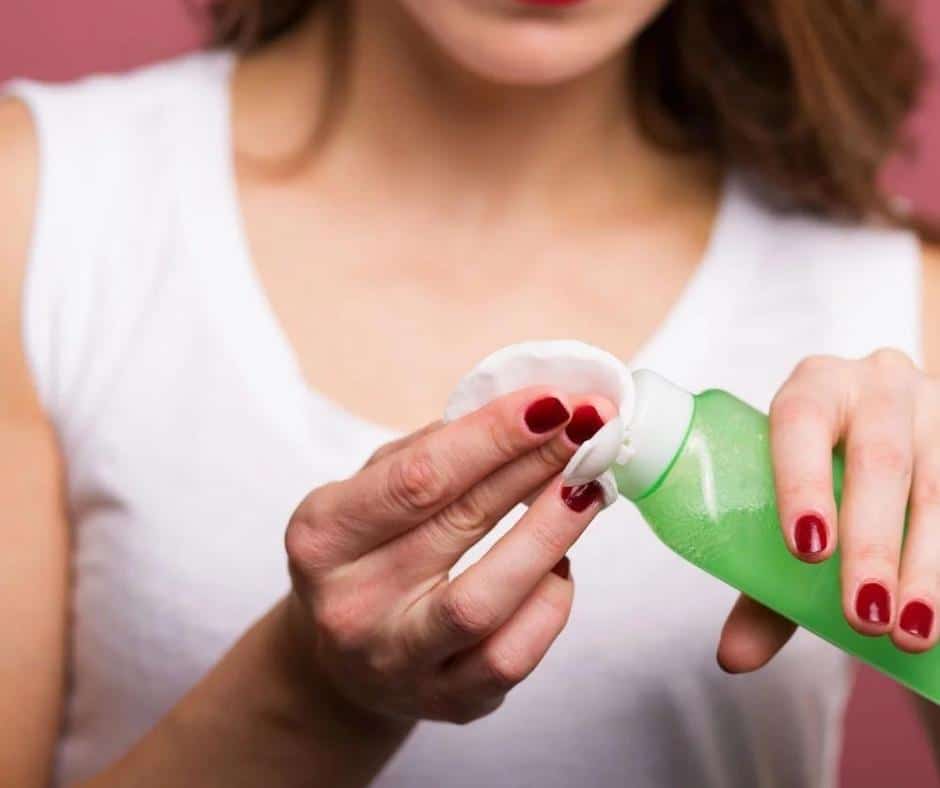
At the end (and the beginning) of the day, I prefer to give my entire face a solid rinse.
Now, I may not make a huge priority of showering daily when I am dry camping. But cleaning my face is absolutely essential.
That would usually require quite a bit of water, but my dermatologist recently turned me on to micellar water.
In combination with round cotton pads, I apply a bit of water to a pad and then wipe dirt off my face, ears, and neck.
On especially dirty days, I may use two cotton pads. But this is still much more efficient than using water every time I want to wash my face (and it is also relatively affordable!).
I think I grabbed a pack of cotton pads and a bottle of micellar water from a CVS two months ago and still have about half of each left!
Tip #4: Upgrade Your Faucets and Showerhead
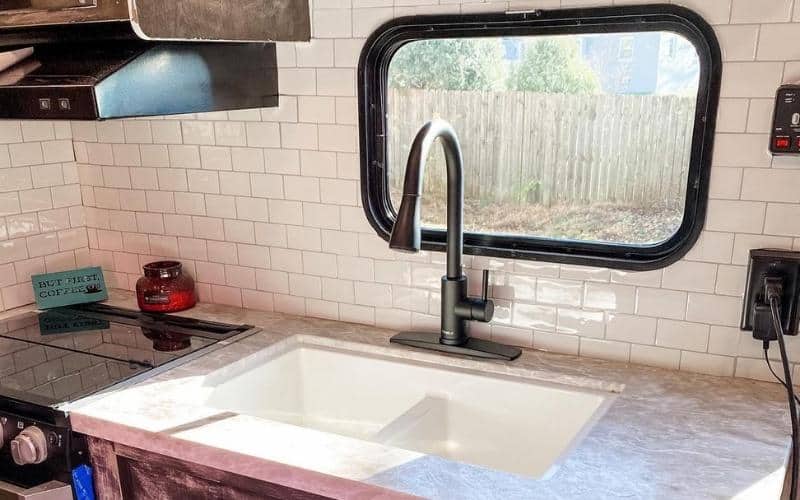
Unfortunately, most RVs don’t come with low-flow, water-conscious faucets and showerheads as a standard feature.
So you may not even realize how much water you are using inside your rig until it is too late.
To help you save water when dry camping, however, you can upgrade the faucets and showerheads in your rig to lower-flow models.
And most of these models can still provide the kind of pressure you need to shower more quickly!
Tip #5: Get A Shower Timer!
Speaking of showers, they may actually use even more water than your dishwashing process.
As a kid, my parents reprimanded us about the length of our showers all the time because we were still getting used to the difference between showers at home and RV showers.
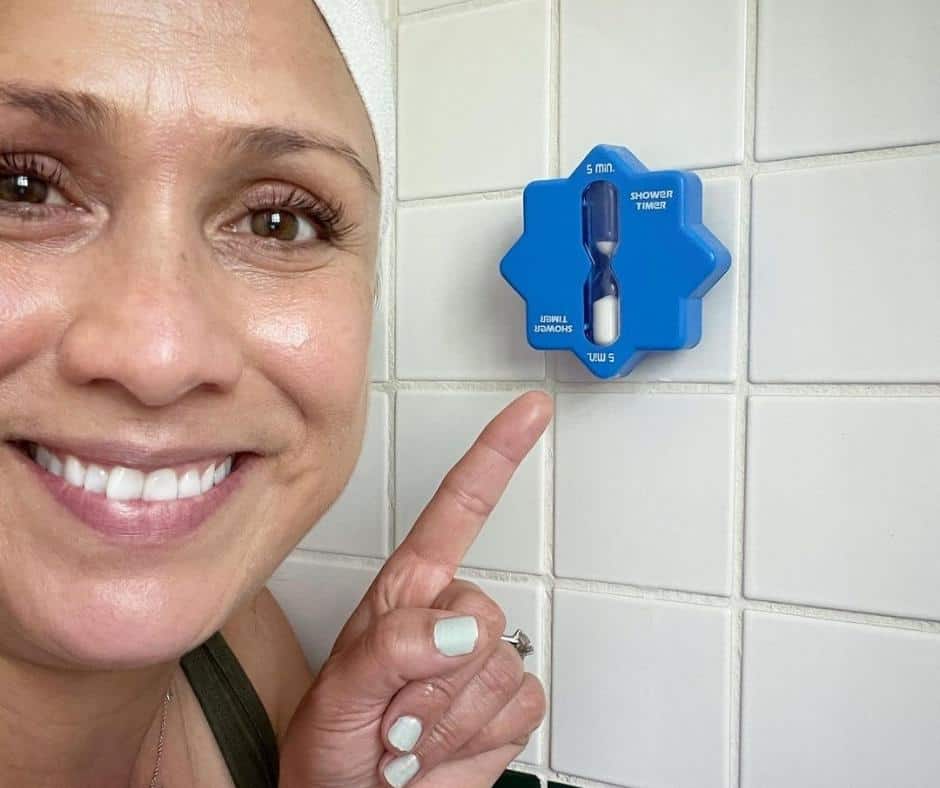
Finally, they purchased a simple shower timer that they stuck to the wall in our RV shower.
Inside was a waterproof hourglass and we were instructed to flip the hourglass when we started our shower.
There was enough sand inside to provide us with a reasonable five minutes to rinse, soap down, and rinse again!
Tip #6: Use Proper RV Shower Etiquette
In addition to limiting the amount of time you are in the shower in an RV, you should be aware that RVers usually shower differently than folks at home.
Although, you could make a strong argument that we should be showering this way at home too.
The process basically goes like this:
Tip #7: Recycle Your Gray Water!
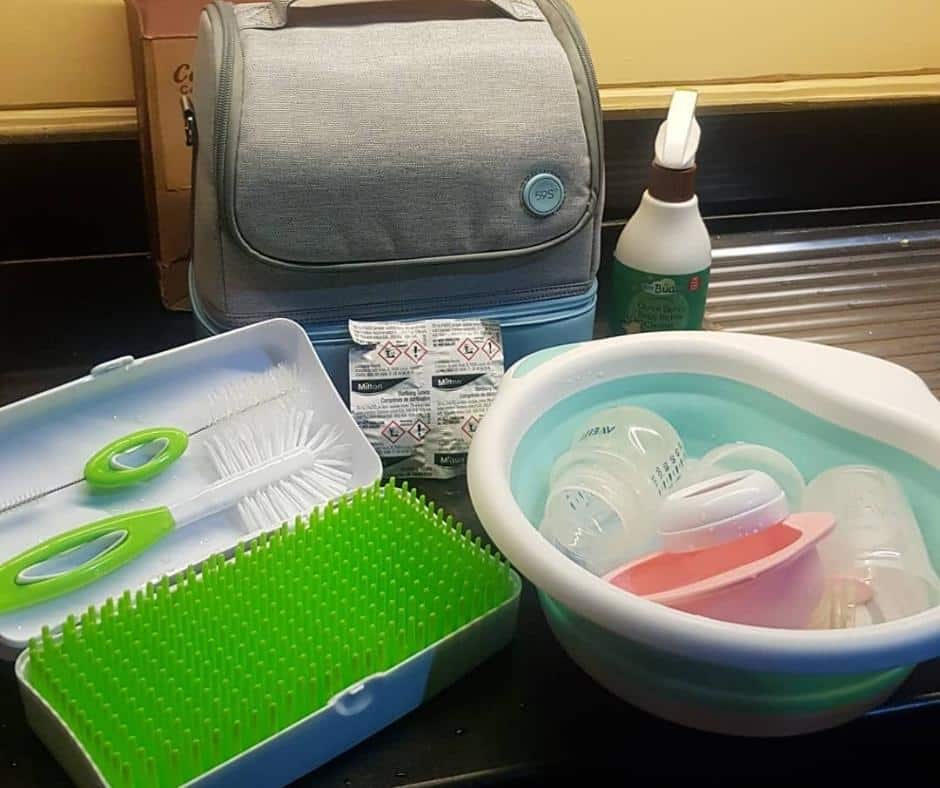
When I do dishes in my camping setup, I will typically fill the largest pot or pan about one-quarter of the way full with water to begin.
I will then use that water for the initial rinse of smaller utensils and plates before washing them with a sponge and doing a final rinse with clean water.
I also have a collapsible sink basin that I use to capture all of the water that I use for dishes.
While I don’t do it very often because of the limitations of my current setup, I could most certainly recycle that water for other purposes down the line.
For RVers, the best way to do this is to capture the water that would normally go down the drain when you are doing your dishes.
Then, place this water in the bathtub next to your toilet and re-purpose it when you need to flush.
That way you won’t be using perfectly clean water to wash away your imperfectly nasty human waste!
Tip #8: Choose Campsites Near Running Water!
Now, we all need a proper shower with hot water and soap every once in a while (I’ll let you be the judge of how often that should be!).
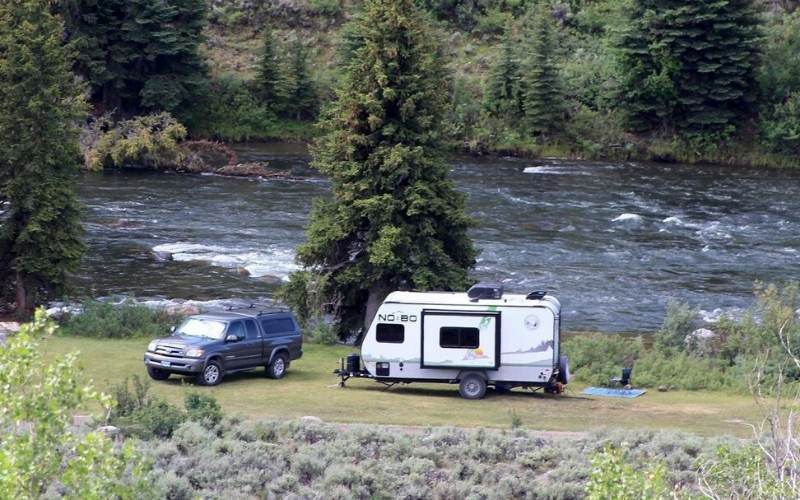
But one way that you can limit the number of showers you take when dry camping is to choose campsites within close proximity of a freshwater source.
When you are boondocking for an extended period of time, daily dips in a running river, stream, or even a clean lake can be just as good as a shower.
Of course, you will need to be conscientious of your soap choice if you choose to take a full-on bath in these natural water sources.
Always choose a biodegradable soap if you are going to be rinsing in a lake, river, or stream.
In many cases, however, you will be able to get away with a simple rinse and hand scrub (yes, you can use a wash cloth if you want) in order to delay having to utilize your water reserves for a proper shower.
Tip #9: Recycle Your Melted Ice!
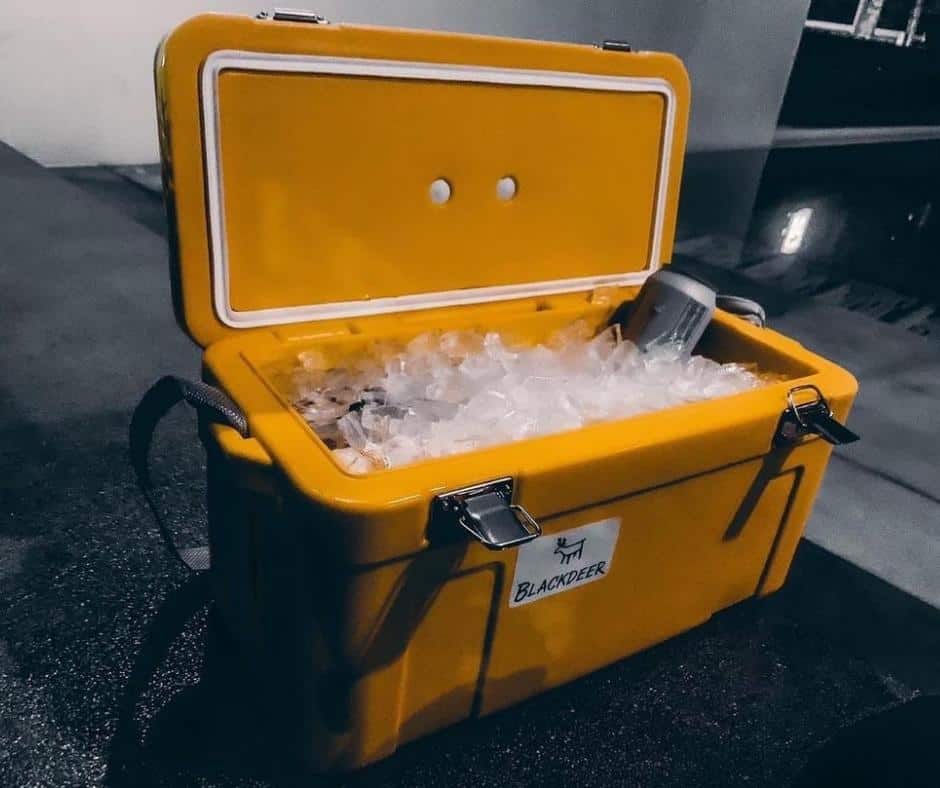
This one is somewhat outside of the box, but isn’t melted ice just water?! If you have a drink cooler in your RV that you fill with ice to keep your favorite beverages cold, think twice before you just dump that water at the bottom of your cooler into the dirt.
That water can be repurposed for dishwashing, face cleaning, feet rinsing, and anything else you need it for.
If you keep your cooler items in enclosed containers or you are just storing canned beverages in there, you may even be able to run this water through a water filtration system and repurpose it for drinking water!
Tip #10: If It’s Yellow, Let It Mellow…
Some people may think this idea is gross but is our pee really that unsanitary?! Besides, it is not like I am going to ask you to repurpose it for drinking water (“cuz it’s sterile and I like the taste!”)
The best reason to let your pee mellow in your RV toilet bowl is that you will be able to save water when it comes time to flush your #2s.
Instead of having to fill the bowl with clean water from your freshwater tank, the bowl will already be full because you are listening to my water-saving tips for RV dry camping!
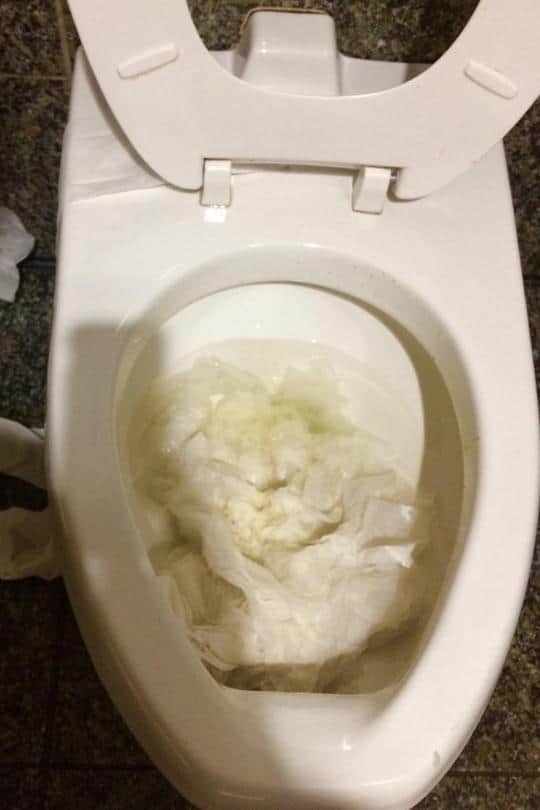
Tip #11: Don’t Flush Your Toilet Paper!
When I lived in Costa Rice for six months, this practice was commonplace.
Many of the septic systems down there could not handle the paper waste. Instead, there was a dedicated receptacle right next to the toilet for you to deposit your paper waste.
So when I came back to the states and purchased my second RV, I already knew what to do.
My previous RV experience had left me scarred by clogged black water lines and complete toilet replacements. I wasn’t going to repeat those mistakes.
Instead, we vowed to put our toilet paper in the trash can underneath the bathroom sink instead of flushing it down the toilet. Ah! Gasp! Didn’t it stink? Did you have to take it out daily?
Actually, we emptied the trash receptacle whenever it was full and rarely noticed the smell.
Of course, we did have a dedicated routine of lighting a match and burning our sage smudge after each “deposit” but that is a small price to pay for avoiding the headache of a clogged sewage system.
And, guess what? You are going to use considerably less water to flush when you don’t have to worry about getting that last stuck piece of toilet paper to find its way down into your black water tank.
Plus, you won’t find yourself in a position of having to do a massive rinse and flush because there is a backup somewhere in your lines.
Tip #12: Use Eco-Friendly Paper Products
This tip is all the way down here at #12 for a reason. I really tried my best not to include it because paper products can be as environmentally harmful as wasting water or burning too many fossil fuels.
That being said, RV dry camping is often a trade-off. And one way that you can definitely save water is to use eco-friendly paper products for cooking, eating, and other activities.
If you do choose to take this route, please be conscientious of the types of paper products you buy. And no, styrofoam is NOT paper!
The best way to go is to find paper products that are made out of recycled paper. These products have already avoided the landfill once and you will be helping to give them a second life.
If you also look for products that are made out of 100% recycled materials and have no added plastics or weird perfumes, you can probably get away with throwing them right in your campfire after you are done eating off of them.
In this way, you can hit two nails with one swing of the hammer (I don’t like killing birds, okay?!).
You will be reducing the amount of water you need to wash dishes and also eliminating the amount of paper waste that goes into the landfill by safely burning it instead.
Tip #13: Catch Rainwater!
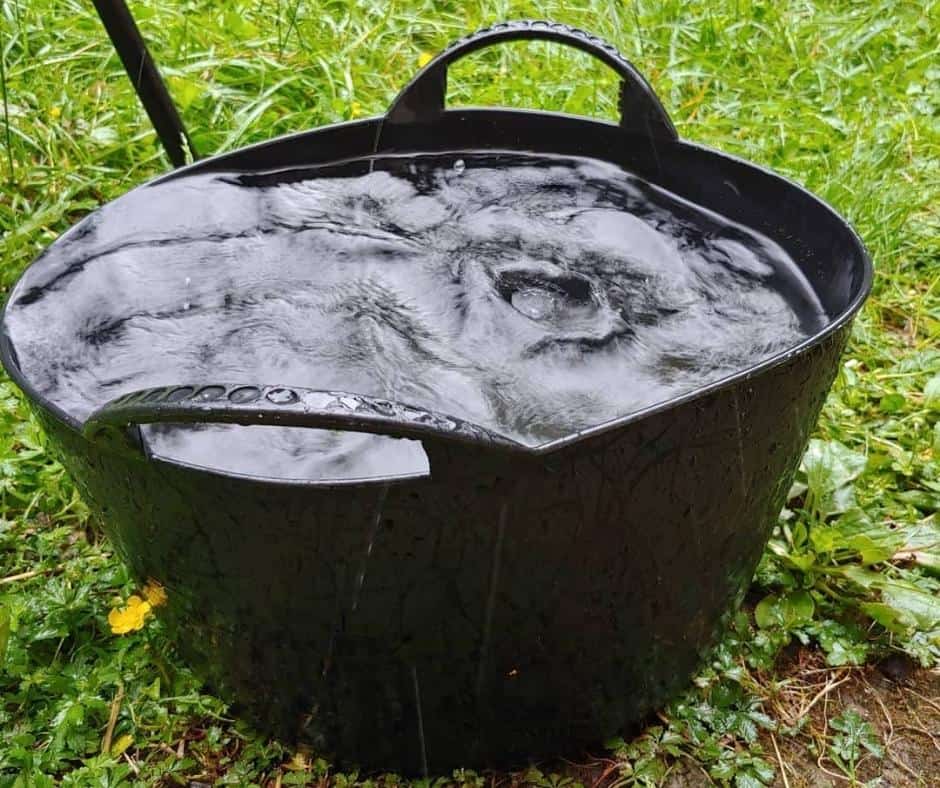
As I am writing this, I am sitting in a campground in West Virginia and it has been raining…all…day!
So I can’t help but think of how much water I would have been able to collect if I left my collapsible sink turned upright instead of turning it over last night.
This tip is, of course, going to be very environment-specific. But if you are traveling in areas that experience frequent rainfall (or even if you get surprised by an out-of-the-blue rainstorm), put a bottle or bucket outside to collect rainwater.
You will be able to use this water later to wash dishes or even just leave it outside to rinse the kid’s feet at the end of the day.
Whatever you end up using it for, it will be better than using up your precious reserves of freshwater onboard your RV!
How Much Water Do I Need For RV Dry Camping?
That is the question of a lifetime and if I knew the perfect answer, I would gladly share it with you.
The problem, however, is that the amount changes based on your water-saving habits and how long your camping trips will be.
For reference, the Mayo Clinic recommends that men drink approximately 3.7 liters of water per day and women consume about 2.7 liters per day.
When you are dry camping, however, you will need water for drinking, cooking, cleaning, showering, and other purposes.
Conservative estimates place the average water usage for an RV couple at approximately 7 gallons per day.
But that can vary greatly if you need daily showers or prefer to bathe in the closest source of fresh water.
There are, in fact, myriad factors that will impact how much water you need for RV dry camping.
Dry campers that prefer saltwater activities will need more water for rinsing gear that can be sensitive to rust and corrosion, for example.
Those that attempt really strenuous hikes or bike rides while dry camping will also need more water than those interested in calmer recreational activities, to provide another scenario.
At the end of the day, your best strategy will be to fill your RV’s fresh water tank completely before your trip.
From there, it can also behoove you to fill up a few additional water storage containers for backup purposes.
Finally, I would highly recommend searching YouTube for videos and resources made by other RV dry campers.
There are many that have come before you on this front and this video from Exploring The Local Life is a great place to start if you are new to boondocking.
Where Can I Find Water Sources on the Road?
If you are dedicated to boondocking in your RV, you probably won’t be parking on a nightly site where water is easily accessible.
So that means you will need to get a little more creative.
Here are a few quick places where you will be able to pull over and fill your tanks (and portable containers) while you are between remote camping destinations:
Conclusion
I don’t think we really have to dive too deeply into personal beliefs to agree on the basic fact that water is important to our survival.
And the longer you spend time in your RV off-the-grid, the more you will need to be conscientious about your water usage practices.
So I hope that you absorb and implement these RV water conservation principles on your next trip.
Not only can they help you enjoy more stress-free boondocking experiences, but they can also help others do so as well because there will be more water to go around for everyone (at least in theory!).
As always, we would like to thank you for taking this time to read all the way through this guide in your efforts to increase your RVing Know How.
Please let us know where you plan to travel this season and, in this case, if you have any other water-saving tips that you can share with your fellow readers!

2 Comments
Elisa Jackson
3 years agoHubs and I just got home from a 17 night/18 day boondocking maiden voyage with our Cherokee Wolf Pup 16Q. We calculated that we used appx. 4-5 gallons of fresh water per day. We captured rainwater (it rained all 17 days), used our melted ice water (when hubs remembered to save it) and refilled our 26 gallon freshwater tank 2x (from a local RV “resort”) while we were there. A few days before we left, we refilled our four 7 gallon plastic jugs but did not put the water into the freshwater tanks, we just used the water out of the jugs. We ended up with almost 10 gallons left over when we were ready to leave. I was meticulous about water use while washing dishes and only let about a gallon go down into the gray tank. We took solar showers (which was our largest water hog) and pooped in degradeable poop bags. (TMI?) Overall, I think 17 days was too long to live that way, but it was rewarding to know that we did it and were able to survive.
Aaron Richardson
3 years agoThanks for sharing your water saving ideas. Great help for RV beginner for sure.