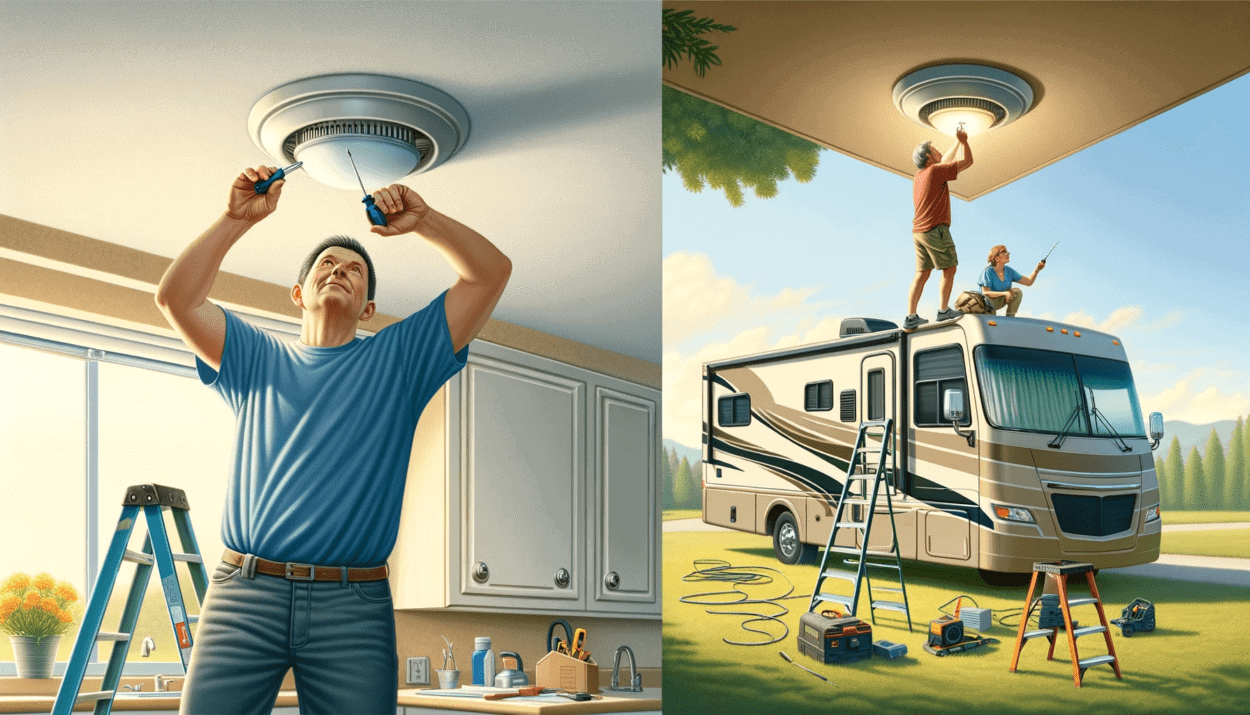
The process of removing RV light covers depends on the RV lights you have installed. However, powering down the RV’s electrical system is always the first step in removing interior or exterior lights. And if you wait until the lights have cooled down, you can use a stepladder to go closer and perform the task more efficiently.
If you own an RV, removing lights will probably become necessary at some point. No matter what kind of RV you have or which light you plan to replace, you’ll need to start with cover removal. Read on to learn how to remove interior and exterior RV light covers and which lights will suit your lifestyle.
Why Learn To Remove RV Light Covers?
Have you ever experienced flickering RV lights? It’s mostly an indication to replace those lights because you wouldn’t want your temporary home’s lights to go out while you’re away for a long trip. Also, to fulfill the lighting requirements, you may need to fix those lights before traveling.
And if you have children, they will play inside your RV quite a bit. A single mis-thrown ball can result in a shattered light fixture. You will then need to remove and replace those light covers.
Moreover, you may need to replace the light covers and lights if you plan to upgrade your RV. Or, you may find some current fixtures that need to be replaced before you can proceed with upgrading your vehicle.
All in all, you will need to remove and reinstall those covers for various purposes. To do that, you must acquire all the necessary knowledge to perform a smooth removal process.
How To Remove Interior RV Light Covers?
Interior RV lights are frequently blocked with bug waste, interfering with the RV’s proper lighting. Plus, they can also degrade or grow dull over time. Fortunately, an RV often has removable covers for its interior lights.
Even if not, removing these covers doesn’t take much work. But you must have the appropriate equipment. Moreover, the optimal approach is to take things step by step, as listed below.
- Gather Your Materials
If your internal light covers have a fastening mechanism, you will need an electrical screwdriver, pliers, and a stepladder. I strongly advise that you perform this task wearing electrical hand gloves to shield your hands from potential current leak hazards.
- Turn Off The Power
When removing RV light covers, always turn off your RV’s power because electricity shock may still harm you even if you wear electrical gloves. Then, wait for the lights to cool down before you start working.
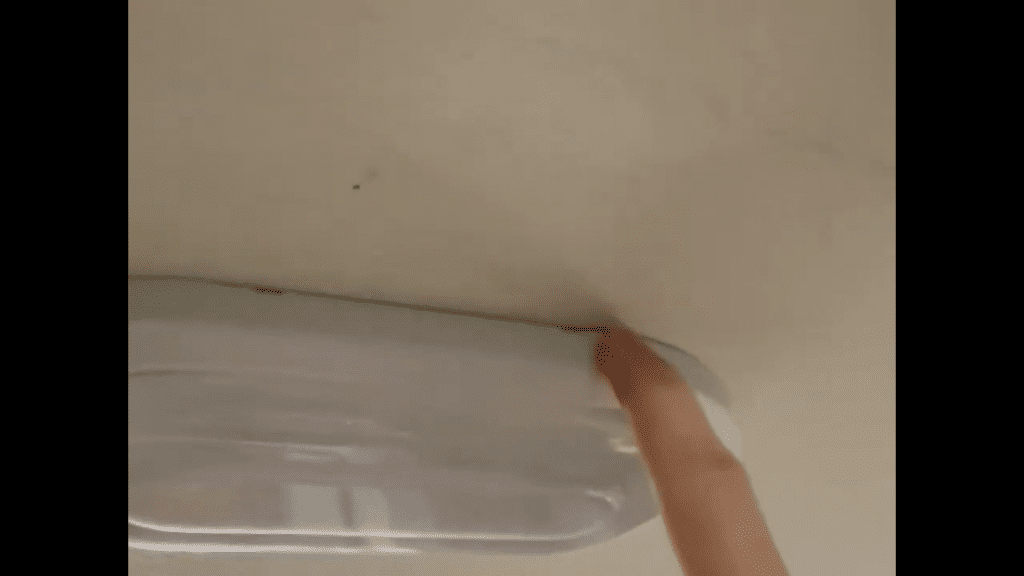
- Locate Cover Tabs
The next step is to search for screw outlets on the lid. However, RV light setups can vary significantly per the manufacturer’s plan.
While some are held in place by a cover and screws, others are only covered by tight plastic covers. But most RV light covers include plastic tabs at the back of the main frame.
Source: Candace Glover
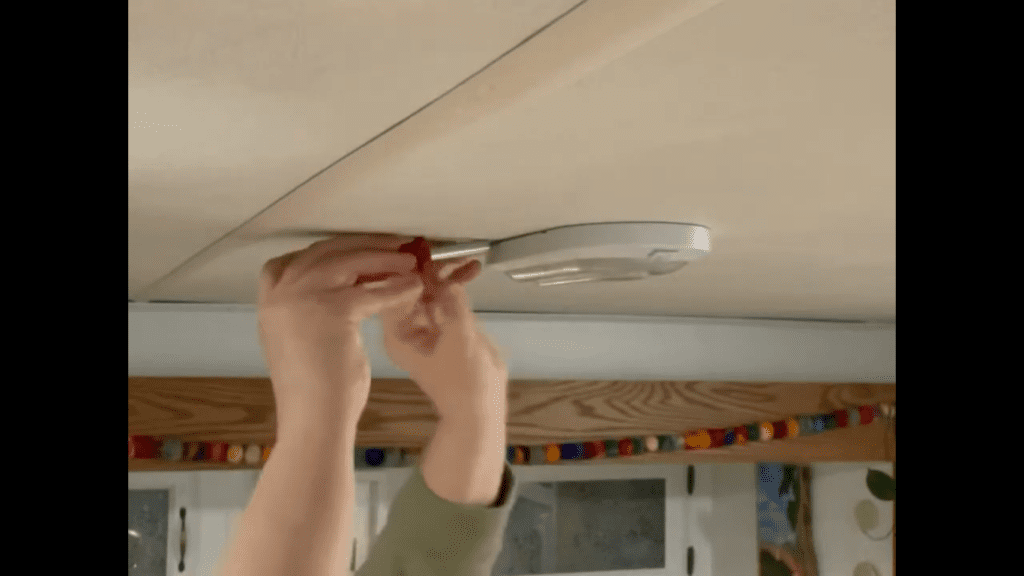
- Release Tabs Or Clips
If your RV lights have tabs, you will find them after removing the brackets with your pliers. And if your RV has bracket screws, you must remove them using your screwdriver.
Source: Candace Glover
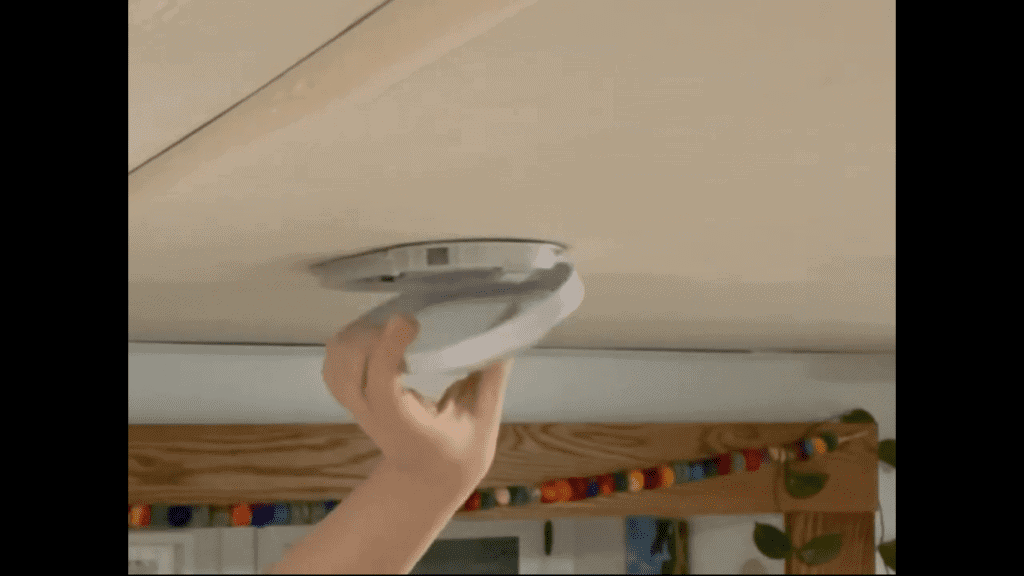
- Remove Cover
This step is based on the type of fixture your RV currently has. You can slide the cover’s panels to the center if it has latches. But if your RV light cover has grooves, you must exert pressure on the cover’s center and sides.
Source: Candace Glover
How To Remove Exterior RV Light Covers?
RV exterior light cover removal is a straightforward process requiring few tools and resources. Whether you need to change the bulbs, clean the light fixtures’ covers, or fix any other lighting-related problems, these steps will help you achieve your task swiftly.
Disconnect Power
Always switch off the power to the lights before removing any light covers to avoid electrocuting yourself or causing damage to the lights.
You can turn off the power on the RV’s electrical panel. If you don’t know the electrical panel location, refer to the manual for your vehicle.
Identify And Remove Mounting Screws
After letting the lights cool down, search for the light covers. Depending on the RV model, they may be near your RV’s top. If not, refer to your RV’s owner’s manual.
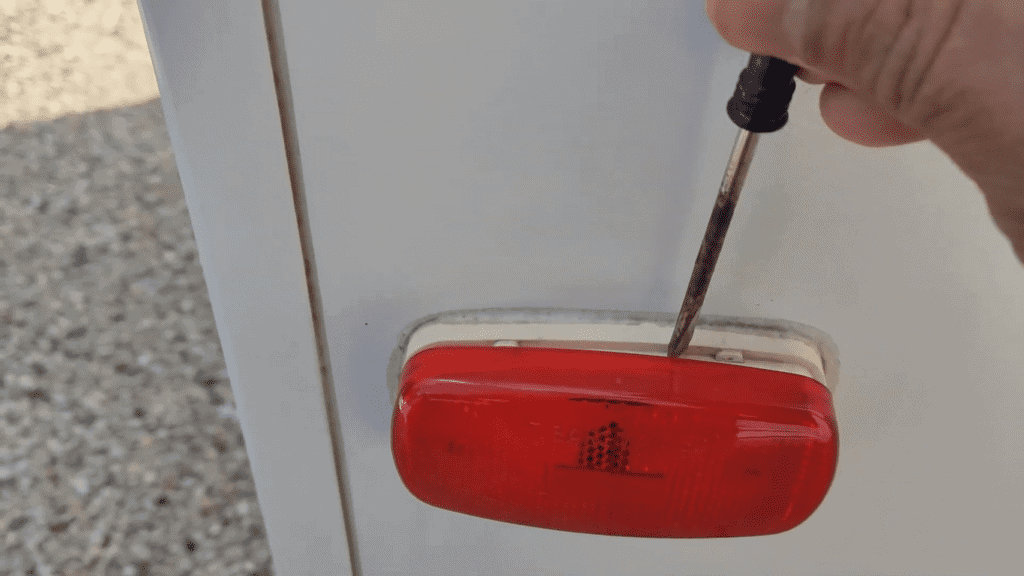
Once discovered, you will have to find the screw. Typically, mounting screws which secure the exterior light cover are placed on RV’s sidewall. You can remove these screws with the help of screwdrivers.
Detach Cover
After removing the screws, pull off the light covers carefully. You can remove the lamp cover with a pointy knife if they are stuck. You can also use a heat gun to loosen the adhesive holding the lamp covers in place.
Source: JSF Auto +
Types Of Fasteners For RV Light Covers
The RV interior light covers are fastened in various ways. You may generally find four types of light cover fasteners in the RV. Although they may each have a unique mechanism, they all generally operate similarly.
- Groves maintain the base and the light cover together. If your RV has this fastener, you must apply some pressure on the center. Often, the cover slips right into the groove on the surface of the lamp base. Latches operate similarly as well.


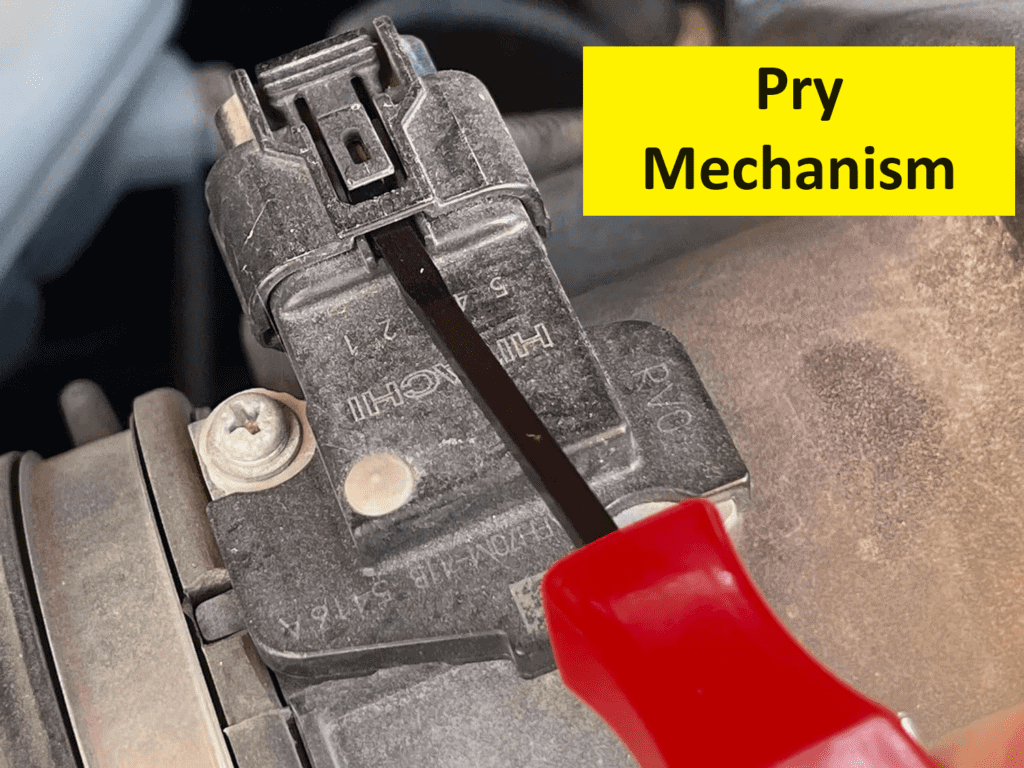
- This cover-removing process can become more complicated if your RV has a pry mechanism. To tackle this, use a tool with a flat, pointy end, such as a screwdriver, and remove the cover with a little force.
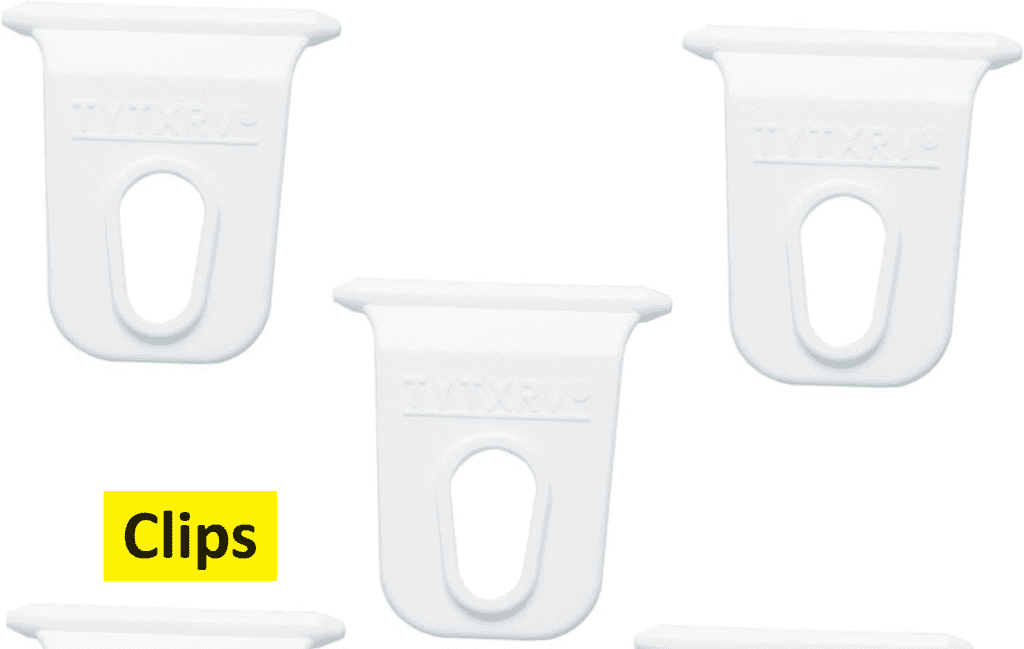
- The push-in mechanism usually uses small clips or tabs to secure the cover. Push inwards on the tabs or clips to remove this kind of fastener. But before pushing the cover back on, ensure it is appropriately positioned so the tabs and clips will line up correctly and the cover will stay in place.
How To Replace The Lights In Your RV?
The process of changing a lightbulb inside an RV is quite similar to that of changing a lightbulb in your home. Let’s break it down into simple steps.
Remove The Old Light
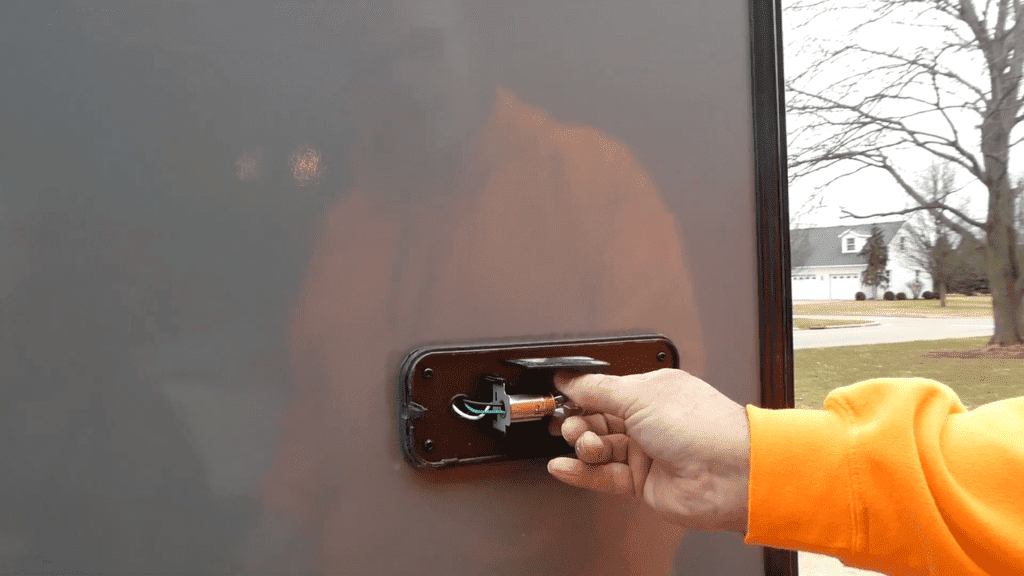
Light bulbs in an RV can be of different types. It may be screwed in, attached by metal clips or pins, or pushed into their sockets.
Source: No Worries RVing
So, before attempting to remove the light bulb, ensure you know how it is fastened. Once examined, you can easily remove the light.
Insert New Light
Inserting new lights can be more challenging because some light bulbs may need to be pushed. Therefore, to avoid breaking the bulb during installation, you should take your time and pay close attention while installing it.
Reattach Light Cover
After inserting the bulb, the final step is reattaching the light cover. You can quickly put those covers back just as you dismantled them.
FAQs
What kind of lights are in an RV?
RVs typically have LEDs, incandescent bulbs, and halogen bulbs.
How do you remove LED lights from an RV ceiling?
First, remove the light fixture using a flat-head screwdriver. After exposing the wires, disconnect them. Then remove the screws around the fixture, and remove the LEDs.
How do you remove an RV light bulb?
Switch off the power, then twist the bulb counterclockwise. Always use a cloth to avoid direct contact with the wires and bulb.
What are the best light fixtures for RV?
LED lights are the best for RVs because they are energy-efficient, produce minimal heat, and have a longer lifespan.

