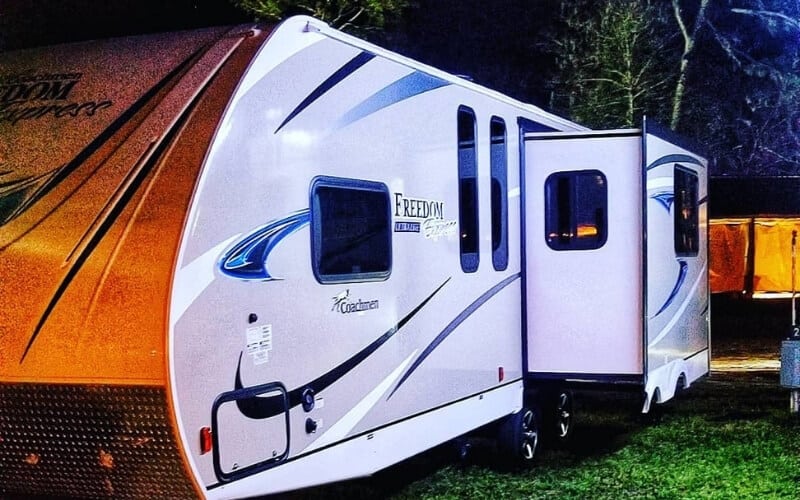
RVs with retractable slide-outs are a very popular way to maximize the interior living space, while also giving you a more compact, streamlined rig while driving down the road.
You see them most often in fifth-wheel camper trailers and motorhomes. Though in recent years they have become increasingly popular in travel trailers.
There are even a few pop-up camper trailers that now have a retractable slide-out section built into them.
Though just like anything with moving parts, it is entirely possible for an RV’s slide-out system to get stuck, breakdown or even fail at the worst possible time.
Chances are it might even happen when you are at a campground, remote campsite or RV campground that doesn’t have a mechanic with RV slide-out experience.
If you happen to be at your intended campsite and you find your RV slide-out section simply isn’t responding, you might be able to manually extend it without engaging the electric components that normally drive it.
How To Manually Set Up An RV Retractable Slide-Out
If you are at your intended campsite and you are hoping to simply set it up, without ruining your entire trip, you might be able to manually extend the slide-out section.
This is not the ideal time to be dealing with a problem like this, but you might be able to set up camp, and give yourself some time to troubleshoot the entire RV slide-out section.
If you find yourself in this position, you might be able to use the following steps to manually extend the RV slide-out using the following steps.
If you can’t figure out what has caused the slide-out section malfunction by the time it comes to pack up camp, you can use these steps in reverse to retract the RV’s slide-out section for the long drive back home.
How To Troubleshoot An RV Slide-Out Problem
Okay, let’s say that you either managed to manually set up your campsite, or you spotted the problem with your RV’s power slide-out system and you are back home where you can try to fix it yourself.
The good news is, that there are indeed some things you can try on your own before you need to call in or bring the RV in to a professional repair service.
Double-Check The Power Source
When you are at an RV park with shore power, the staff often plugs the RV into the power post or pedestal.
If the RV’s power retractable system runs off the shore power connection, a problem in the shore power system might be at fault.
This could be something as simple as a loose connection, a loose wire, a damaged plug or a larger problem with the RV park’s shore power system.
It could even be something as simple as a thrown GFCI that is preventing the circuit from completing itself.
Inspect The RV’s Circuit Breakers Or Fuse Box
These days most RV’s use circuit breakers, though there are still some older RVs on the road that have a traditional fuse box.
If a fuse or a circuit breaker connecting the power retractable slide-out system has burned out or thrown, then it could be preventing power from getting to the mechanical components.
Check For Corrosion On Fuses Or Circuit Breakers And Clean
Acid accumulation and corrosion are a real concern with some older RV’s.
If your RV is older than 7 to 10 years, you might want to also double check the connections in the circuit panel for signs of corrosion.
Though this is something better done at home with the power off than at a rustic campground deep in the back woods.
Inspect The Power Converter
If the previous trouble shooting steps have yielded little to no results, then it might be the RV’s power converter.
Conclusion
While a problem with an RV’s power retractable slide-out can certainly put a damper on your vacation, there are still a few troubleshooting steps you can try to figure out, and possibly correct the problem.
In a pinch you might even be able to improvise a manual retraction or extension of the faulty slide-out section to still enjoy your vacation or at least drive home safely.
If you do feel like you are in over your head, there’s no shame in calling in the professionals to help repair your RV’s power-retractable slide-out’s normal function.

