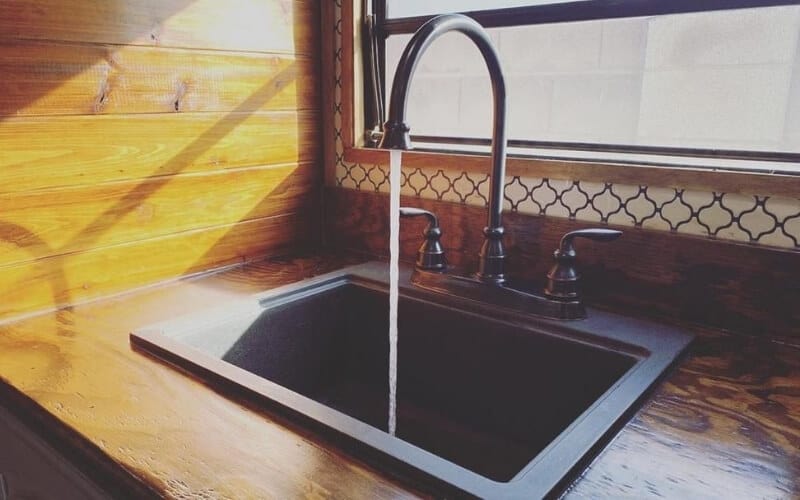
When you step into your shower or turn on your kitchen faucet in your RV, you want to have more than just a trickle of water coming out.
The temptation is to write it off as just being part and parcel of RV life.
Surely you can’t expect to get the same kind of water pressure in your RV that you enjoy from your plumbing at home, or can you?
If you’ve been struggling with low water pressure in your RV, or your RV’s water pressure has suddenly taken a nosedive, it can be frustrating. After all an RV is supposed to provide you with many of the comforts of home.
So, is it possible to increase the water pressure in your RV?
Whether it’s a new problem, or your RV’s water pressure has always been a little annoyingly weak, chances are there’s something you can do about it. It’s certainly well worth our time to take a look at common RV water pressure problems as well as possible upgrades you can make to boost your RV’s water pressure.
There are a few different things that can cause a loss of water pressure or insufficient water pressure in your RV.
In this article, we’ll go a little more in-depth on some of the common causes of RV water pressure problems, as well as tips on how to address them.
Diagnosing And Fix A Problem With Your RV’s Low Water Pressure
There are a few things that can cause a sudden dip in your RV’s water pressure.
If you’ve been enjoying acceptable water pressure in your RV only to have it dwindle to a trickle, there are a few places to start diagnosing the problem.
1: Determine If It’s The RV Park’s Freshwater Supply
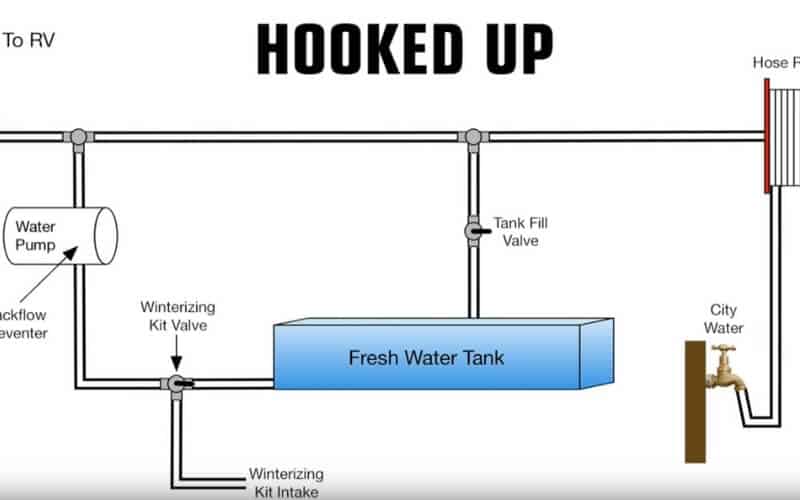
Some RVs are set up so that you can connect directly to an outside water line.
In this configuration, the water pressure of the RV park’s system will influence the water pressure in your RV.
If you suspect it’s the RV park or the campground you are connected to, you can take the following steps to increase low water pressure in an RV.
-
Step 1: Make sure your freshwater storage tank is at least half full.
-
Step 2: Disconnect from the RV or campground’s supplied water line.
-
Step 3: Power up and prime your RV’s onboard water pump.
-
Step 4: Turn on a single fixture as far away from the RV pump as possible.
If the water pressure coming out of that fixture is better than it was when you were connected to the outside source, then it’s probably the RV park’s water pressure.
It could be that they are overtaxed, or there is some type of fault with their system.
You can still get through by slowly filling your RV’s fresh water storage tank to maximum capacity and using your own system.
2: Check The Freshwater Storage Tank
I know it sounds a little overly simplistic, but there’s been more than once where a person was on an RV adventure and didn’t realize their freshwater storage tank ran dry.
In fact, it’s a somewhat common issue for a lot of people who are new to RV travel and perhaps got a little to used to the easy access to water at home.
Especially if the RV you bought has a slightly small freshwater storage tank.
This is one of those times where you whistle and say “Nothing to see here.” Then if you’re lucky you’re someplace where you can get easy access to more freshwater or connect to an RV park’s resources.
3: Look For Leaks In The Water Lines
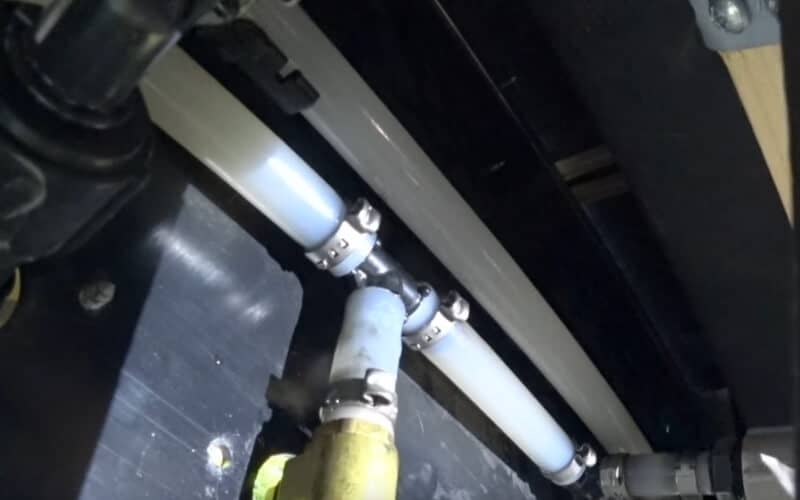
A crack in a water line from the water pump to a plumbing fixture will rob you of water pressure throughout the system.
Even a loosened pipe clamp can gradually steal valuable PSI from your water lines, which can show up throughout the system.
Of course, it shouldn’t take you long to find a problem like this. You can simply poke around in cabinets and panels.
It should be pretty easy to notice drips or pooling water. Fortunately, replacing a water line is relatively easy.
-
Measure the length of the water line from the connection to the main water line to the fixture it supports.
-
Purchase the appropriate length of waterline at a hardware store. Double-check to make sure that it’s the correct diameter to match your RVs water line.
-
Turn off power to the water pump at the breaker panel or fuse box.
-
Carefully disconnect both ends of the water line and remove it. Dry any drips that come out of the various fixtures.
-
Remove the waterline and dispose of it.
-
Wrap any metal connections with plumber’s tape. Then attach the new replacement water line to the main freshwater line as well as the disconnected fixture. Make sure they seat firmly.
-
Tighten the pipe clamps on both ends of the water line
-
Restore power to the water pump and test the system for leaks.
A Short-Term Fix For A Leaky RV Water Line
Sometimes a leaky water line can be closed and essentially shut off from the rest of the system. To do this you’ll need to follow the compromised water line back toward the RV water pump.
If you see a metal valve installed in the waterline, turn it to close the line. Any water that’s left in the line will likely dribble out of the damaged area, but you can collect it in a bucket or a large pot.
The fixtures attached to that water line won’t be usable, but anything else that isn’t closed off by the valve should still have sufficient pressure. Most likely you’ll even notice them having improved water pressure.
This is only a short term fix to get you through the night or the next couple of days. Hopefully, the leak is in a lesser-used line like the bathroom sink rather than the toilet.
4: A Clog In The RV Water Filter
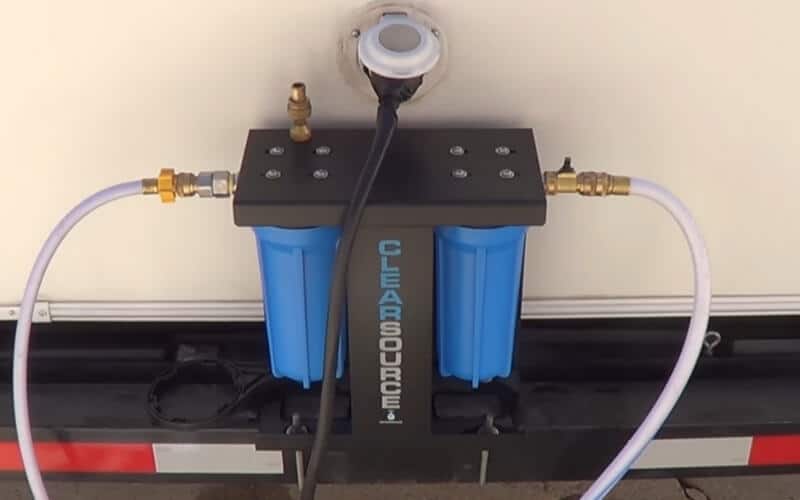
Ideally, you want to be filling your freshwater storage tank from a clean supply.
Though even if you do your best to only fill it with municipal tap water it is possible that over time sediment can gradually start to build up in the lower recesses of the tank.
Here again, if you start running the tank low on a somewhat frequent basis, that sediment could start to build up in the filter clogging the freshwater system.
In a case like this, the problem is usually in the RV water filter, who’s job is to prevent sediment and other unwanted material from finding it’s way deep into the system.
In truth, this is a little bit of a maintenance thing, as you really should be replacing it every 6 months or so. To clear it you’ll need to replace the RV’s water filter.
-
Step 1: Locate the RV’s water filter near the water pump.
-
Step 2: Carefully open the housing
-
Step 3: Remove the filter and check for any obvious problems
-
Step 4: Replace with a new filter according to your RV’s specs
-
Step 5: Seal the housing and prime the freshwater system according to the instructions in the RV owner’s manual.
5: A Problem With The RV Water Pump
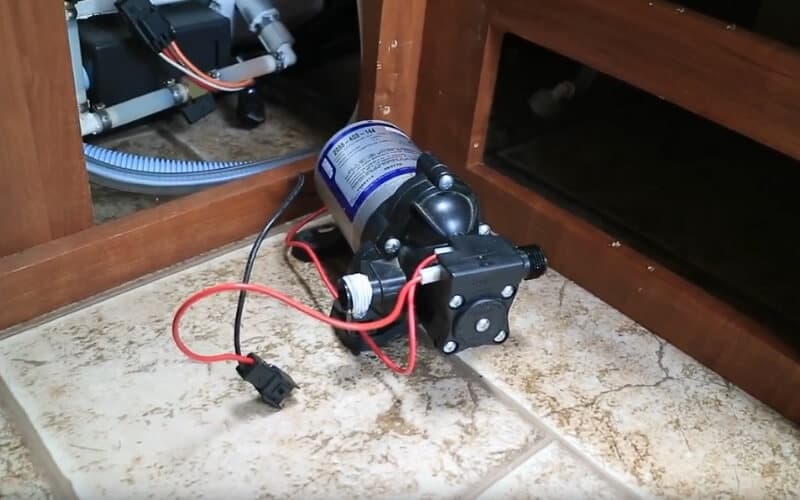
Just like anything with moving parts an RV water pump has a finite lifespan. While they will usually last for years one can fail.
Especially if you have a bad habit of running your freshwater tanks low, which draws sediment into the system.
A properly functioning RV water pump should be moving a volume of water at 3.5 to 5 gallons per minute or GPM.
It should be at a pressure of 40 to 50 pounds per square inch or PSI. In a pinch, you can test the flow rate with gallon jugs and a stopwatch.
To effectively measurer the water pressure you’ll need a pressure gauge.
If the performance is less than this you may need to replace the RV water pump, which is usually a better option compared to trying to open the sealed housing and attempt to repair the problem yourself, which is usually a damaged or clogged impeller.
Before you can do this, you will need to source the right part for your RV. While they are a little bit generic, you will need to make sure the one you are using is compatible with your system.
You should be able to find the part number in your RV owner’s manual or printed on the water pump itself.
In a pinch, you might even be able to find the correct part number with a thorough internet search. Once you have the correct pump on-hand, you can replace it.
Consider Upgrading To A Stronger RV Water Pump
You might want to also look for compatible RV water pumps that have a higher PSI rating or a greater gallons per minute flow rate.
They’re not always available, so you will need to do your research, but it’s a great way to increase the performance of your RV’s fresh water system.
Just bear in mind that if you are going to go through a greater volume of water with every use, that you will inevitably end up going through your freshwater storage tank’s capacity sooner than you might expect.
How To Upgrade Or Replace Your RV’s Water Pump
-
Empty your freshwater storage tank.
-
Turn off the power to the RV water pump at the fuse box or breaker panel
-
Carefully remove the fasteners that are holding the water pump to the frame of the RV.
-
Disconnect the water line hose clamps as well as the electric lines, and gently wiggle the water pump out of line.
-
Take the new replacement water pump out of the box and get its connections ready for installation.
-
6Insert the new water pump into the in and out freshwater lines. Make sure it seats firmly.
-
Secure the hose clamps and connect the electric wires.
-
Turn the breaker or fuse on to power the pump.
-
Put a modest volume of water in the freshwater storage tank.
-
Open a faucet in your water system to see if the water is being supplied via the pump. Have someone watch for leaks at the water pump.
-
If there are no obvious leaks at the new water pump, you can secure it to the frame of the RV with the original fastener hardware.
Frequently Asked Questions
Where Can I Find A Water Pressure Gauge?
While a water pressure gauge might not be the sort of thing you use every day, it’s actually pretty easy to find.
Most hardware stores and even auto parts stores will have them in stock.
You can use it to gauge the PSI pressure of the water in your RV’s fresh water lines. It can also be used to test water pressure issues with your home’s plumbing.
How Do I Prime My RV’s Water Pump?
Some RV freshwater systems require you to prime the pump to prevent air problems in the system.
If you had to fully drain your freshwater system or you replaced your RV’s water pump, you can use the following steps to prime the system for normal performance.
-
Step 1: Completely fill the RV’s fresh water tank to maximum capacity.
-
Step 2: Turn on all the cold water plumbing fixtures in the RV, but make sure the hot water fixtures remain off.
-
Step 3: Turn on the circuit breaker or the fuse that powers your RV’s water pump.
-
Step 4: Let the water flow for a while to let all traces of air flush out of the system.
-
Step 5: Close and open, then close each of the plumbing fixtures, including the hot water fixtures, to make sure they are purged of air and operating properly.
-
Step 6: Make a cursory inspection of the water lines to make sure nothing is leaking.
At this point, your RV’s water pump and fresh water system should be fully primed and ready to go.
Can I Repair A Water Line Leak With Duct Tape?
Duct tape certainly is a very versatile thing. Unfortunately, the adhesive it uses tends to react poorly when wet.
You might be able to turn off the water to the affected line, wrap it in plumber’s tape, and then a vigorous tight wrap with duct tape or a similar product might keep it sealed for a day or two.
This is usually long enough to let you get to a hardware store for a replacement water line.
Conclusion
Problems with your RV’s low water pressure can certainly be frustrating! Fortunately, if you keep a level head, and take your time diagnosing the problem, they can usually be fixed affordably.
Something like a leak in a water line or a problem with the RV park’s water supply can usually be handled in short order.
Even a water line patch can get you through for a day or two until you can replace the line.
Sometimes you can even find a replacement water filter on hand in an RV park’s cantina.
Water pressure problems caused by a malfunctioning water pump can be a bigger issue. Finding the right part or an upgraded water pump can take days if not weeks.
The labor to handle the install isn’t overly complicated. If you have a modest amount of mechanical sympathy, and a proper tool kit on board, you could be able to do it yourself.
Though a certified RV mechanic probably won’t charge you too much for parts and labor, just to let you know that the job is done right the first time.

