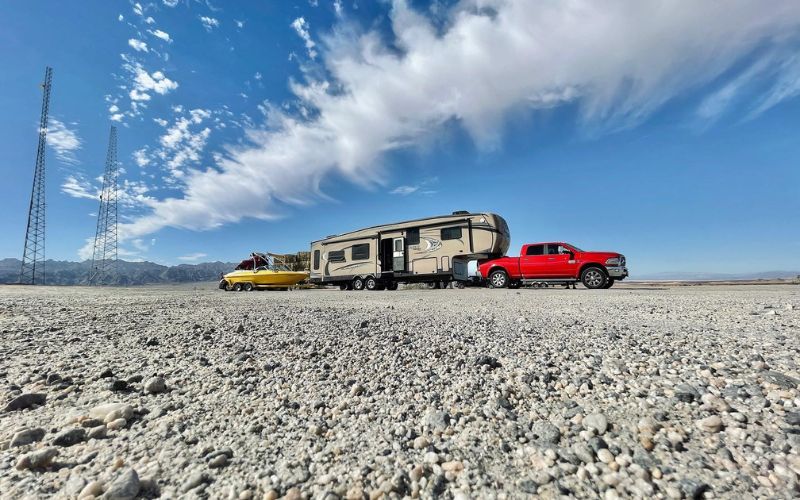
Measuring your RV’s slide-out awning is quick and easy and only requires a measuring tape. Simply extend the RV slide-out fully and measure the width from the right outer edge to the left outer edge. This gives the awning fabric length that you need. Factor in RV awning extension and pitch as well.
As an RV owner, I’ve had to replace slide-out awnings on more than one occasion. I did not know how to correctly measure the RV slide-out awning on my first RV and ordered the wrong size. The good thing is that you don’t have to experience the same because I am here.
In this blog post, I’ll explain the entire process step-by-step, from measuring your existing slide-out awning to keeping the replacement awning in perfect condition. So read on to become an RV slide-out awning measurement and maintenance expert!
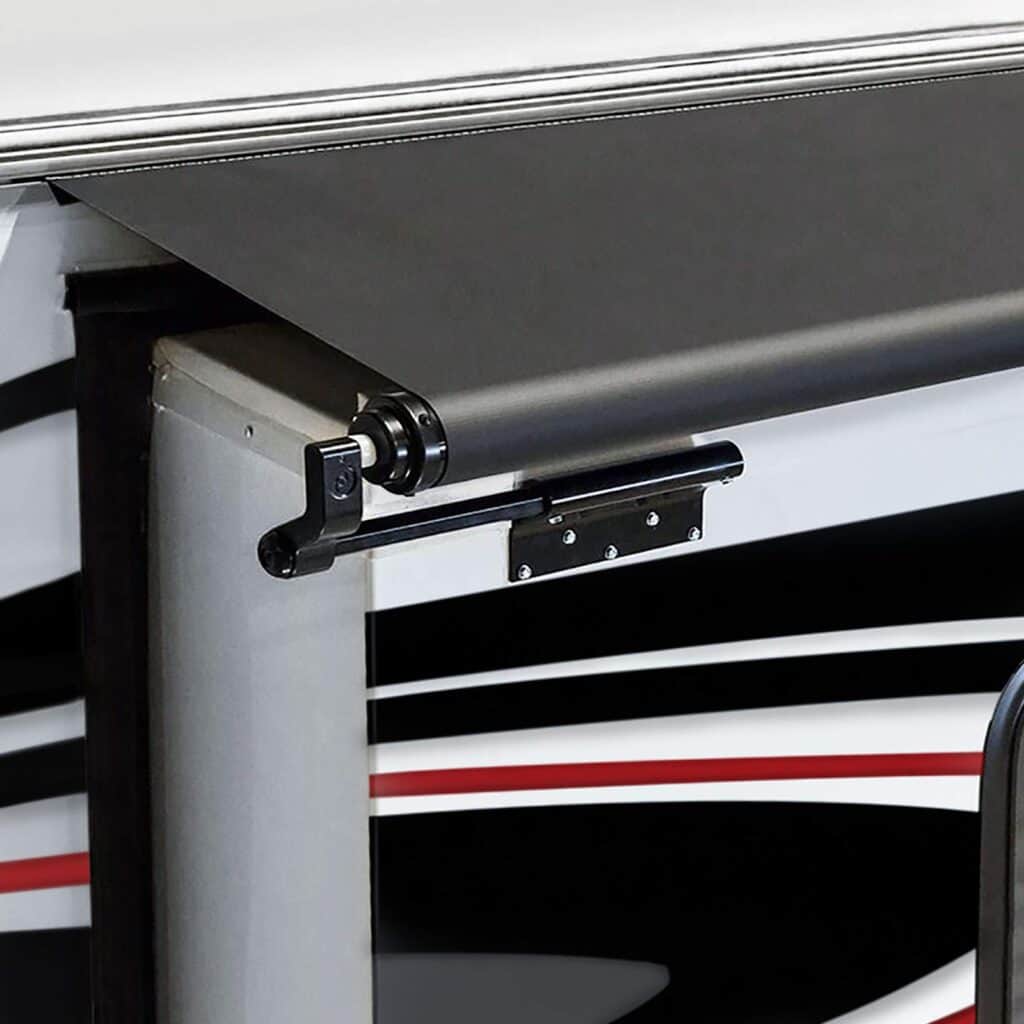
RecPro RV slide-out awning
How To Measure RV Slide-Out Awning
Measuring the RV slide-out awning can initially seem daunting. Still, the combination of the right tools and methodological approach will help you navigate the entire process easily.
Locate The Slide-Out Flange
The slide-out flange is a flat, rim-like piece of metal or plastic that runs along the outer edges at the top, bottom, and sides of the slide-out room. This is an important reference point when taking measurements, without which your measurements would be inaccurate.
To find the flange, look along the edges where the slide-out room extends and retracts from the main RV body. Run your hand along the edges to feel for the flange lip. Measure from the flange’s outermost right and left edges to get an exact fabric width for the RV slide-out awning replacement.

RV slide-out flange (Image credits: https://support.rvpartshop.com/support/solutions/articles/62000219335-what-is-a-flange-)
Measure Edge-to-edge
Once pinpointing the flange, fully extend the slide-out room. Have a helper hold one end of the tape measure at the outer flange edge. Pull the tape measure to the opposite outer flange edge across the slide-out room. Note the measurement from edge to edge in inches and feet.
Do not measure from the room walls themselves, as this will result in an interior width, not the overall outer width that we need for proper awning coverage. Take measurements at both the right and left flanges.
Match Your Measurement To The Fabric Width
Use your flange-to-flange measurement to match the RV slide-out awning replacement fabric width. For example, if your slide-out room measures 144 inches or 12 feet edge-to-edge, you’ll need an awning fabric width of 144 inches, even if the total awning assembly width is 150 inches or 12.5 feet. The extra size helps secure the awning tightly around the flange corners. Therefore, the fabric width is the key measurement.

Fabric vs. Awning width (Source: Lippert)
Verify Your Awning’s Extension Distance
The extension distance indicates how far the awning will extend outward when fully deployed. Most RV awnings usually extend 12-14 feet, whereas Lippert Awnings usually extend up to 4 feet.

An extended RV awning (Source: Rving Know How)
Choose Your Awning Color
Select from color options like black or white based on your visual preference, climate considerations, etc. Light colors tend to reflect heat better than dark colors. Durability between color options is typically the same. We have listed the nine best RV awnings, including the top choice for a slide-out.
Confirm The Awning Pitch Match
Pitch refers to the awning’s angle or slope when you extend it fully. Ensure your replacement awning pitch overlaps the slide-out room to get the best shade and protection from the sun.
Check Mounting Hardware
Verify that the replacement awning comes with, or you have, compatible mounting brackets and hardware to install onto your specific RV model properly.
This comprehensive step-by-step guide will help you accurately measure and select the perfect replacement slide-out awning for your RV. Check out this video from the YouTube channel Lippert for instructions on mounting your RV slide-out awning:
Protecting Your RV Slide-out
RV slide-outs provide extra living space, but the exposed roof area needs protection from outdoor elements. Without an RV slide-out awning, debris can accumulate, and moisture can damage the slide-out walls and ceiling. RV slide-out awning kit safeguards your investment.
RV slide-out awning kits contain everything you need for DIY installation. The kit includes the awning itself, mounting hardware, and accessories.
The main component is the durable vinyl fabric that extends from a roller mechanism. When retracted, the fabric wraps securely around the roller tube. A manual or electric crank then deploys the fabric outward to shade the slide-out roof.
Mounting hardware provides a secure attachment to the slide-out flange or exterior wall. The kit provides all the necessary brackets, bolts, screws, etc., for your specific RV model. Rafter arms, tension adjusters, and stoppers provide functional support when you extend the slide-out RV awning.
Kits come in standard slide-out widths, but YESCAMP provides awning kits with fabrics of various sizes. Choose from neutral or bright colors to match your RV’s style. Investing in a complete slide-out awning kit prevents costly damage and provides a new gathering space to enjoy.
Maintaining An RV Slide-out Awning
Here are some common concerns about RV slide-out awnings and how you can address them:
- Trapped moisture: RV slide-out awnings can trap moisture, leading to mold and mildew growth. To prevent this, properly install the awning and follow up with regular cleaning biweekly or monthly cleaning.
- Debris buildup: RV slide-out awnings can collect leaves, sticks, and other debris, which can cause damage to the awning and the slide-out roof. Regularly inspect and clean the awning during your camping trip to prevent this.
- Sun damage: The sun can cause damage to the fabric of RV slide-out awnings, leading to fading and deterioration over time. Choose a high-quality awning fabric that can withstand UV rays.
Addressing these common concerns ensures that your awning lasts longer and provides optimal protection for your RV slide-out. Regular cleaning and maintenance are vital to preventing issues like trapped moisture, debris buildup, and sun damage.
Read more about awning maintenance here: Here’s How To Clean RV Awning & How Often You Should Do It

Source
Conclusion
Installing a slide-out awning is one of the best investments to protect your RV. I explained the critical steps of accurately measuring your slide-out dimensions, selecting the right awning size and features, and proper installation.
Taking the time to measure correctly ensures your new awning fits perfectly. Matching your precise flange-to-flange width to the awning fabric width guarantees optimal coverage without gaps. Extension distance, pitch, and hardware compatibility provide a smoothly functioning awning.
With the right slide-out awning, you can add valuable living space to your RV while keeping the slide-out ceiling and walls safe from weather damage. Use this guide as a helpful reference anytime you need to check how to measure the slide-out awning on your RV.
FAQs
- What is the #1 thing you need to know when measuring your RV slide-out awning?
The most critical measurement when measuring your slide-out awning is the width of your room from the right outer edge to the left outer edge. Use a tape measure to find the width in inches across the side slide-out flanges. Then, add 2-3 inches to this width when selecting your replacement awning fabric to ensure complete coverage of the RV slide-out.
- What is a slide-out flange?
The flange is a rim-like metal or plastic edge surrounding the slide-out room. It provides stability and is an essential reference point when measuring for size of the new RV slide-out awning.
- How can I prevent moisture, debris, and sun damage on my slide-out awning?
To prevent moisture issues, install the awning correctly and clean it regularly. To prevent debris buildup, inspect the awning often and remove leaves/sticks quickly. Choose a durable, UV-resistant fabric to prevent sun damage and clean the awning.
- What are some common slide-out awning issues and fixes?
Slide-out awnings are beneficial but can develop some common problems over time. Here are the common issues to look out for and potential solutions:
- Flapping and noise in windy conditions: This distracting flapping sound and motion happens when the wind gets under the awning fabric. Try inserting a fitted Awning Airwedge or beach ball to create an angled pitch that deflects wind. This provides support and reduces flapping.
- Shifting/disconnecting toppers: Over time, stretch in the fabric or weight from heavy rain can cause the awning to separate from the RV body. Replacing the roller tube assembly and ensuring a snug fit when re-mounting can prevent disconnects.
- Sagging/binding awning tubes: Contact with the slide-out flange over time or fabric stretch can lead to the tube drooping or binding when extending/retracting. Adding tension via straps or replacing the tube itself can realign the mechanism.

![9 Best Cars to Live In: Find the Perfect Vehicle to Live In ([currentyear] Pros and Cons) 4 How To Choose The Best Cars For Living Out Of?](https://www.rvingknowhow.com/wp-content/uploads/2021/05/How-To-Choose-The-Best-Cars-For-Living-Out-Of.jpg)
![The Top 12 Travel Trailer Brands Of [currentyear] 5 Top 12 Travel Trailer Brands Of 2024](https://www.rvingknowhow.com/wp-content/uploads/2019/11/Dream-Home-For-Campers_-11-Best-Travel-Trailer-Brands-Review-Guide.jpg)
