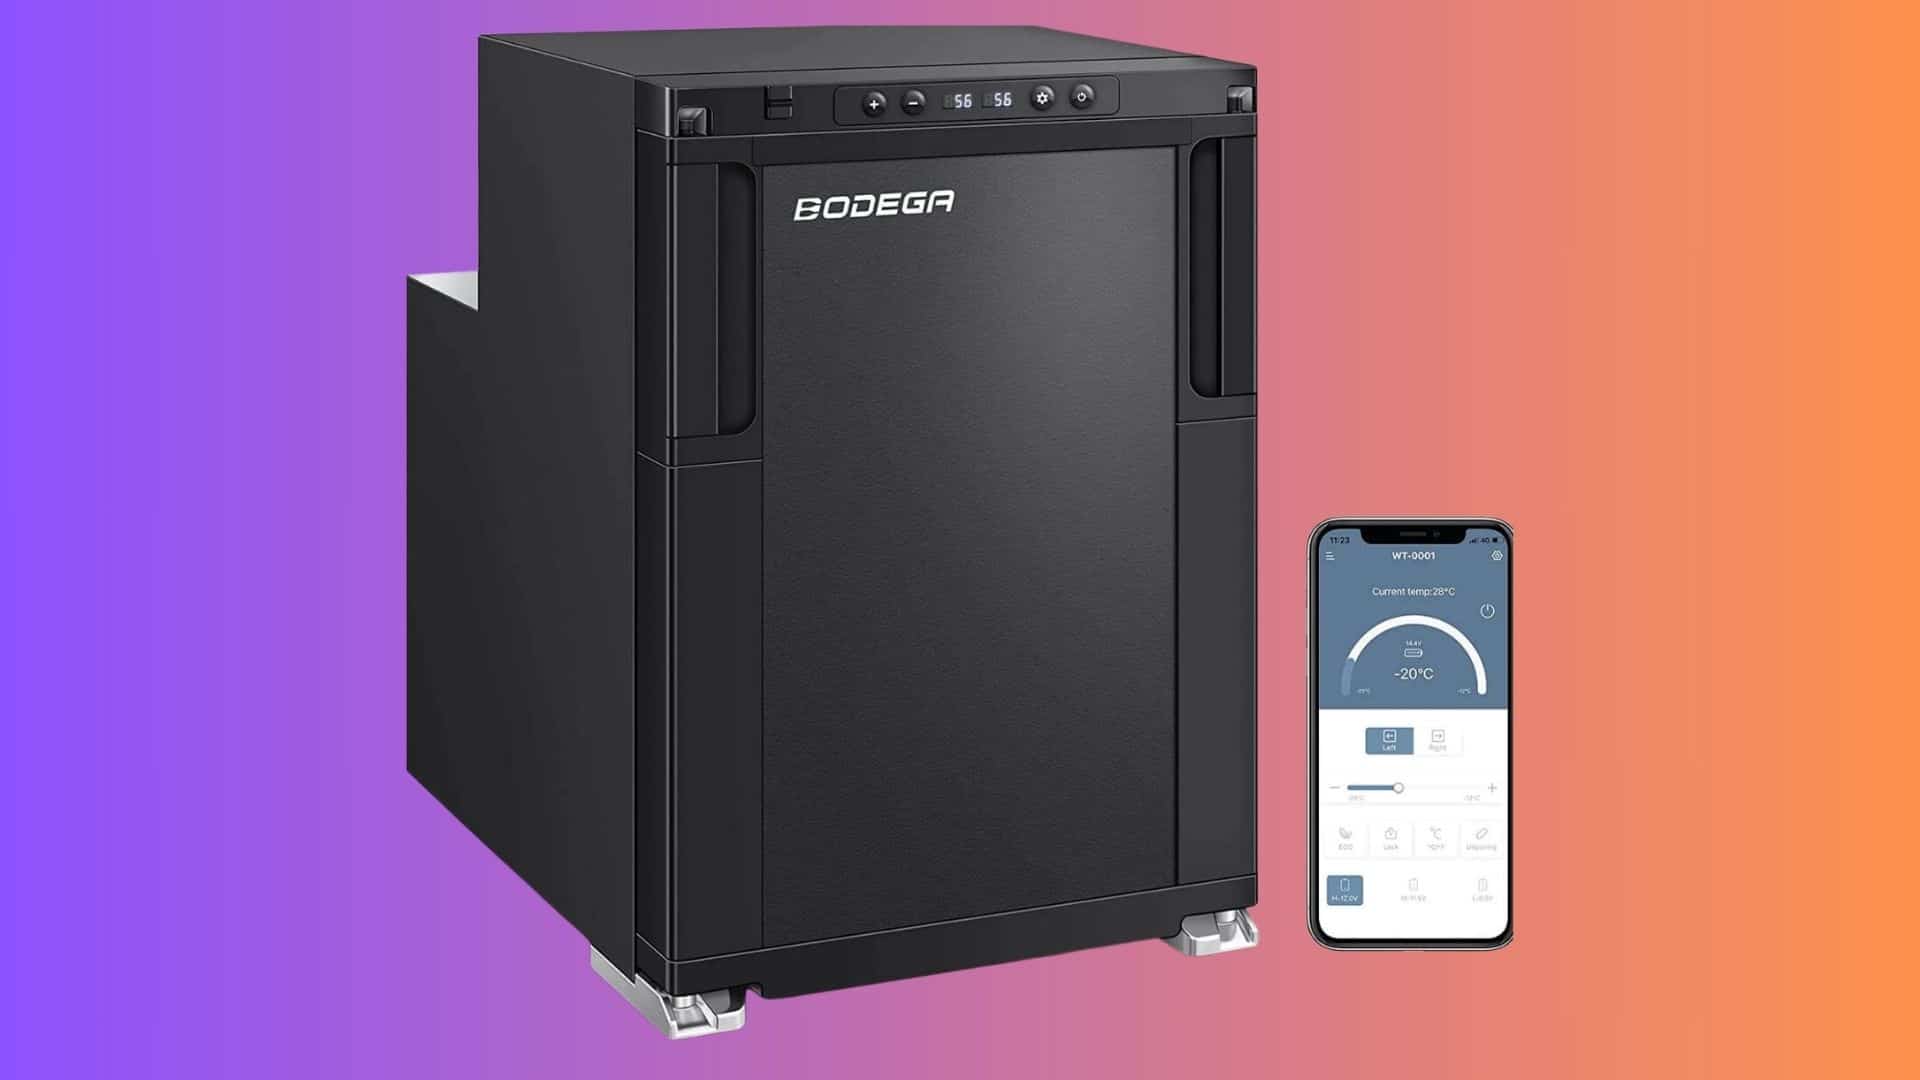
The first step to remove an RV refrigerator is disconnecting the power supply and turning off any gas connections. Empty the fridge and remove all items like drawers and shelves. Then locate the mounting brackets and screws securing the fridge to the RV’s interior. Unbolt it from the RV’s cabinet and then slowly slide it out through the RV’s door. Just be careful while doing it, as you can damage anything.
Did you know that RV refrigerators’ design and installation are distinctive compared to household refrigerators? RV refrigerators are designed to run efficiently on electricity and propane, which makes them versatile for road adventures. However, this also means that removing them requires specific steps and precautions.
I will discuss all the steps and tips you should consider while removing your RV refrigerator. I will be mentioning the safety precautions, preparation, and post-removal inspection. By the end of this article, you will have all the necessary knowledge and confidence to remove your RV refrigerator like a pro!
In this article, we’re going to go over how to remove an RV refrigerator!
Unplug The Power Supply

Image Credit: The MobileTraveler
First, unplug the RV from the power supply. Recheck that the RV is not connected to shore power. This initial step guarantees that there is no active electrical connection.
Locate the 110-volt electrical cord of the refrigerator and unplug it from the outlet inside the RV. This cord is responsible for powering the refrigerator when connected to a generator or shore power.
Some RV refrigerators also draw power from the RV’s 12-volt system, so look for any wires connecting the fridge and disconnect it from them. This step is essential to cut off the power to the refrigerator completely.
Turn Off The Gas Connections

Image Credit: The MobileTraveler
Look for the propane supply near the refrigerator and turn it off. This ensures no gas flow to the refrigerator during the removal process.
Now the propane supply valve is safely closed, disconnect the propane line from the back of the refrigerator. This might require a wrench or pliers, depending on the connection type. Be sure the area is well-ventilated in this process, and there are no gas leaks.
Clear The Fridge
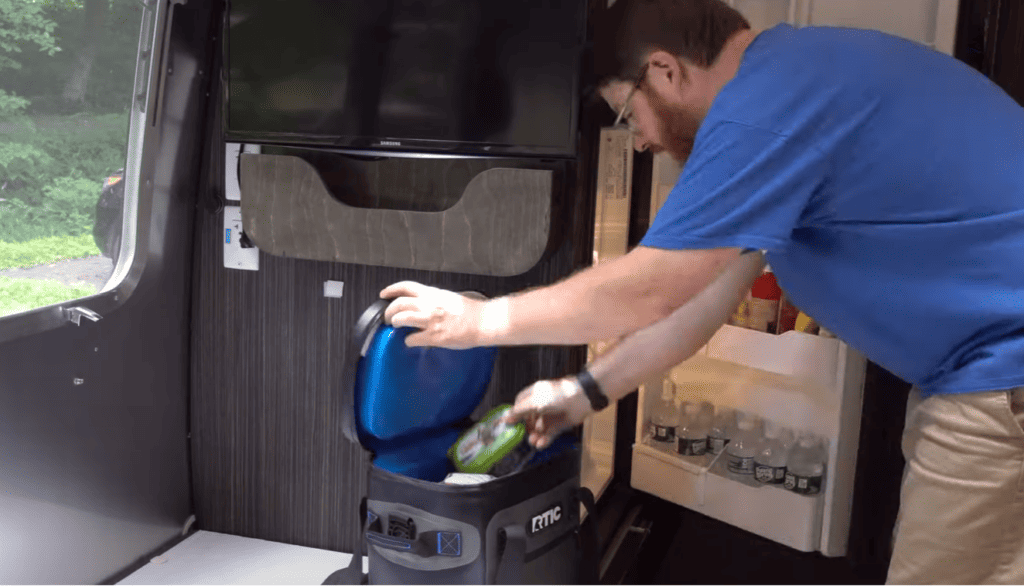
Clear the fridge and freezer compartments after cutting off the power and gas supply. Declutter any expired or unneeded items and dispose of them responsibly.
Once the refrigerator is cleared, look for detachable shelves and drawers. Take them out from the refrigerator as it lightens the weight and prevents damage.
Disconnect The Water Supply
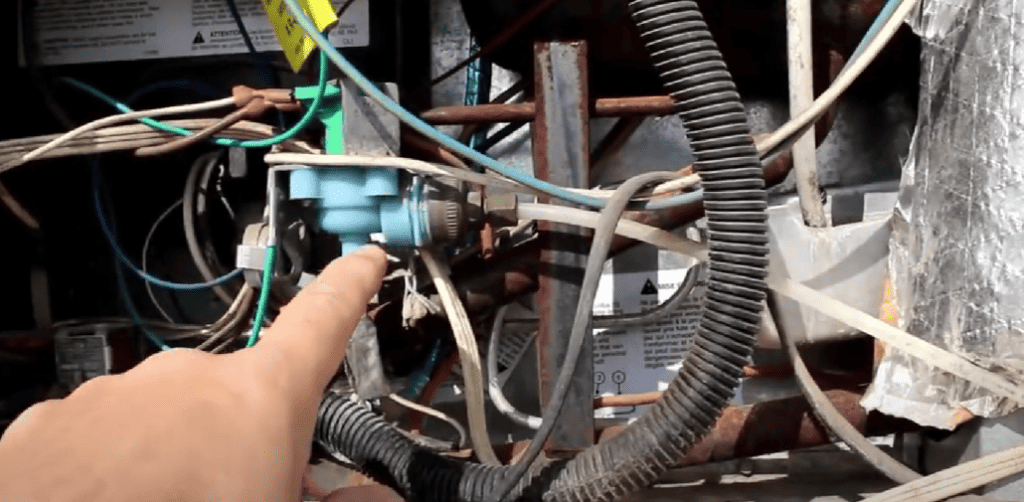
Image Credit: RJ’s Adventures
In some fridges, a water dispenser or ice maker may be attached to the water supply. You must cut off this water supply before removing the refrigerator.
To stop the water flow, locate the water valve and close it. You can remove the water line from the rear of your refrigerator once you have shut off the water supply. Keep a towel or bucket nearby in case of a small water leak.
Remove The Vent Cover
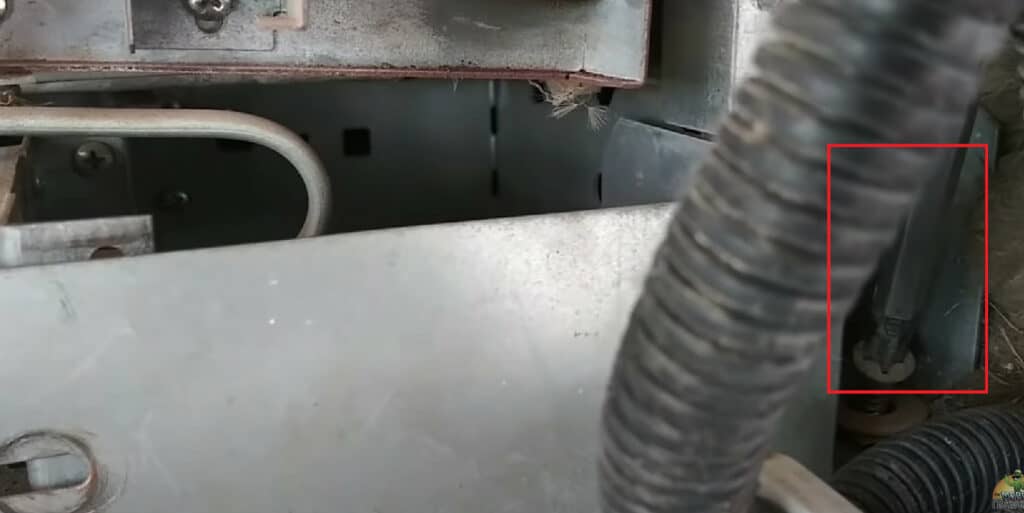
Image Credit: The MobileTraveler
Now, you must come out from your RV to expose the back of the refrigerator and prepare for its removal. This involves removing the vent cover near the top of the fridge on the RV’s exterior.
After locating the vent cover, use a screwdriver and carefully remove the screws securing it. Once you have successfully removed the screws, carefully pull the vent cover away from the RV. Keep the vent cover aside safely, as you might need it later for reinstallation.
Set Your Refrigerator Free
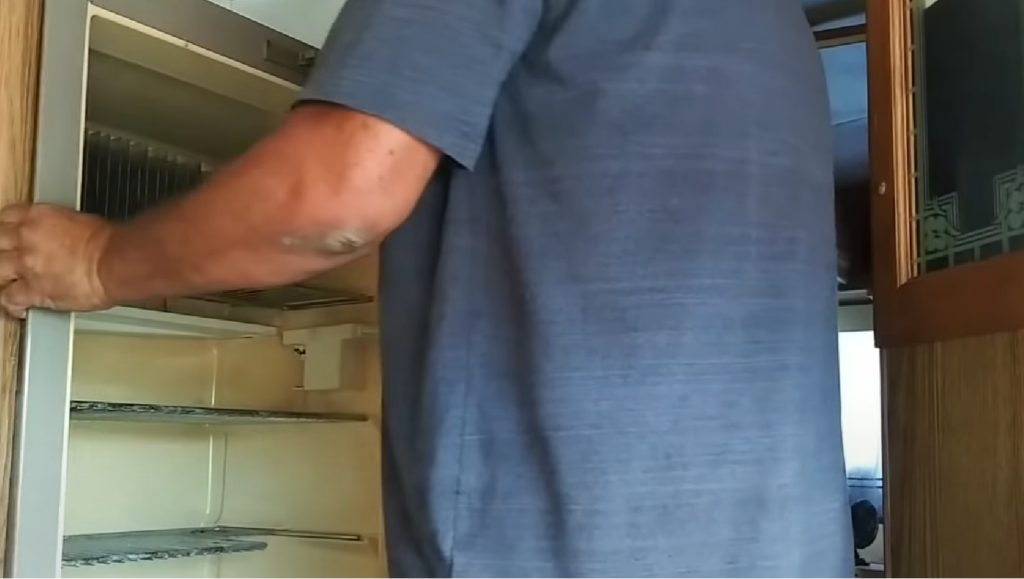
Image Credit: The MobileTraveler
This step is difficult to perform alone, so you need assistance. Inside your RV, you will find the mounting brackets and screw securing the refrigerator in place. You will usually find these brackets on the top and sides of the refrigerator. The brackets keep the fridge stable during your RV adventures.
Carefully remove the screws or brackets holding the refrigerator in place. As this requires effort, you will need assistance in supporting the weight of the fridge while you work.
When the mounting hardware is detached, gently slide the refrigerator forward. Then, slide it down safely to the floor. Lastly, take it out of the RV.
Post Removal Inspection
Now your RV refrigerator is free and clear, it’s time to assess the area where it was. This inspection is vital to ensure everything is in shape for re-installation or a new refrigerator.
Take a few minutes to thoroughly inspect the space and look for any signs of damage or wear. If you plan to reinstall the same refrigerator or a new one, ensure the area is clean. Always refer to the manufacturer’s instructions for any specific requirements. As we are preparing the area now, the reinstallation process is streamlined.
Watch the video below from the YouTube channel, The Mobile Traveler, to understand the process better:
Reinstallation Or Storage
Whether you are planning to reinstall an old refrigerator or place a new refrigerator in your RV, follow the manufacturer’s instructions carefully. The reinstallation process reverses the steps you have taken to remove the fridge. Secure it properly in its designated place and connect all power and water sources.
On the other hand, if you want to store the refrigerator, follow these steps:
- Clean the refrigerator thoroughly, as it prevents odors and mold growth during storage.
- Defrost the freezer and completely dry before storing.
Tips For Removing RV Refrigerator
The following advice will help you remove a household refrigerator from an RV:
● Make sure you have all the necessary equipment and supplies before you start. These tools include a tape measure, drill, screwdriver, and wrenches.
● Take out any food or other items you require while removing the refrigerator. This will facilitate the task and lessen the chance of your possessions being harmed.
● Before you start working, unplug the refrigerator from the power source. This helps avoid any mishaps.
● Start by taking out the screws holding the refrigerator in place. When it comes time to reattach the fridge, identify each screw if feasible so that you will know where it goes.
● Remove the refrigerator from its location with care. If the unit is huge or heavy, you might need to ask for help.
● Clean up anything that remains once the refrigerator has been removed.
● Check the area where the refrigerator is and make any required repairs or modifications. This can entail repairing broken insulation or filling up holes in the wall.
● If you do not want to install the refrigerator again, you can recycle it at a nearby recycling facility.
Following these tips will make moving a refrigerator from an RV quite simple. Getting the fridge out with some planning and preparation won’t take long.
Common Challenges And Troubleshooting
When removing your RV refrigerator, you might face common challenges. Don’t be discouraged; many people face similar issues during this process. Here, I will highlight some challenges and provide solutions to troubleshoot effectively:
- Stubborn screws or fasteners: It is common to encounter tightly secured screws or fasteners during removal. Then, consider applying some lubricant, such as WD-40, to ease their removal. Allow the lubricant to absorb for a few minutes before trying again.
- Access issues: Some RVs have limited space around the refrigerator, making it challenging to access specific components. In these cases, temporarily remove nearby cabinets or panels to access them easily. But make sure you label and keep track of them to make reassembly easy.
- Gas line leaks: Always be vigilant for gas leaks when disconnecting propane. If you smell gas or feel a leak, immediately shut off the propane supply valve and ventilate the area. Call a professional RV technician to address any gas line issues.
- Weight management: RV refrigerators are heavy, especially when loaded with food and drinks. When removing the refrigerator, remove all the stuff and be cautious about its weight and balance. Use proper lifting techniques and ask for help.
- Electrical wiring concerns: Check that you have correctly identified and labeled the wires during the disconnection. Double-check the connections before re-installation to prevent electrical issues.
- Reinstallation challenges: If you plan to reinstall the refrigerator, correctly aligning it and securing all fasteners can be challenging. Refer to the manufacturer’s instructions and take your time during reinstallation so that it fits correctly.
FAQ
1. How long does it take to remove an RV refrigerator?
The time to remove an RV refrigerator varies depending on your refrigerator’s size, experience, and any complications you may encounter. On average, it takes a few hours to complete the process, so be patient.
2. What tools are needed to remove an RV refrigerator?
You will need essential tools like a screwdriver, a wrench, pliers, and a drill with various bits. Depending on the RV refrigerator model, specific tools may be required.
3. What do you do when stubborn screws or connectors get stuck?
If you face any challenges during removal, take your time and don’t force anything. Lubricate stubborn screws or connectors if needed. If you still can’t make it, seek professional RV technician help.
4. Are there any precautions to take when storing the refrigerator after removal?
If you want to store the refrigerator, clean it thoroughly, defrost the freezer, and keep the doors slightly open to prevent mold and odors. Store it in a cool and dry place.

