To insulate your RV underbelly your best options are spray foam insulation or rigid foam board. You must use materials appropriate for different temperatures and confirm the sealing is secure enough to avoid drafts.
From my experience, an improperly insulated RV underbelly can make your comfortable mobile home into a sauna in summer, or an icebox in winter. Nobody seeks adventure when enduring extremely high or low temperatures! That’s why understanding the intricacies of underbody insulation is key for a comfortable and easy ride.
Understanding An RV Underbelly
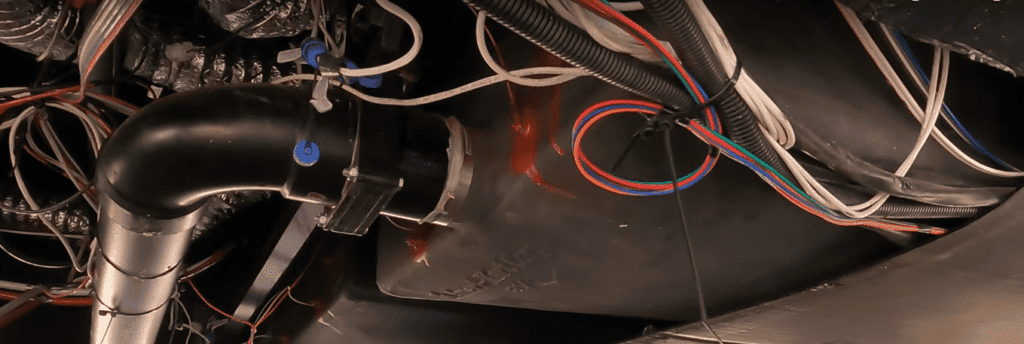
The underbelly of your RV is essentially the bottom side or undercarriage of your RV. It is frequently overlooked, yet very important to the health of your mobile home. It’s essential for shielding your RV’s plumbing and electrical from the damaging effects of traveling.
An array of parts, including electrical wire, propane lines, freshwater/water systems, and electrical wiring are housed beneath your RV, making it a completely self-sufficient and operational unit.
Understanding this complex web will help you appreciate how important it is to insulate it for the best possible comfort on your travels. The underbelly plays a crucial role in preserving a pleasant interior temperature, in addition to serving as protection. An underbelly that is well-insulated serves as a buffer against harsh weather, trapping cold air during sweltering summer months and heat inside during your winter adventures.
Importance of Insulating the RV Underbelly
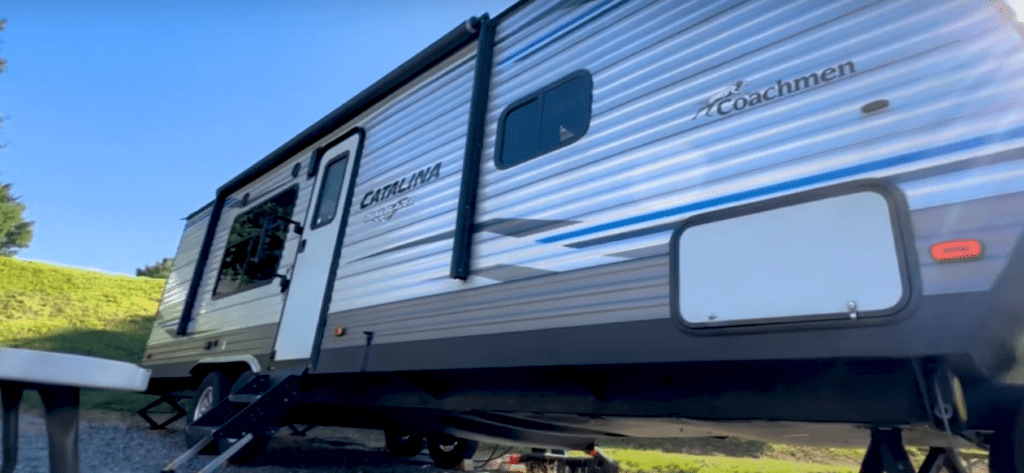
- Temperature Regulation: Having adequate insulation beneath the RV underbelly helps maintain a suitable interior temperature, keeping you comfortable in both summer and winter.
- Energy Efficiency: Insulation acts as a barrier against the weather, reducing the workload on the heating and cooling system of your RV. This results in better energy efficiency and is potentially cost-effective.
- Component Protection: Insulating the underbelly shields vital components like plumbing, wiring, and tanks from extreme weather damages like freezing pipes in the winter and potential damage from overheating in the summer.
- Preventing Condensation: Insulating plays a key role in avoiding condensation, which in turn keeps moisture from building up and causing corrosion of metal parts on the underbelly as well as the growth of mold and mildew.
- Extended Lifespan: Insulation helps your RV’s undercarriage components last longer by acting as a protective barrier and preventing wear and tear from exposure to harsh external conditions.
- Enhanced Comfort: Regardless of the outside weather, a well-insulated underbelly makes for a more comfortable pleasant living space inside the RV.
- Reduced Noise: Insulation reduces outside noise, making the RV quieter and more peaceful inside and improving your trip experience overall.
Adding insulation to the underbelly of your RV is a wise investment that will pay off in terms of enhanced comfort, overall protection, and longevity of your mobile home.
Preparing The RV Underbelly For Insulation
Here I will take you through the step-by-step guide on how to prepare the RV underbelly for insulation:
Step 1. Jack Up Your RV:
You will need 2 – 4 jack stands for your RV. Place the jack under one of the hard points, it might help to crank the hitch down to give you more space. Then, lift one side of the RV and repeat the same for the other sides.
Step 2. Thorough Cleaning:
Confirm that your RV, especially the underbelly is clean before beginning the insulating process. Clear away any residue, dirt, or debris that came up throughout your trip. The insulating materials have a better base when the surface is clean.
Step 3. Inspect For Damage:
Pay close attention to the underbelly for any indications of wear, leaks, or damage. It’s imperative to take care of these concerns before adding insulation to stop more troubles and prolong the life of the parts in your RV.
Step 4. Locate Vulnerable Areas:
Point out locations, where exposed wiring, tanks, and pipes, are present. To protect critical components from severe temperatures, special care must be taken while insulating these vulnerable areas.
Step 5. Choose Suitable Insulation Material:
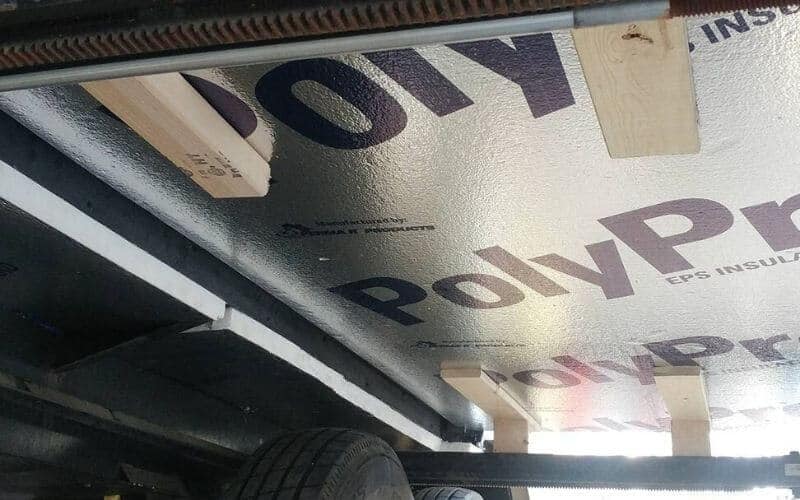
Confirm the insulation you choose is appropriate for both your RV and the climate in which you will be traveling. Foam board, spray foam, and reflective foil are typical choices. Consider elements like R-value, weight, and ease of installation.
Step 6. Measure And Plan:
To calculate how much insulation is required, take precise measurements of the underbelly area. When planning the installation procedure, consider any access points that would need to be removed, including panels or openings.
Step 7. Gather Necessary Tools:
Assemble the instruments needed for the task, such as a utility knife, tape measure, adhesive or fastener, and the proper safety equipment. Preparing things ahead of time helps to expedite the insulating process.
Step 8. Seal Gaps And Cracks:
Seal any cracks or gaps in the underbelly before adding insulation using a high-quality sealant like silicone caulk or expanding foam. Avoiding air leaks that can reduce the insulation’s effectiveness, contributes to the creation of an airtight and efficient insulating barrier.
Step 9. Install Insulation Methodically:
Start the insulation by carefully adhering to the arrangement that has been prepared. Confirm it fits correctly and covers the entire region, being especially careful around components’ edges, corners, and surrounding areas. When necessary, use fasteners or adhesive.
Step 10. Consider Vapour Barriers:
Consider installing a vapor barrier to avoid moisture build-up in humid climates. This extra layer improves the insulation’s overall efficiency and aids in preventing condensation.
Step 11. Safely Reattach Panels:
After the insulation is installed, firmly reattach any access panels or openings you must remove. To preserve the integrity of the underbelly insulation, confirm the seal is tight and remove the jacks.
Different Types Of Insulation Materials
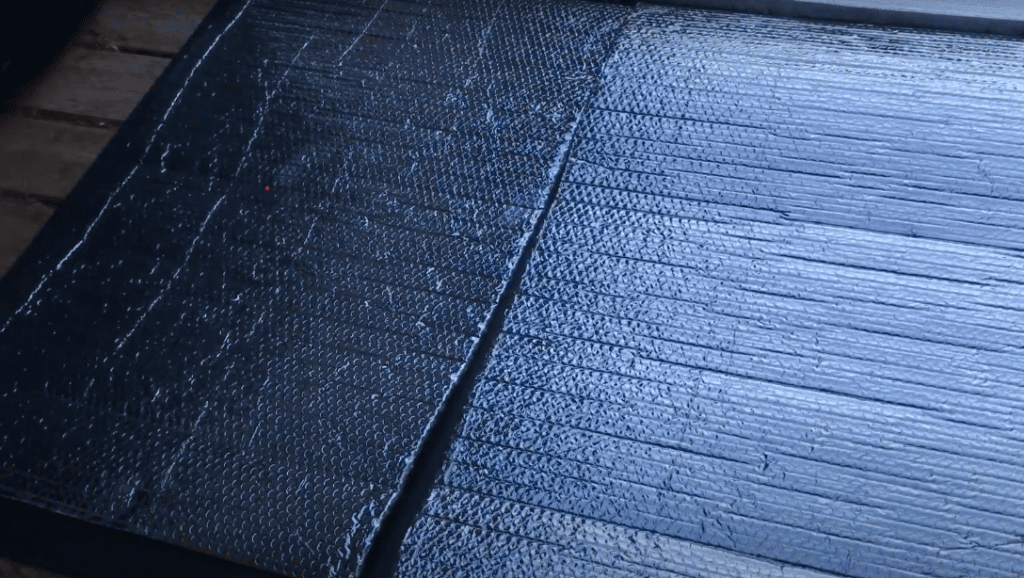
Now, it might seem confusing to pick the right insulating material for your requirements with the number of options out there. To make it easier, in the following table, I list down the different materials and their properties for you to choose the correct one to match your needs.
| Types Of Material | Pros | Cons |
| Foam Board Insulation | They are lightweight, easy to cut and install, and have good thermal resistance. | May require additional support in areas prone to movement. Limited moisture resistance. |
| Reflective Foil Insulation | These are excellent for reflecting heat. They are lightweight and flexible. | May not provide sufficient insulation in extremely cold conditions. Requires an air gap for optimal performance. |
| Spray Foam Insulation | Provides a seamless and airtight seal. Excellent for irregularly shaped spaces. | Can be challenging to apply evenly. Requires careful handling and proper ventilation during installation. |
| Fiberglass Insulation | Commonly available and relatively affordable. Effective in moderate climates. | Susceptible to moisture absorption. Requires careful installation to avoid gaps. |
| Rigid Fibreglass Insulation | Resistant to moisture, durable, and provides good thermal performance. | May be heavier and more challenging to cut than other materials. Requires careful handling to avoid damage. |
| Bubble Foil Insulation | These are lightweight, flexible, and easy to install. They also act as the barrier. | Less effective in extremely cold temperatures. May require additional insulation for optimal performance. |
How To Choose The Right Insulation Material?
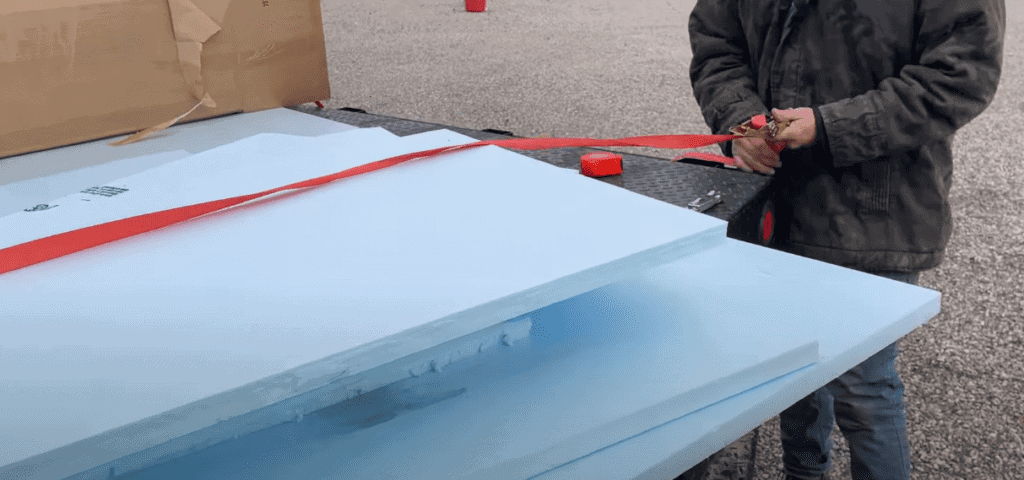
You can select the best RV underbelly insulation material to fit your travel preferences and guarantee the highest level of comfort on your trip by considering a few variables along with your unique requirements.
| Variables | Description |
| Consider Climate | Evaluate the typical weather that you’ll experience when traveling. Higher R-value (heat resistance) materials, such as foam boards or spray foam, may be better in colder locations, while reflective foils work well in warmer climates. |
| Weight Considerations | Take into account the weight of the insulation, particularly if you’re trying to keep the total weight of your RV within predetermined bounds. Lightweight options, like reflective foil, can provide insulation without adding extra weight. |
| Moisture Resistance | If you’ll be traveling in humid weather, use insulation materials that have strong moisture resistance. Moisture-resistant polymers shield the RV’s underbelly components from mildew, mold, and other damage. |
| Ease Of Installation | Think about the convenience of installation and your ability to do it yourself. Certain materials, such as foam boards or reflective foils, might be easier to apply yourself, whereas spray foam might need to be applied by a professional. |
| Accessibility For Repairs | Consider how easily accessible the underbelly will be for any upcoming maintenance or repairs. Substances that facilitate effortless removal or alteration, like foam boards with adhesive backing, might streamline subsequent repairs on the RV’s parts. |
| Durability And Longevity | Give priority to materials that are long-lasting and resilient to different weather conditions as well as the demands of travel. Long-lasting materials add to the overall sustainability of the insulation of your RV. |
| Budget Considerations | Assess the budget of your project for the insulation. Certain materials may seem more economical at first, but because of their longevity and efficiency, others may end up saving money over time. Achieve equilibrium between initial expenses and sustained advantages. |
| Compatibility With RV Components | Verify that the insulation material you’ve selected works with the components that were utilized to build your RV. Selecting insulation that won’t result in compatibility problems is crucial since certain materials may react with particular components. |
Removing Existing Insulation If Exists
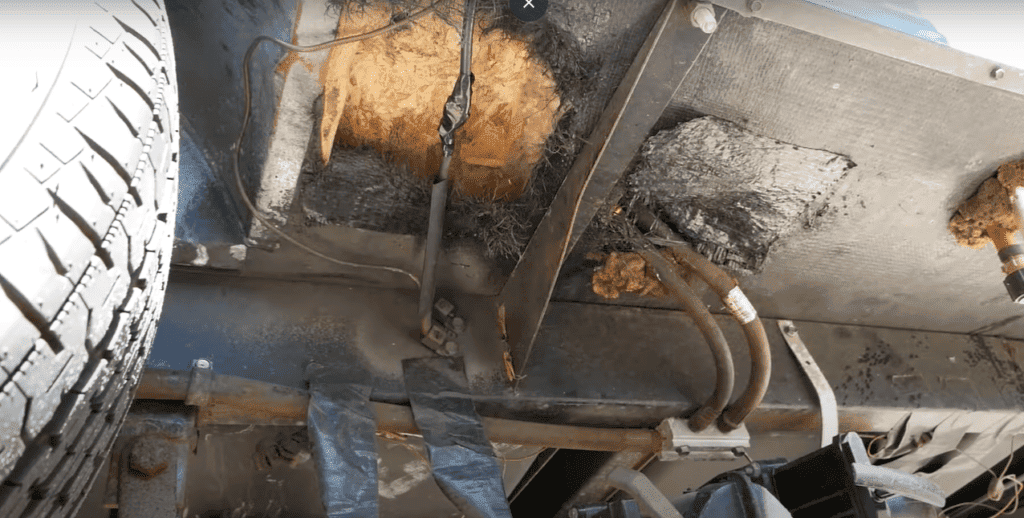
Although removing the old insulation from your RV’s underbelly may seem like a daunting task, it is manageable with little expertise. First, put on a mask and gloves to protect yourself. Next, determine the kind of insulation that you have. If it’s in the form of rolls or batts, carefully cut and remove parts with a utility knife.
A pry bar might be useful for foam board insulation. Be especially careful while handling plumbing and electrical areas. To get rid of debris, vacuum or sweep the space for which you can use a wire brush or scraper to help loose sticky insulation. Recall that taking your time will confirm thorough removal. With a little elbow grease, you can create the foundation for an overhaul of the underbelly of your RV.
How to Put The Insulation Material
After the underbelly of your RV has been prepared, let’s get down to the specifics of applying the insulating material like a pro:
Step 1. Prepare Your Equipment: Before starting the insulation project, confirm you have your utility knife, measuring tape, choose insulating material, and any required adhesive or fasteners on hand.
Step 2. Start From The Bottom: Ascend from the lowest position on the underbelly and proceed upwards.
Step 3. Cut To Perfection: To perfectly fit the calculated spaces, cut the insulation material with your reliable utility knife. Here, accuracy is essential, you want every component to fit perfectly into its assigned place.
Step 4. Cover The Gaps: Use precisely cut pieces to close in any spaces or gaps surrounding components.
Step 5. Use Adhesive: Remove the backing paper from any adhesive-backed insulation before adhering to the new layer. To guarantee a strong connection, press down the adhesive firmly.
Step 6. Fasteners: For materials that need fasteners confirm they are strategically fastened.
Step 7. Smooth Out: Smooth out the insulation material to eliminate any wrinkles or uneven surfaces.
Pro Tip: If you’re using spray foam, apply it evenly and sparingly. It expands, so a little goes a long way, it is like a foam hug – not too tight, just right.
How To Test Adequate Insulation?
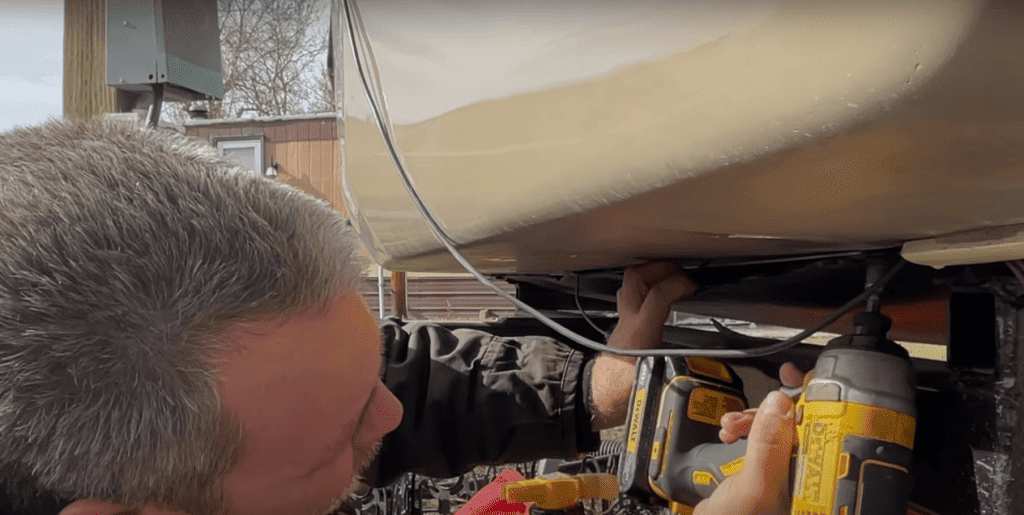
Maintaining adequate insulation is essential for a comfortable and functional RV. Hence to check the efficiency of your newly insulated RV underbelly, here are 5 efficient methods:
- Thermal Imaging:
To perform a thermal inspection, either get a thermal imaging camera or hire a professional to conduct a thermal inspection. This is a high-tech approach that allows you to visually identify temperature variations marking the areas that lack insulation.
- Temperature DIfferential Test:
You can conduct a temperature differential test by measuring the temperature inside and outside your RV. A significant difference indicates effective insulation.
- Hand Test For Drafts:
On a breezy day, run your hands along windows, doors, and other potential draft points. If you feel the cold air escaping in, it indicates inadequate insulation.
- Energy Consumption:
Track your RV’s energy consumption. If your heating or cooling system is working overtime, it might be a sign that your insulation isn’t pulling its weight. Good insulation will maintain a comfortable interior without depending much on the heating or cooling system.
- Humidity And Condensation Checks:
Monitor humidity levels inside your RV and Keep an eye out for condensation. Insulation gaps or insufficient ventilation may result in excessive moisture.
By combining these methods, you’ll get a comprehensive understanding of your RV’s insulation performance.
Maintenance Tips:
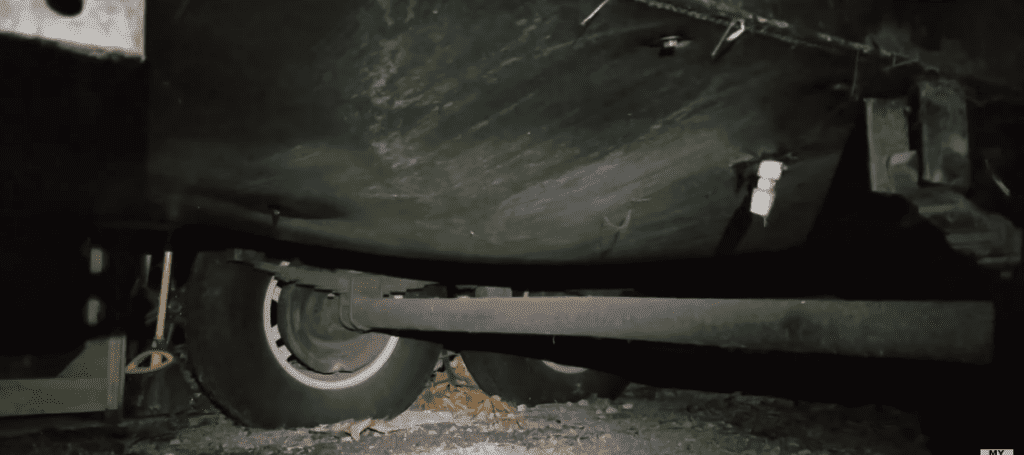
Maintaining your RV’s insulation will not only increase its longevity but also keep the components of your underbelly protected from weather mishaps. Here are some tips for confirming that your insulation stands strong and lasts long.
- Regular Inspection: Schedule routine inspections of the underbelly to look for any signs of wear, leaks, cracks, damage, or shift in insulation materials. Early detection will save you from later expenses.
- Inspect Access Pannels: If your RV has an access panel, check them regularly. Confirm they are in their designated places and the seals are intact. Access panels provide entry points for maintenance, so keeping them in check is important.
- Protect Against Rodents: Keep your RV’s underbelly insulation safe against rodents as they can cause serious damage by nesting or chewing. Use rodents repellent or rodent-resistant material to keep away the critters.
- Keep Drainage Clear: Confirm proper drainage around the underbelly by clearing out any debris or blockages to avoid impeded water flow. Good drainage prevents water buildup, reducing the risk of moisture-related issues.
- Monitor Humidity Levels: Keep an eye on the humidity levels inside your RV as high humidity can compromise the effectiveness of the insulation. If needed use a dehumidifier to maintain a dry and comfortable environment.
- Insulate Exposed Pipes: Insulate exposed pipes to prevent condensation and potential damage. Pipe insulation helps maintain temperature consistently and protects against moisture.
- Winterization: If you will be storing your RV during winter, take extra precautions. Winterize the RV and its underbelly by adding extra insulation layers or using specialized products designed for extreme cold temperatures.
Frequently Asked Questions
How Do I Choose The Right Thickness Of Insulation For My RV’s Underbelly?
Consider factors like climate, intended use, and personal preferences while choosing the thickness of the material to insulate the RV’s underbelly. In colder regions, choose thicker insulation ( around 1.5 to 2 inches ) to provide better thermal resistance.
For moderate climates, a thinner insulation layer may suffice. Consider the R-value which indicates thermal resistance, the higher the R-value signifies better insulation.
Strike a balance between the effective insulation and your RV’s weight constraints.
Can I DIY The Insulation Installation Or Should I Hire A Professional?
DIY insulation for your RV’s underbelly is absolutely doable. With careful planning and the right tools, you can effectively install various insulation materials. However, if you are uncertain about the process, have a complex RV structure, or prefer a professional touch, hiring an expert is a wise choice. A professional can confirm a precise installation, and address specific challenges.
Ultimately, the decision depends on your confidence in DIY projects and the complexity of your RV underbelly. The selected Insulation material can sometimes be a challenge too.
How Do I Deal With Moisture And Condensation While Insulating The RV Underbelly?
To protect your underbelly insulation against moisture and condensation, employ an all-around approach. Start by sealing the gaps and cracks to prevent external moisture infiltration. Incorporate a vapor barrier in humid climates to prevent condensation within the insulation.
Confirm proper ventilation to facilitate moisture escape and maintain a dry environment. You can also use moisture-resistant insulation materials, such as closed-cell foam or spray foam, to deter water absorption.
Additionally, insulate exposed pipes to prevent condensation. By combining these strategies, you’ll protect your RV from any moisture-related challenges while preserving the effectiveness of your insulation.
Are There Any Precautions Or Safety Measures To Consider During Installation?
When installing RV underbelly insulation, prioritize safety by wearing protective gear, including gloves and a mask. Use a respirator in well-ventilated areas, especially when working with spray foam. Be cautious around sharp tools, and follow manufacturer guidelines for handling insulation materials.
Work with a partner, particularly in confined spaces to confirm help is available if needed. Turn off power sources and disconnect electrical connections before starting the installation. Remember, precaution is better than cure.
What Are The Estimated Costs For Insulating Your RV’s Underbelly?
The cost of insulating an RV underbelly varies based on factors like insulation material, RV size, and whether you choose to get professional help. If you choose to take the project in your hand, it may range from $200 to $800 for materials like foam boards or spray foam.
However, professional installation can significantly increase the costs, ranging from $500 to $2000 or more depending on the complexity of the job.



7 Comments
Susan Shaver
3 years agoUnbelievable that some people think 32 degrees. or even 0 degrees Fahrenheit is cold!!! When I search for winter ready Class B or Camper Vans, I expect the responses to make sense. These do not!! Waste of time!
Please tell me where to go to find actual information for sub zero insulated and weather ready Camper Vans!
Meaghan R Chalmers
1 year agoWooof
Susan Shaver
3 years agoI want to know how to make my VanCamper ready for winter camping! Not how to get it ready for winter storage. Where do I find the information I need?
Jonathan Nieuwenhuis
3 years agoIf i sprayfoam under my minibus , is there a possible danger for the sprayfoam to get on fire because if the heat of the motor and exhaust Line?
Sal
2 years agoRefurbishing an 04 model travel trailer
Yhis article was very helpful. Answered all of my questions!
Thanks!
Sal
Mike
2 years agoCan I just spray the foam insulation in the underbelly speriocticly throughout the underbelly by just poking a hole in the underbelly cover?
simon h
11 months ago2″ foil faced poly-iso foam board carefully cut around obstacles, seams sealed with great stuff expanding foam or similar. screws and large 2″ washers to fasten. the goal is to add r-value and eliminate wind. 4×8 sheet=~$40