With winter upon us, the day has come where most RVers should take steps to winterize their campers (if you haven’t already).
Winterizing an RV is an important process that will help protect you from thousands of dollars in damage that can be caused by frozen pipes and rodent invaders.
So, how do you winterize an RV?
You can winterize your RV camper by following these steps to protect your plumbing system:
-
Remove or bypass water filters – They’ll get ruined by the antifreeze you’ll run through the lines.
-
Drain your black and grey tanks
-
Drain your water heater and water lines
-
Bypass your RV water heater
-
Add antifreeze to your plumbing lines
You can most definitely DIY the winterization process for your RV and save money in the process.
This post will walk you through why you should winterize your RV, describe the tools you’ll need, and unpack the steps on how to winterize your camper.
Why Is Winterizing An RV Important?
There are three main reasons to winterize your RV – to protect your pipes from freezing, to protect your tanks from freezing, and to protect your RV from winter (rodent) invaders if you plan to store your camper during cold months.
You will also likely destroy your RV’s battery if you leave it to freeze over during the winter months.
1: To Keep Your RV Pipes From Freezing
let’s chat about why you want to protect your pipes from freezing.
When water freezes, it expands. If water expands in your RV pipes, it won’t have anywhere to go except to burst out the sides.
And burst RV pipes are very expensive to fix. Burst RV water pipes can also create slow leaks in areas where you can’t see them (like under a sink or dinette chair).
If water leaks go unnoticed for too long, they can cause thousands of dollars in damage!
That’s because water left on your RV floor will cause it to go soft, meaning that a professional RV mechanic might have to redo large parts of your RV floor – often clearing out any cabinets, beds, or built in furniture that stands in the way.
2: To Keep RV Holding Tanks From Freezing
If you leave water in your black, grey, or freshwater tanks, it will freeze and expand.
This expansion can crack your holding tanks – yet another multi-thousand dollar repair…
3: To Keep Mice Out Of Your Camper
If you don’t protect a winterized RV from rodent invaders, mice can get in and eat up your furniture, wiring, or other sensitive items.
Mice invasions almost always cost you thousands of dollars if they go unchecked.
So, another reason to winterize your RV is to prevent mice from ever getting in in the first place.
We’ll show you how to do that in a moment, but for now, we want to impress upon you why rodent protection is a vital part of winterizing your RV.
4: To Keep Your Camper Battery From Dying Over The Winter
Finally, unless you have a very special type of RV battery, chances are you’ll ruin it if you subject it to freezing temperatures.
That’s why you want to finish winterizing your RV by removing and safely storing your RV batteries in a place where it won’t get too cold or too hot.
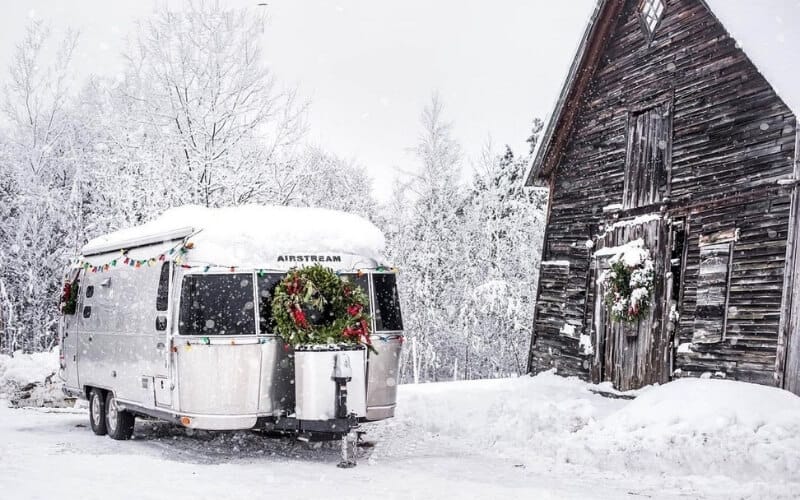
When Should You Winterize Your RV?
Anytime you plan to store your RV for the winter, you should plan to winterize it.
Even if you plan to store your camper in southern Florida, it’ll still pay to winterize it because even the odd freeze can potentially ruin your most sensitive pipes.
For the few dollars it’ll cost you to winterize your camper, it’s simply not worth the risk to not winterize.
If, on the other hand, you plan to do some camping in your RV during the winter, then there are a few other things you will want to consider when deciding whether or not to winterize:
Will Temperatures Drop Below 32 Degrees For More Than 10 Hours?
Many parts of the U.S. might drop below freezing at night but then warm up during the day.
Northern Arizona near the Grand Canyon, for example, often freezes at night, but warms up during the day.
If you plan to camp in your RV and are in climates like Northern Arizona, you may not need to winterize your RV.
Rather, by always keeping your heat on at night and using a heated water hose for your city water, you should be able to winter camp in your RV without winterizing it.
Do You Have A True 4-Season Camper?
Many campers are known as “True 4-Season” campers meaning they will feature things like heated tanks, a heated underbelly, and thick insulation to protect from the cold.
If you have a true 4-season camper AND you plan to camp in it during the winter, you will usually be okay without winterizing as long as you leave your heat on and keep your tanks heated.
Are You Willing To “Dry Camp”?
Even if your RV is not designed to brave the winter, you could still camp in it by winterizing your pipes and not using water as you normally would.
If not, then it might be best to store a camper during the winter if it’s not designed to be a 4-season RV.
Winter’s Here And I Haven’t Winterized My RV – Am I Okay?
As long as it hasn’t gotten too cold (below 32 for more than 12 hours) and/or, you’ve been running heat, you should be okay.
But now that you’re reading this, winterize ASAP because pipes freezing is a BIG deal and a super costly repair (we’re talking $3-5k+ if you burst even just a few pipes in wrong places).
How long does it take to winterize an RV?
The entire process of winterizing can take from 30 minutes to 2 hours of time depending on the size of your RV and method you choose.
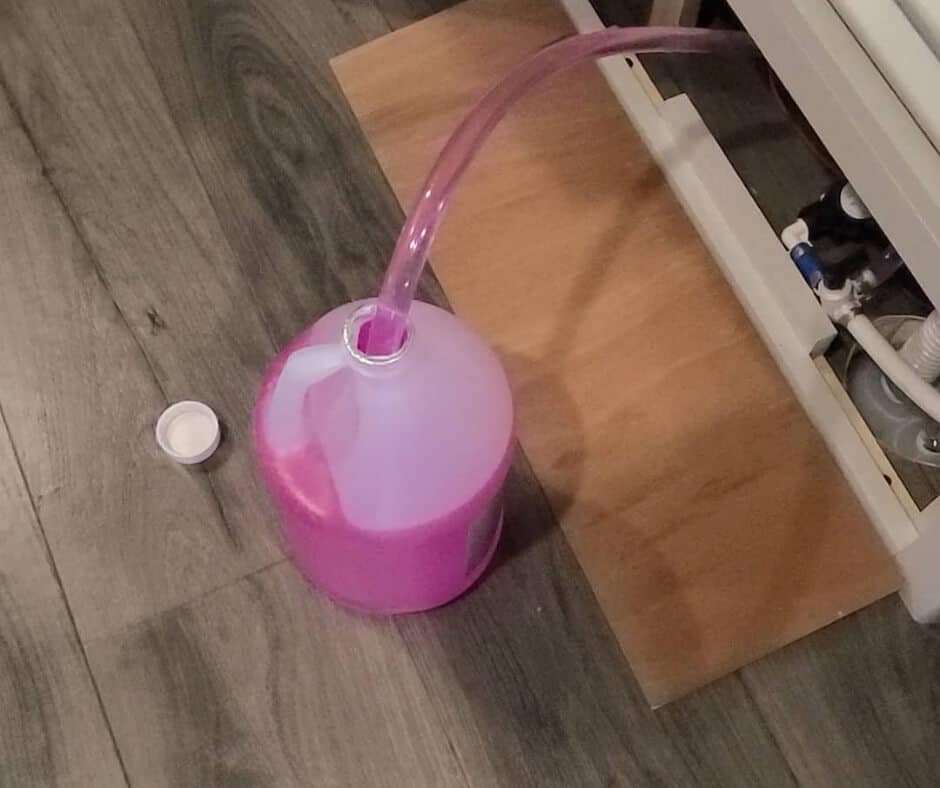
Method #1 is the quickest way and simply involves using your RV water pump to push non-toxic antifreeze through your camper’s water lines.
With method #2, you’d first run compressed air through your water lines to get them dry and then use your RV water pump to send antifreeze through the lines.
Either method will effectively winterize your RV, so this is really a matter of personal preference.
How Much Does it Cost to Winterize an RV?
Winterizing an RV yourself will cost $25 or less to complete. If you have an RV mechanic winterize your RV for you, it’ll cost between $75-$200.
Should I Winterize My RV If It’s Plugged In All Winter?
Even if you plan to have your RV plugged in with heat running during the winter, it is still usually a good idea to winterize your RV because your holding tanks are often toward the outside of your RV, making them more prone to freezing.
What You’ll Need To Winterize Your RV
To winterize an RV you’ll need the following:
-
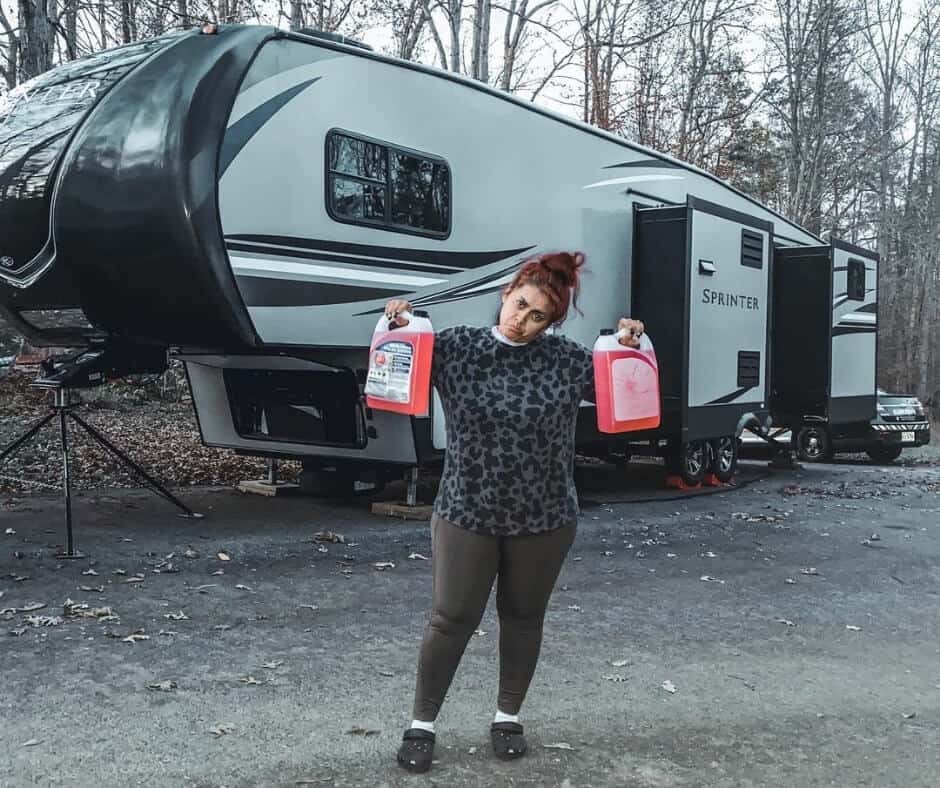
RV antifreeze – you MUST buy the non-toxic RV antifreeze. RV antifreeze is pink in color and you can find it at any RV store. You cannot use automotive antifreeze to winterize your RVs water lines because automotive antifreeze is toxic and can be harmful or even fatal if you run it through your RV water lines. Trust us. Only buy the RV antifreeze that is non-toxic and designed for winterization. Ask for help at your RV store if need be, just be sure you get the right stuff.
-
A partner – While not a total requirement, winterizing an RV will go much more smoothly if you have someone to help you as you fill your water lines with antifreeze.
-
Water Pump Converter/Winterizing Kit – You’ll use your RV water pump to run antifreeze through your pipes and winterize your RV. But to do that, you’ll need an adapter like this one to pull the antifreeze from the jug, through your water pump, and into the system.
-
Air compressor and RV blow out plug (optional) – If you decide to blow air through your water lines before running antifreeze through your pipes, you will need an air compressor and an RV blow out plug like this one. A blow out plug can be purchased at any RV store and it is designed to connect the air compressor to your city water line so you can get air to your RV pipes.
-
A wrench – You might need this to unscrew the drain plug from your RV water heater.
-
Rodent repellents and traps – Whatever you need to keep Mickey out of your RV during the winter.
2 Best Ways To Winterize Your RV
When it comes to winterizing your RV camper to protect your pipes from freezing, there are two basic methods:
-
Fill your camper’s water lines with non-toxic antifreeze
-
Blow out your RV water lines with air and then fill the lines with non toxic antifreeze.
Let’s walk through a step-by-step process for both methods.
Option 1: Winterize Your RV Without Blowing Air Through Water Lines
If you’d rather just run antifreeze through your RV water lines without first blowing air through the pipes, you should follow these steps:
Step 1: Read Winterization Instructions In Your RV Owner’s Manual
Even though we’re about to show you how to winterize your RV, every camper is different.
For example, some campers have ice makers, water filters, and other devices that require special winterization techniques.
That’s why it is very important to read your owner’s manual before starting to winterize to make sure you know any special instructions for winterizing your RV.
Step 2: Remove Or Bypass Any Inline Water Filters
Some RVs have built in water filters which will need to be removed or bypassed before you winterize because the antifreeze can ruin water filters.
Read your RV owner’s manual to determine if you have inline water filters and – if so – how to remove or bypass them when winterizing your RV.
Step 3: Drain Your RV Water Pipes And Holding Tanks
Even though we’re not blowing air through your camper’s water lines with this process, we still need to get as much water drained as we can.
To do this, start by disconnecting yourself from city water and turning your RV water pump OFF.
Then, make sure your black, grey, and fresh water tanks are emptied.
RV freshwater tanks always have a valve (usually on the underbelly of your RV by the fresh water tank) that is designed to drain it. Refer to your owners manual if you can’t find this valve.
Next, you’ll want to drain as much water out of your RV water pipes as possible.
Start by opening up all faucets in your RV to make sure the system is depressurized. Close each faucet as you finish.
Next, you need to find the low-point drain on your RV.
The location of an RV’s low-point drain varies, but it is located at a low point in your water lines.
The low-point drain is usually on the outside of your RV and is a valve that you can open. Because this valve is at a low point on your RV water lines, opening it will cause water to drain from your lines.
Refer to your owners manual if you need help locating the low-point drain on your RV. Once you find it, open it up and only close it when you no longer see water draining out.
While this step is important, it’s also important to realize that there will still be residual water in your RV water system.
That’s why we need to go forward with our winterization steps to prevent pipes from freezing…
Step 4: Drain Your Water Heater
CAUTION: Be sure that your water heater has been turned off for at least 3-5 hours before you start this process. The water in your RV water heater MUST be completely cool before you do this step.
Serious injury could result if you try to drain your RV water heater of hot water.
Once your RV water heater has been off for several hours and you’re certain the water inside it is cool, you’ll want to open the external panel for your RV water heater.
With that panel open, you should see your water heater drain plug (refer to your owner’s manual if you can’t find the plug).
Use your wrench to unscrew the drain plug until it comes off. Water should then come gushing out of your water heater.
(NOTE: If you have a Suburban RV Water Heater, you might have an anode rod – this will be a long rod that will come off with your RV water plug. It’s usually a good idea to replace this rod while you’re winterizing.)
Once your water heater stops draining, use your wrench to replace the drain plug.
Step 5: Bypass Your RV Water Heater
Your RV water heater holds anywhere from 5-10 gallons of water in it.
You need to bypass your RV water heater before winterizing your RV because without a bypass, the antifreeze would fill up your water heater tank before it fills up your pipes.
Antifreeze won’t hurt your water heater’s tank, but you will waste a bunch of antifreeze if you don’t bypass the water heater first.
Plus, when you de-winterize your rig, it’ll be annoying to have to dump 5-10 gallons of antifreeze to use your water heater again.
To avoid this, you need to switch a valve to bypass your RV water heater. By bypassing the water heater, the antifreeze will flow around your water heater and only go into your pipes.
Check your owner’s manual to see if your RV comes with a water heater bypass. If it does, bypassing your water heater will be as simple as turning a valve.
If you don’t have a bypass, you will either need to have one installed or you’ll have to waste a lot of antifreeze in the tank of your RV water heater.
Step 6: Connect A Water Pump Converter To Your RV’s Water Pump
Pump converters like this one are designed to pull antifreeze from a container, through your water pump, and into your RV water lines to winterize your camper.
These systems are relatively simple and will come with instructions. Basically, you’ll screw a tube onto the end of your water pump that will go into the container of antifreeze.
Step 7: Use Your RV Water Pump To Winterize Your RV
Now that your water pump is hooked to the antifreeze jug, start by confirming that your low-point drain valves are closed.
You should also confirm that your water heater has been bypassed.
Once this is done, turn on your RV water pump to pressurize your water lines. You will see the antifreeze level going down as antifreeze is pumped through your RV water pipes.
When the pump stops running, this means your RV water system is pressurized with antifreeze.
If it doesn’t stop running after a minute or two, you should shut off your pump and confirm that you don’t have a valve open anywhere.
Assuming your pump stops running, you then need to go to each faucet around your RV and turn it on both a hot and cold setting until you see antifreeze come out the faucet.
That’s because you need to get antifreeze all the way through your lines – both hot and cold.
Don’t forget to run your toilet, kitchen wand, and any other easy to forget item that has water running through it.
The pipes going into your RV toilet are especially sensitive to freezing, so you need to be sure you have antifreeze running through them.
Once you’ve seen antifreeze running out every faucet on both hot and cold, be sure to close all faucets and shut off your RV water pump.
Step 8: Pour Antifreeze Down Your Drains
Now that your RV water lines are winterized, you need to take a final step to be sure that your drain pipes don’t freeze and break.
To do this, you want to put 1-2 cups of antifreeze down every drain – all sinks, your shower, and your RV toilet.
When you add antifreeze to your RV toilet, flush 1-2 cups of antifreeze into the black tank first, and then add 1-2 more cups into the bowl to protect that valve.
Option 2: Winterizing An RV By Blowing Air Through Water Lines
While not required, you can choose a more thorough method of winterizing your RV by first blowing out your water lines with air before you pump antifreeze through.
To do this, you should follow steps 1-5 above and then:
Step 1: Connect Air-Compressor To Your City Water Line
Using an RV blowout plug connect your air compressor to your city water hookup.
NOTE: If your air compressor doesn’t have an adjustable auto shut off valve for when it reaches a certain pressure, you should buy an external pressure regulator.
You should never put more than 50psi of air into your water lines because it can damage them.
Step 2: Blow Out Each Water Line One At A Time
WIth the help of a partner, turn on the air compressor and then have your assistant inside the RV to open up one faucet at a time until air comes out.
Remember to open all faucets, turn on your outdoor shower if you have one, spray out kitchen wands, flush the toilet, and to turn each faucet to hot and cold to ensure you get air through all the lines.
Step 3: Add Antifreeze To Your RV Water Lines
Once you’ve finished steps 1 & 2, please move up and complete steps 5-8 above (for Option #1).
The idea here is that you’ve used air to work ALL water out of your system before putting antifreeze through.
This will give your RV the maximum winterization protection it can get.
Do I always have to winterize my RV in the winter?
Not necessarily. If you’re camping in RV, you may not have to winterize it. Here are some things to be aware of:
-
Certain temps are just too cold – If you plan to camp below 25 degrees Fahrenheit, you’ll want to do some RV winterizing unless you have a true 4-season RV
-
You can let water drip to avoid freezing – If you leave a faucet open just enough to let water dribble out, that moving water will keep your pipes from freezing overnight. But this is very wasteful and if your grey tank is closed (e.g. when you’re boondocking) you’ll fill it up very fast. Also, while letting the water dribble will protect your pipes, it does nothing to keep your holding tanks from freezing over.
-
Heated tanks – If your holding tanks are heated, this will give you extra winter camping protection
-
Heated hose – If you’re winter camping in very cold weather, you should have a heated hose for your city water connection. Or, you can simply disconnect from city water and use your internal RV pump.
-
Is your RV furnace ducted around your pipes? If you have a ducted propane furnace in your RV, the chances are that it’s ducted around your pipes to keep them from freezing. Refer to your owner’s manual to be sure, but this will help prevent freezing as long as you’re running your heater regularly.
Winter RV Camping Tips
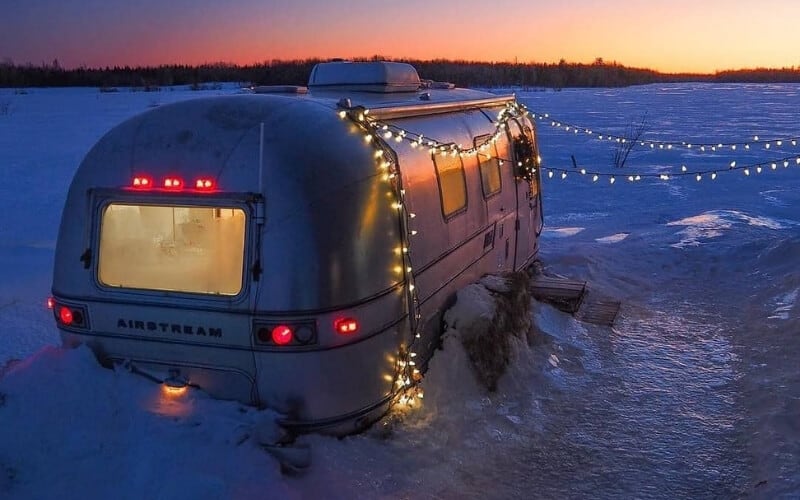
Just because winter is setting in doesn’t mean that you have to tuck your RV away into storage.
Many people camp in their RVs during the winter months – even in some colder climates.
If you do this, you’ll want to bear a few things in mind:
Anyone can camp in an RV during the winter by simply winterizing pipes. Of course, this means you won’t have running water, so you can use portable water jugs for your water needs.
If you camp with winterized pipes, be sure to keep putting antifreeze down your drain tanks (black and grey) as you dump water down them so they don’t freeze.
Some folks even put non-toxic antifreeze in their freshwater tank so they can keep using their RV toilet during the winter.
In that scenario, you could keep using your RV toilet because you’re continually running antifreeze through the toilet pipes and into the black tank.
Once you’ve taken precautions to keep your pipes and tanks from freezing, your next step to successfully winter camp is to keep yourself warm!
You can stay warm while winter camping in most RVs as long as it has a powerful internal propane heater, you cover windows with thermal material, and (if possible) add an insulated skirt around the underside of your RV.
Of course, if you plan to winter camp in a true 4-season RV, you should be a-ok as long as you keep the heat running and your tank heaters on.
Be sure to also use a heated water hose or simply use your internal freshwater tank to ensure a steady flow of non-frozen water.
How To Winterize Your RV’s Interior
Beyond your pipes, there are a few other things you’ll want to do to winterize the inside of your RV.
As soon as it gets cold outside, mice and other critters will be drawn to the relative warmth of your RV.
Keeping mice and other rodents out during the winter is critical. They can invade and cause thousands of damage by eating wiring, furniture, etc.
That’s why it’s a MUST to protect against them. Here’s how:
-
Use steel wool to cover any holes that might allow rodents to get in.
-
Spray a fiberglass spray like this one in any nook and cranny you think a mouse could get into.
-
Set mouse traps & baits around your RV.
-
Remove all food and drinks from your RV to not attract pests.
Apart from protecting against critters, you should finish winterizing your RV interior by removing all clothes (or putting mothballs in closets if your clothes have to stay) and opening up your fridge and cabinets (to prevent mold and odors).
![How To Winterize Your RV Camper [A Step-by-Step Guide] 2 Winterizing Your RV Exterior](https://www.rvingknowhow.com/wp-content/uploads/2021/01/Winterizing-Your-RV-Exterior.jpg)
Winterizing Your RV’s Exterior
Protecting the outside of your camper from the elements is an important part of winterizing your RV.
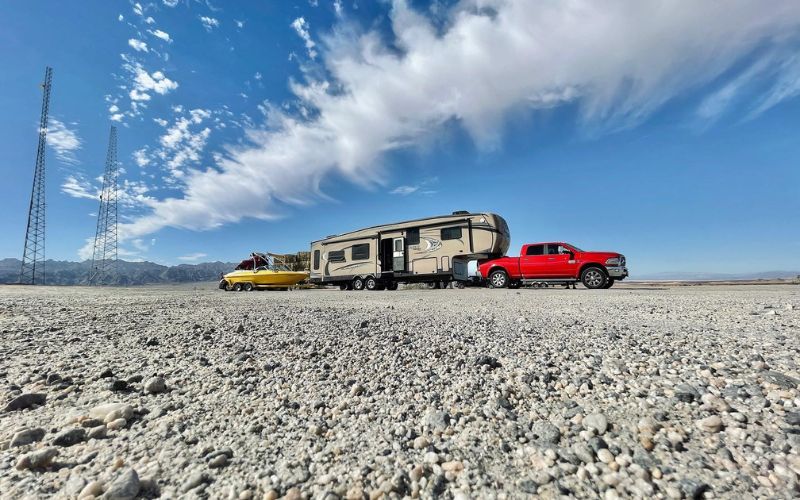
In an ideal world, you’d be able to cover your camper with a tarp or place it in covered storage.
But this is rarely a reality for RV owners because covered storage is expensive and difficult to find.
That’s why it becomes important to winterize your RV’s exterior by doing the following:
-
Wash and wax your RV – Beyond resulting in a clean RV, waxing it will help give your camper an extra layer of protection against winter elements.
-
Seal any areas you suspect are leaking – Have you seen any water dribbling into your RV? Now is the time to inspect your roof, window seals, door seals, etc for any signs of leaks. If you find any, be sure either to consult an RV professional or use waterproof silicone sealant to fix these areas yourself.
-
Clean and cover any RV ports, exhaust pipes, drains, etc. – To properly winterize your RV’s exterior, you need to cover any openings like furnace vents, drain pipes, and open water heater exhausts to make sure that no critters climb in.
NOTE: Don’t cover your furnace exhaust with something solid, rather, use screens like these so your furnace can continue exhausting properly when you move back in.
-
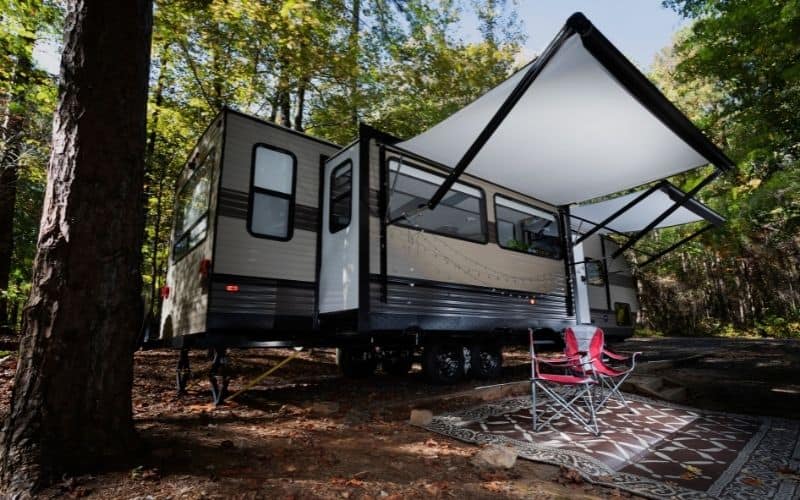
Open, clean, and thoroughly DRY your RV awning – Before storing your RV for the winter, you want to be sure your awning is clean and dry so it doesn’t get mildewy during the winter.
-
Spray doorways and window seals with natural pest repellent – By deterring critters from ever entering your RV in the first place, you’ll save yourself a world of trouble during the winter.
![How To Winterize Your RV Camper [A Step-by-Step Guide] 3 How To Store Your RV For The Winter](https://www.rvingknowhow.com/wp-content/uploads/2021/01/How-To-Store-Your-RV-For-The-Winter.jpg)
How To Store Your RV For The Winter
Whenever possible, you should try to find covered winter storage for your RV.
The simple truth is that exposing your RV to the winter elements while it’s being stored will wreak havoc on your exterior.
RVs aren’t meant to sit still and when they do nature will wear down your seals, exterior paint, tires, and a host of other items if you don’t take precautions to try and protect your camper while you store it.
But what if I can’t find covered RV storage? Covered RV storage can be tough to find. It can also be quite expensive depending on where you’re located – but this is an expense that can be worth it in the money you’ll save by preventing RV damage!
If covered RV storage is not an option for you, then you should purchase a breathable RV storage cover that’s designed to prevent mold and mildew getting into/onto your camper.
Once you’ve figured out how to cover your RV and have it properly winterized, take these steps to put your camper in winter storage:
-
Take this time to check for fluid leaks such as in your water pipes, gas lines, or in your engine (if you have a motorhome). It’s much easier to take care of these things before you store your camper than when you’re ready to roll with it again.
-
If you have a motorhome, top off all engine fluids and put in a fuel stabilizer before storing – this will help prevent moisture buildup in your tanks.
-
Remove your propane tanks from your RV and top them off. Then, store them in a safe location separate from your RV.
-
Check all lights such as turn signals, interior lights, etc. Replace any burned out bulbs as needed.
-
Turn off your 12 volt circuit breaker.
-
Remove your batteries and store in a safe and climate controlled location.
-
Inspect your tires, if they look good air them up to the proper PSI and put tire covers on them for storage.
-
Park your camper with the e-brake on (if you have a motorhome) and put wheel chocks behind your wheels.
Extra Steps For Winterizing YourMotorhome
If you have a motorized RV, then you’ll have extra components you’ll need to winterize beyond the “house” part of your camper:
-
Look for any engine/generator fluid leaks and have them repaired if you see them.
-
Add a fuel stabilizer to your engine and generator to keep gas from going bad.
-
Check your transmission fluid for fill level and be sure to have a mechanic look at it if the fluid seems dirty, low, or discolored.
-
Check your engine oil level and top off as needed.
-
List Element
-
Check all other fluid levels such as power steering fluid and brake fluid to be sure they’re topped off.
-
If any of your RV engine fluids look unusually low, be sure to have a qualified mechanic check out your rig before you store it – nothing is worse than taking your RV out of storage only to have to leave it with a mechanic for weeks.
Avoid These Common Mistakes When Winterizing Your RV
While winterizing your RV is a relatively simple process, there are a few things that are easy to forget along the way.
And while they might be simple mistakes, these are mistakes that could cost you thousands of dollars.
Be sure to avoid these errors when winterizing your RV:
-
Not putting antifreeze in outdoor shower units.
-
Forgetting to close low-point drains.
-
Failing to bypass the hot water heater before using antifreeze.
-
Not draining the hot water tank.
-
Not replacing the drain plug or anode rod on the water heater.
FAQs For Winterizing An RV
At what temperature should you winterize your RV?
If you plan to store your RV during the winter months, you should plan to winterize it no matter what the temps might be.
This is because just one night of a hard freeze can cause thousands of dollars in damage to your camper.
If you plan to winter camp in your RV, you should winterize anytime temps will drop below 32 degrees Fahrenheit or 0 degrees Celsius for more than 8 hours unless you are certain you can keep all your pipes and tanks above freezing with your onboard RV heat.
Is RV antifreeze bad for the water heater?
Generally no. However, there’s no need to waste antifreeze in your water heater which is why you need to use (or install) the water heater bypass in your RV.
And if you do get antifreeze into your water heater, just be sure to drain it before you fire the water heater back up in the spring.
How many gallons of RV antifreeze do I need to winterize?
1-2 gallons will do the trick for most RVs.
Conclusion
Winterizing an RV is a very important and relatively simple part of RV ownership.
Sadly, too many RV owners fail to winterize in time, resulting in thousands of dollars in damage to their campers.
But, as long as you follow the steps above, you will be able to winterize your RV long before any damage can set in.

![How To Winterize Your RV Camper [A Step-by-Step Guide] 1 How Do You Winterize an RV](https://www.rvingknowhow.com/wp-content/uploads/2021/01/How-Do-You-Winterize-an-RV.jpg)

![5 Best RV Brands with a Fiberglass Roof in [currentyear] 5 The Best RV Brands With A Fiberglass Roof](https://www.rvingknowhow.com/wp-content/uploads/2021/01/The-Best-RV-Brands-With-A-Fiberglass-Roof-150x150.jpg)
1 Comment
Joe M.
2 years agoGreat article. Though I am a veteran RV’er for many years I always look for things I may have missed. One question/thought I would like to share on winterizing is this: One year after blowing out supply lines & filling my motor home plumbing with the pink stuff I saw no reason to leave the plumbing lines FILLED at all. After running the antifreeze through all faucets, toilet, showers etc. I simply put my antifreeze containers beneath the low point drain and “recaptured” it all using the water pump for use next season. Seems to me any remaining water droplets will be replaced with trace amounts of antifreeze anyway. I believe a lesser chance for bursting. No issues to report, de-winterizing is much quicker and I’m recycling my same stock of antifreeze yearly!
Joe M….