There is nothing worse than waking up in the middle of the night to the sound of water leaking into your RV. Trust me, I’ve been there.
RV roofs are notorious for springing small leaks over time. It is really more common on older models, which is why many RV owners reseal their roofs every season (or at least every other) to try to prevent leaks.
Roof leak prevention is critical to the health of the rest of your RV. If left untreated, they can wind up costing you thousands of dollars as opposed to spending hundreds on proper prevention and maintenance.
Flex Seal is one of those iconic products that you have probably seen an infomercial for at some point.
But can you use Flex Seal on RV roof leaks?
The short answer is yes! Flex Seal is a viable option for fixing small holes and leaks in your RV roof. They offer several different products with varying application methods depending on the size of the leak and the exact location you need to repair.
In this guide to using Flex Seal on RV roofs, we will explain which types of repairs can be made with Flex Seal’s various sealant products.
We will also discuss which types of RV roofs you can use Flex Seal on and how to apply their most popular sealant to get a solid, long-lasting fix.
So let’s get started!
Does Flex Seal Work Good on RV Roofs?
Flex Seal’s line of products works well on RV roofs. They are easy to apply, readily available at a number of hardware and camping supply stores, and relatively affordable compared to many other RV roof repair products.
They also dry super fast and can stop leaks within minutes.
When your RV kitchen window unexpectedly springs a leak at two o’clock in the morning in a Texas thunderstorm, the right Flex Seal product can even set up when wet and stop a major leak from dumping gallons of water into your RV (yes, this really happened!).
That being said, all of their products are made for temporary fixes instead of being permanent solutions.
Although a product like their Liquid Rubber comes in a one-gallon can, there are better products to use if you need to re-seal the entire roof of your RV.
Does Flex Seal Work on All RV Roofs?
These days, RV roofs are made with one of four main materials: fiberglass, metal, TPO membrane, and EPDM rubber.
The latter two are the most popular, but you will of course see vintage models like the Airstream that boast completely metal designs.
The good news is that Flex Seal’s products adhere strongly to a wide variety of surfaces. That includes wood, aluminum, metal, plastic, fiberglass, rubber, vinyl, and more. So, yes, Flex Seal can be applied for temporary leak repairs on all types of RV roofs.
How Long Does Flex Seal Last on a Roof?
If Flex Seal is applied properly and allowed to cure adequately, it can last on a roof for years without cracking or flaking away.
That being said, it is a good rule of thumb to check on any sections of your roof where you have applied Flex Seal regularly.
Head up there at least every six months to make sure your repair is still solid and there is no chance of water leaking into your RV.
The environment where your RV is stored can also have an impact on the longevity of your Flex Seal roof repairs.
Things are inevitably more likely to crack or melt if they are exposed to extreme temperatures, excessive rain or snow loads, and other harsh environmental factors.
When it is not on your roof, Flex Seal products have a 24-month shelf life. So if your can of liquid rubber has been sitting around unused for more than two years, it probably isn’t the best choice for your RV roof repairs.
Which Flex Seal is Best for RV Roof?
There are a variety of Flex Seal products out there. Most can be used for RV roofs, but they have different applications depending on the type of fix you need.
1: Flex Seal LFSGRYR16 Liquid Rubber
Flex Seal’s Liquid Rubber is one of their best products for stopping leaks fast. It can also be used for applying a waterproof, flexible rubber coating on almost any other surface.
Flex Seal’s Liquid Rubber is designed for versatile applications. It can be rolled, brushed, dipped, or poured and spread onto surfaces.
Once it is applied properly, it will protect your roof and hardware from corrosion.
It will also withstand particularly brutal weather conditions without cracking, peeling, or melting away.
Aside from Liquid Rubber, there are a number of other Flex Seal products that can work well on your RV roof and other parts of your RV’s exterior and interior.
2: Flex Seal 8542053401 Spray
Flex Seal’s Spray-On Rubber Sealant is great for sealing around windows or for patching small leaks at the seams of your RV roof.
It can be applied quickly and provides a watertight seal almost instantly.
The spray-on application is really great for smaller leaks, but it can be inefficient for larger repair jobs.
It can also make quite a mess if you’re not careful. That being said, this was our go-to for resealing our kitchen window in a huge rainstorm, so I will always be a huge fan.
3: Flex Shot FSH8W White
Flex Seal’s Flex Shot product is designed for hard-to-reach locations on your RV roof and in other areas.
This product can be useful for sealing around the cover of your RV air conditioning unit, for example.
Flex Shot also works well for caulking around your RV windows when you can take the time to make sure you are doing a careful and visually appealing job.
Once applied, the solution expands to fill cracks and holes to prevent future leaks.
4: Flex Tape TFSWHTR0405 Rubberized Waterproof white Tape
Flex Seal’s Flex Tape can also be useful for certain RV roof applications. It is best for resealing roof seams or for larger repair jobs.
It can be used in conjunction with other Flex Seal products for a more sturdy fix.
For example, let’s say a falling branch caused a tear in your RV roof. Flex Tape would be the logical first place to start in order to repair the initial structure of your roof.
From there, you would need to use liquid rubber to complete your fix.
How Do You Apply Flex Seal Liquid to Fix Camper Roof Leaks?
Because Flex Seal’s Liquid Rubber is its most popular product for larger RV roof leaks, we are going to discuss how to apply it properly.
It is a liquid solution, so you will need the following materials before you are ready to apply it:
- One-gallon can of Flex Seal Liquid Rubber
- Paint roller and brush
- A roller is best for large, open areas
- A brush is best for edging
- Paint tray
- Disposable shoe covers
- To minimize tracking dust and debris onto your roof before and during Flex Seal application
- Screwdriver or chisel
- For opening the Flex Seal can
- Paint stir stick
Clearly Identify The Location of the Leak
This can sometimes be the hardest part about using Flex Seal on RV roof leaks.
Water can sometimes be entering the substructure of your RV at one location and then running down or across your rig before it drips inside.
So you really need to perform a thorough visual inspection of your roof in order to determine where your leak is coming from.
You may even need to pull up certain parts of the outer roofing layer in order to better identify the locations of leaks.
That being said, the good news about this Flex Seal product is that you can apply it liberally.
Sure, it may not look the most appealing once you are done, but not many people are going to lay eyes on the roof of your RV anyway.
Identifying the proper location of your leak will help you address the problem at its headwaters, so to speak.
But if you have identified multiple potential culprits, go ahead and apply liquid rubber to each spot to cover your bases.
Clean The Surrounding Area
Now, these spots are areas that are allowing water to leak into the substructure of your RV, right?
So you don’t want to use an excessive amount of water when you are cleaning the areas where you are going to apply liquid rubber.
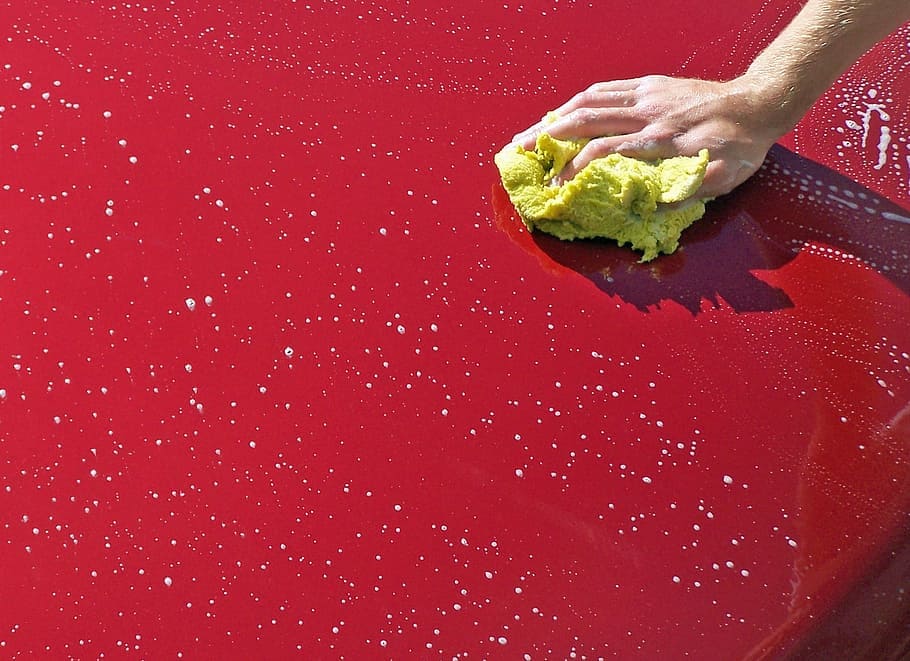
Instead, it is best to use a damp sponge or washcloth to the area clean and then allow it to dry completely before you apply liquid rubber.
As I mentioned above, this product can set up even on wet surfaces, but it will adhere best to a clean, dry area.
Prep Your Liquid Rubber
This Flex Seal variation comes in a paint can. As such, it usually needs to be opened with a chisel or flathead screwdriver.
Before you open it, however, go ahead and shake the can so that it mixes evenly.
Just like paint, Flex Seal can separate and heavier particles can settle to the bottom of the can.
If you forget to shake the can before you open the lid, you will need to stir it by hand.
Find yourself a paint stick or any other extended stirring utensil to mix your liquid rubber thoroughly before applying.
Roll or Brush Liquid Rubber Onto Your RV Roof
It is time to apply a generous amount of liquid rubber to the leak area and the surrounding surface.
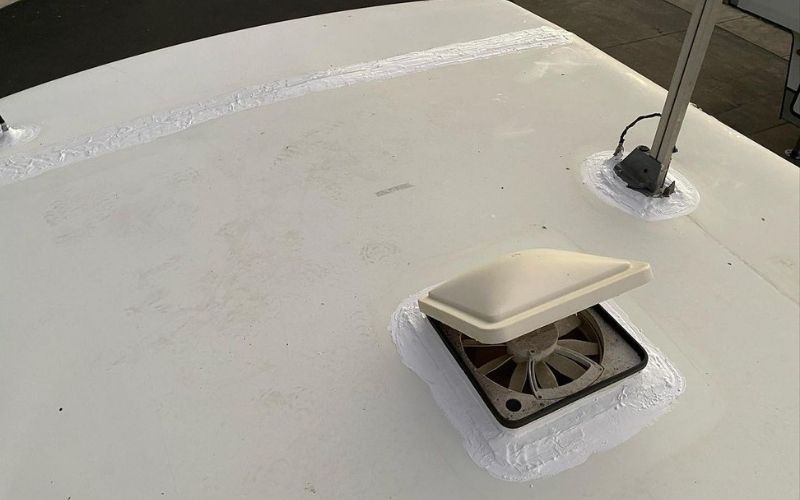
As a rule of thumb, it is best to apply liquid rubber over a surface area that extends at least six inches in each direction away from the primary location of the leak.
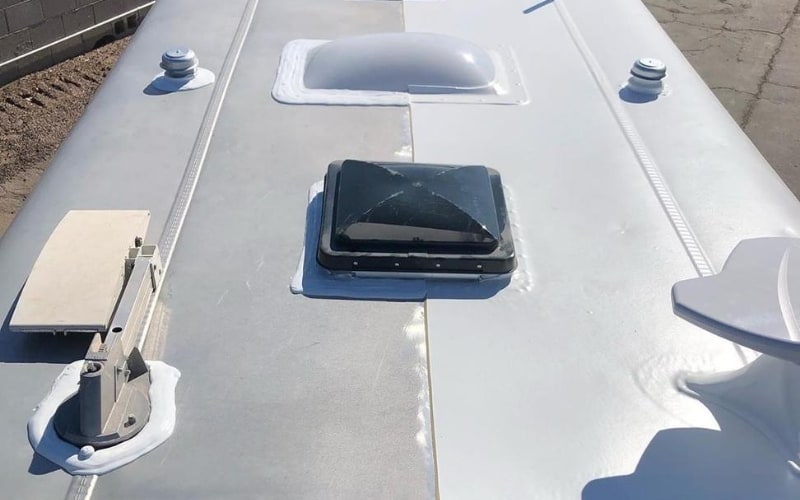
If your leak is on a flat part of your roof, this should not be a problem. But if the leak is right next to a roof vent, air conditioning unit, or the edge of your roof, it may not always be possible. In these cases, you will need to use your brush to apply liquid rubber.
For leaks on an especially hard-to-reach location, you should also consider switching to Flex Seal Spray or Flex Shot for an alternative application method.
Regardless of the product you wind up using, however, the intent, is to apply a thick enough layer to completely seal the leak from future water ingress.
Check Your Work
Allow the Flex Seal to completely cure for 24 hours before heading back up onto your roof to inspect your handiwork.
If you can clearly see the solution cracking, flaking, or peeling away, something did not go right.
Either you missed a step in the application process, your Flex Seal product is expired, or another factor prevented it from adhering to your RV roof properly.
If everything looks good, it can be hard to really test to see if you have fixed the leak until you get a good rainstorm and you can wait to see whether the leak returns.
Of course, you could also pull your hose out and rinse your RV roof, but it is best to avoid unnecessary stress if you can.
When you do get a solid rainstorm for the first time after you complete your Flex Seal repair, pay close attention to those areas where you first identified your leak.
But it is also good to perform a complete inspection of your RV’s interior roof (and then the exterior once the storm passes) to make sure your leak hasn’t migrated instead of actually being patched.
If you need a visual aid to help you with the proper procedure for applying Flex Seal Liquid to your RV roof, check out the video below!
Conclusion
Worrying about your RV roof shouldn’t cause you anxiety. While there are certain steps you can take to maintain the integrity of your RV roof on an annual basis, it is always a good idea to keep several of these Flex Seal products on hand in case of an emergency.
You never know when an unexpectedly strong rainstorm or falling tree branch will significantly change the trajectory of even the most well-planned RV adventure.
As a former boss of mine used to say, “It is better to have it and not need it than to need it and not have it!”
So we hope you have a better understanding of the various Flex Seal products and their intended uses after reading through this guide.
As always, we want to wish you the most enjoyable (and hopefully repair-free) RV adventures in the coming months!

