Sitting down to take care of business only to realize that you have a smelly liquid leaking from under your RV toilet is a rude awakening for anyone living in a camper.
So, how do you fix an RV toilet that’s leaking on the floor?
To fix an RV toilet that is leaking on the floor, check the seals around the toilet. If they are damaged, replace them, but if they persist, it might be a cracked toilet base or a loose connection. While you can try to tighten the bolts and connection, seek professional help if the problem isn’t resolved.
What Is The Cause Of An RV Toilet Leak?
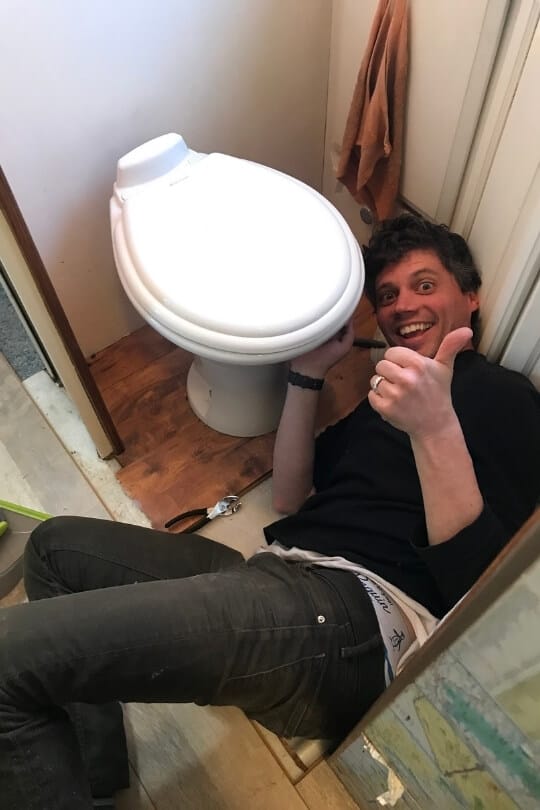
To be able to fix a leaking RV toilet, you must have the gist of why it might be happening. A lot of RV travelers face similar problems including me and others, KeyStone RV Forums is an RV community where a lot of other travelers have raised similar concerns.
There are a few suspects that can be linked to RV toilet leaks like an old or broken seal is one of the offenders. Leaks may occur as a result of the deterioration of rubber gaskets and seals that keep water where it belongs. Fluid travel vibrations have the potential to loosen the fittings and nuts over time, allowing water to escape.
Leaks can also originate from a damaged toilet bowl or tank, particularly if your RV has been subjected to some bumps and jolts while traveling. You must find the precise origin of the leak which is essential to successfully troubleshoot and repair.
Identification Of The Source Of A Leak
To pinpoint the source of a leak in your RV toilet on the floor, start with a systematic approach. The following table will help you understand and identify different potential sources of an RC toilet leak.
| Identification Of Sources | Steps |
|---|---|
| Examine The Seals And Gaskets | Examine the rubber seals or wax ring around the toilet’s base. Seek out any indications of deterioration, wear, or crack.Feel the seals with your fingertips to check for any abnormalities. One of the main causes of leaks is frequently a faulty seal. |
| Check The Water Connections | Examine the connections of the water supply line behind the toilet. Confirm they are fastened securely.To identify a possible leak, check the area around the connectors for any obvious water droplets or moisture. |
| Examine The Toilet Tanks And Bowls | Inspect the tank and toilet bowl for damage or cracks. Run your fingertips over the surfaces to feel for any irregularities, although a hairline crack might not be immediately noticeable.Flush the toilet and observe if water is leaking from the tank or bowl during and after the flushing process. |
| Verify The Bolts And Floor Seals | To check the floor seal, gently raise the toilet. Confirm the seal is in the right place and is not broken. Fasten the bolts holding the toilet to the ground firmly. Instability and leaks may occur from loose bolts. |
| Use Food Coloring For Hidden Detection | Add food color to the toilet tank and wait for the color to show up on the floor.This technique is particularly helpful for finding small leaks that might not be apparent right away |
Step-By-Step Guide To Repair Your RV Toilet’s Leak
Now that you have identified the specific problem causing your RV to leak, you are only one step away from fixing it. Here are the DIY fixes for a list of different types of leaks in your RV toilet.
- Repairing Seals And Gasket Leaks
Step 1. Shut off the water supply to the toilet.
Step 2. Loosen and remove the bolts securing the toilet to the floor. Lift the toilet to check the wax ring or seals.
Step 3. Examine the wax ring or rubber seals and replace any damage or work out seals.
Step 4. Carefully place the toilet back in position and secure it with bolts. Confirm a proper seal between the toilet and the floor.
- Fixing Water Connection Leaks

Step 1. Shut off the water supply and flush the toilet to drain the tank.
Step 2. Inspect water supply line connections and tighten any loose bolts or fittings.
Step 3. If connections are still leaking, replace the water supply line or any damaged components.
- Addressing Bowl And Tank Leaks

Step 1. Flush and empty out the toilet tank completely, and pause the water supply.
Step 2. Inspect the toilet bowl and tank for cracks. If found, clean the area thoroughly
Step 3. Apply proxy resin designed for plumbing repairs to seal cracks. Follow product instructions carefully.
- Securing Floor Seals And Bolts
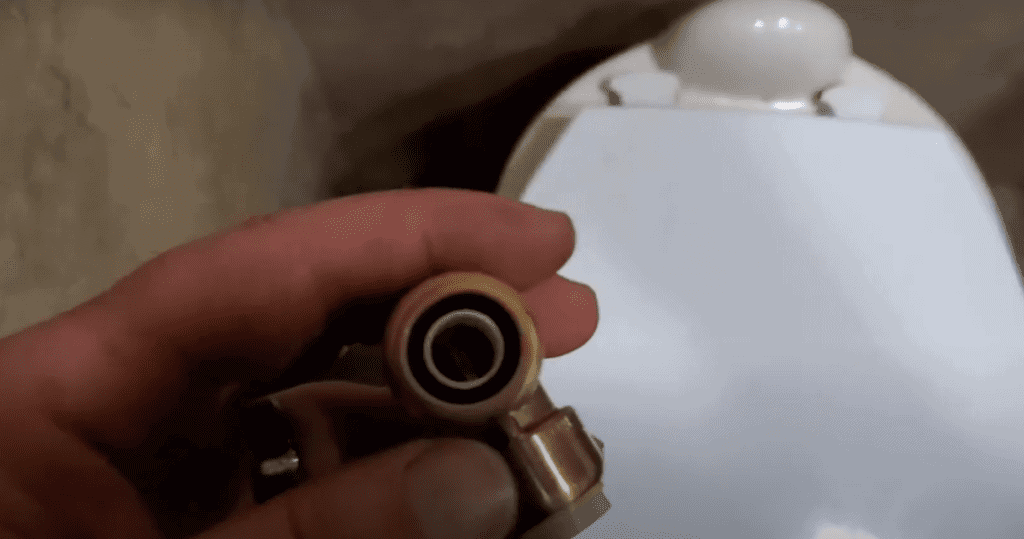
Step 1. Lift the toilet to access the floor seal and bolts.
Step 2. Confirm the floor seal is intact. If not, adjust or replace as needed.
Step 3. Tighten the bolts securing the toilet to the floor. Use a wrench to confirm a snug fit.
- Detecting And Fixing Hidden Leaks

Step 1. Put a few drops of food coloring into the toilet tank.
Step 2. Wait and observe if the color appears on the floor, follow and identify the source of the leak, and apply the appropriate repair method.
Don’t forget to turn the water supply back on and test the toilet after each repair to confirm that the issue has been fixed. If not, consult a professional plumber for further assistance.
When To Look For Professional Assistance
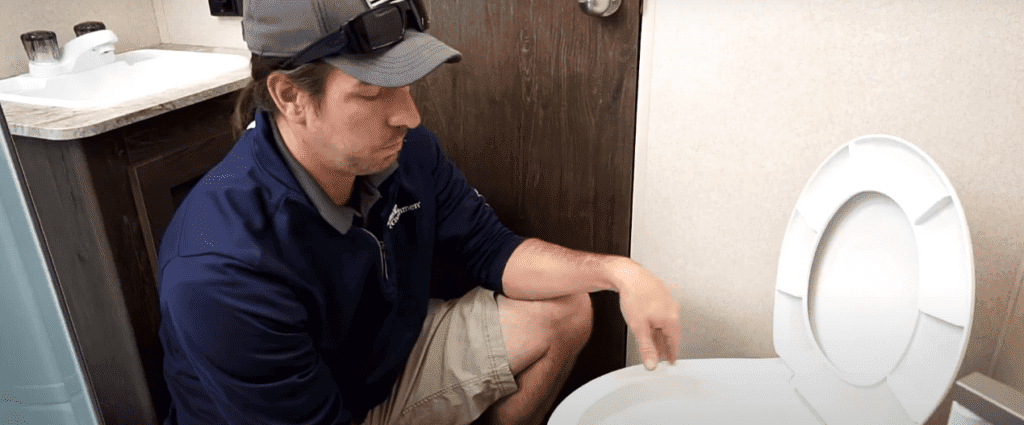
With all these tools and knowledge, as equipped as you may think you are, sometimes the problems might be a little more complicated to deal with. Always look for an expert to assist you with such instances to confirm a hazel-free journey in your RV. Below are some instances for you to refer to:
- Persistent Leaking: It’s time to get professional assistance if you’ve tried DIY fixes but the leaks are continuing to appear. This can be a sign of a more complicated problem that has to be assessed by a professional and requires certain types of equipment.
- Complex Repairs: Some repairs, including replacing internal parts or taking care of complex problems inside the toilet tank might need an expert as it is a difficult and risky project to take on your own.
- Structural Damage: If you notice significant structural damage to the toilet, floor, or plumbing system, it’s crucial to consult a professional. Addressing structural issues requires a trained professional to confirm a comprehensive and lasting solution.
- Frequent Problem: If you find yourself needing to deal with toilet leaks or related issues regularly, a professional plumber can conduct a thorough inspection to identify the underlying problems and implement lasting solutions.
- Limited DIY Experience: If you lack experience in plumbing or don’t find yourself equipped or confident enough to perform a DIY repair, attempting to fix the leak might lead to further damage. Professional plumbers have the skills and experience to diagnose and address issues accurately.
- Older Plumbing Systems: In older RVs with aging plumbing systems, it’s advisable to look for professional help. Older components may require specialized knowledge, and professionals can recommend necessary upgrades or replacements.
- Safety Concerns: It is essential to put safety first if find yourself dealing with safety concerns during the repair, such as exposed wires or gas lines near the toilet. Consult an expert who can handle these situations safely.
Note that in addition to expertise and equipment, experienced plumbers confirm that repairs adhere to regional and safety requirements. It’s advisable to consult a professional for a dependable and secure solution if the challenges you are facing are beyond your expertise.
Maintenance Tips
In this section, I will take you through a few simple hacks to prevent the mishaps that cause leaking and increase the life span of your RV toilet. My RV is equipped with the Dometic 320 Series Standard Height RV Toilet, which I maintain with the following steps:
| Tips | Description |
| Regular Inspection | Examine your RV toilet regularly for wear, cracks, or leaks. Prompt problem-solving can avert large-scale harm. |
| Check Seals And Gaskets | Regularly check the gaskets and seals, surrounding the toilet’s base. If a seal becomes worn out or damaged, replace it t keep the connection waterproof. |
| Secure Connections | Check and tighten the connections for the water supply line at the rear of the toilet regularly. Travel vibrations have the potential to loosen the fittings and cause leaks. |
| Monitor Toilet Components | Pay attention to internal parts such as the fill, flapper, and flush valves. To guarantee the best possible toilet function, replace any worn-out parts. |
| Use RV Friendly Toilet Paper | To prevent clogs, use toiler paper designed for RVs. The degradation of regular residential paper may be visibly slower in RV plumbing systems. |
| Be Mindful Of Chemicals | Employ holding tank treatments designed for RVs and stay away from strong chemicals that can harm plumbing fixtures and seals. |
| Proper Flushing Practices | Inform other tourists as well as yourself about appropriate flushing techniques. Items that can clog pipes or harm the plumbing system should not be flushed down the RV toilet. |
| Protect Against Freezing | To avoid freezing, take precautions when camping in colder climates. When it comes to pipes and tanks, use insulation and think about employing a heated water hose. |
| Lubricate Moving Parts | Use lubricants approved by the RV manufacturer on moving parts, such as the flush mechanism. This keeps things running smoothly and prevents wear and tear. |
| Store RV Properly | Confirm the RV is kept in a climate-controlled space while it is being stored to avoid damage from extremely high or low temperatures. |
| Test With Water | Water should be periodically poured around the toilet base to test the seals. The seals are healthy if the water is kept inside bounds. |
| Educate Travel Companions | To avoid unintentional harm, teach all users of RV toilets basic care and maintenance techniques. |
Key Takeaways
- Identify The Source: Examine the seals, connectors, the toilet bowl, and the tank to identify the precise source of the RV toilet leak.
- Seal And Gasket Inspection: To keep the toilet and floor waterproof, inspect and repair any damaged gaskets or seals.
- Water Connection Tightening: To stop leaks, especially after vibrations during travel, lighten the connectors on the water supply line.
- Bowl And Tank Examination: Examine the tank and bowl of the toilet for any cracks, and seal any that you find with epoxy glue.
- Floor Seal And Bolt Maintenance: Verify that the floor seal is intact, make any necessary adjustments or replacements, and tighten the bolts holding the toilet to the floor.
- Detecting Hidden Leaks: To find concealed leaks and pinpoint their source for focused repairs, use food coloring.
- DIY Repair Steps: For many kinds of leaks, such as seals, water connections, bowls/tank problems, and floor seals/bolts, follow the DIY repair tips.
- When To Seek Professional Help: Acknowledge the situations in which you need expert help, such as ongoing leaks, intricate repairs, structural damage, recurrent issues, insufficient DIY experience, outdated plumbing systems, and safety concerns.
- Regular Maintenance Tips: Maintaining an RV requires routine inspections, checking gaskets and seals, tightening connections, keeping an eye on toilet components, using toilet paper designed specifically for RVs, being aware of chemicals, flushing correctly, protecting against freezing, lubricating moving parts, storing the RV correctly, testing the seals with water, and teaching traveling companion about proper toilet care.


1 Comment
Peggy DeBell
11 months agoThis was very useful for replacing the flange.My leak is under the shower stall and seems to happen when flushing..but not sure as I only see dampness outside the shower stall on the floor in front of it.No leaks anywhere inside the stall.